
The Evolution of the Tetherless Maker Space
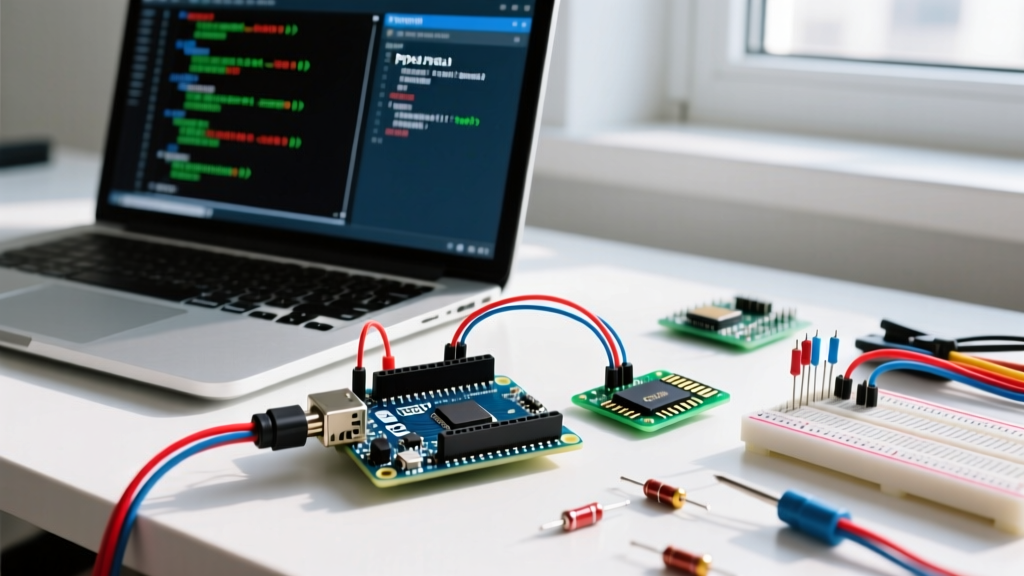
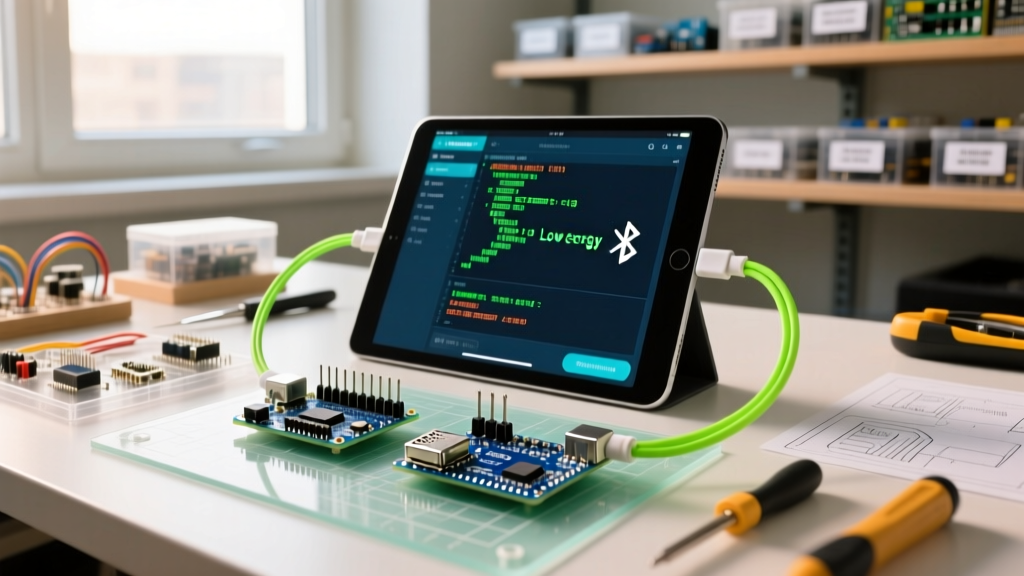
For years, microcontroller development was strictly tethered to a desktop workstation. You needed a bulky laptop, a tangled mess of USB-A to USB-B cables, and a dedicated workbench. In 2026, the integration of the iPad into the maker workflow has fundamentally changed how we prototype, debug, and deploy Arduino and ESP32 projects. With the transition to universal USB-C on modern iPad Pro and Air models (M-series chips), and the maturation of cloud-based IDEs and Bluetooth Low Energy (BLE) serial protocols, building a highly optimized Arduino iPad workflow is no longer a novelty—it is a competitive advantage for field engineers and mobile makers.
This guide breaks down the exact hardware configurations, software ecosystems, and edge-case troubleshooting steps required to turn your iPad into a fully functional, tetherless microcontroller development environment.
Hardware Bridging: USB-C, OTG, and Power Delivery
The physical connection between an iPad and a microcontroller seems straightforward until you hit the reality of iOS/iPadOS power management. Unlike a desktop motherboard, an iPad strictly regulates power output over its USB-C port to preserve battery life and protect internal logic boards.
Solving the 'Accessory Uses Too Much Power' Error
The most common failure mode when connecting an Arduino directly to an iPad is the dreaded "Cannot Use Accessory: This accessory requires too much power" alert. According to Apple's official USB-C accessory guidelines, unpowered iPad ports typically limit current draw to roughly 500mA to 900mA, depending on the specific model and battery state.
- Standard Arduino Uno R4 WiFi: Draws roughly 150mA-250mA. Connects directly via a standard USB-C to USB-C cable without issues.
- Arduino Portenta H7 + Vision Shield: Can spike to 650mA+ during image processing tasks. Will frequently trigger the power error.
- ESP32-S3 + 2.8" TFT SPI Display: Backlight and WiFi transmission can push peak draw to 850mA, causing intermittent brownouts and iPad USB port shutoffs.
Expert Workflow Tip: Never rely on direct tethering for power-hungry sensor arrays. Integrate a powered USB-C hub with Power Delivery (PD) passthrough into your mobile kit. The Anker 341 USB-C Hub (7-in-1) (approx. $30) supports 100W PD passthrough. Plug your iPad charger into the hub, and the hub into the iPad. This tricks the iPad into allowing higher current draw on the downstream data ports while keeping the tablet charged during long debugging sessions.
Software Workflows: Coding and Compiling on the Go
With the hardware link established, you need a way to write, compile, and upload code. The days of relying on clunky, outdated native iOS apps are over. Modern workflows rely on browser-based cloud compilers or remote SSH environments.
Method 1: Arduino Cloud Web Editor (Best for Native Arduino Boards)
The Arduino Web Editor (accessible via Safari or Chrome on iPadOS) is the most frictionless method for native Arduino boards. By installing the Arduino Cloud plugin on a local network machine, or utilizing boards with native WiFi/Cellular (like the Nano 33 IoT or Portenta), you can push Over-The-Air (OTA) updates directly from the iPad browser. Limitation: Requires an active internet connection and struggles with complex, multi-file local libraries.
Method 2: The SSH + VS Code Server Pipeline (Best for ESP32/Advanced MCU)
For professional engineers working with PlatformIO, ESP-IDF, or complex C++ architectures, the optimal workflow involves a headless Raspberry Pi 5 (8GB model, ~$80) acting as a local compile server.
- Set up code-server (VS Code in the browser) on the Raspberry Pi 5.
- Connect the Pi 5 to the same local network as your iPad (or use a Tailscale VPN for field work).
- Open Safari on the iPad, navigate to the Pi's local IP, and you have a full, desktop-grade VS Code environment with PlatformIO terminal access.
- Use a USB-C hub to plug the MCU into the Pi, or utilize networked serial-over-IP tools to flash the board remotely.
Comparison Matrix: Arduino iPad Development Environments
| Workflow Method | Latency / Speed | Offline Capability | Best Use Case | Estimated Cost |
|---|---|---|---|---|
| Arduino Cloud Web Editor | Medium (Cloud compile) | None (Requires Internet) | Quick IoT prototyping, education | Free / $11.99/mo |
| Raspberry Pi + code-server | Low (Local LAN compile) | Full (Local Network) | PlatformIO, ESP-IDF, heavy C++ | ~$90 (Hardware) |
| Native iOS Apps (e.g., Bluino) | High (Slow UI, limited libs) | Partial | Legacy AVR emergency tweaks | $5 - $15 |
| SSH + Terminal (Vim/Nano) | Very Low | Full (Local Network) | Headless server config, Makefiles | Free (Termius app) |
Step-by-Step: BLE Serial Monitoring Without Cables
Serial monitoring is the lifeblood of MCU debugging. Tethering an iPad via USB-C just to read `Serial.println()` is inefficient and drains the tablet's battery. The optimized 2026 workflow utilizes Bluetooth Low Energy (BLE) UART for wireless serial monitoring.
Required Hardware
- Microcontroller: ESP32 (native BLE) or Arduino Uno with an Adafruit Bluefruit LE UART Friend (~$17.50).
- iOS App: nRF Connect for Mobile (by Nordic Semiconductor) or SerialTools.
Implementation Steps (Using ESP32 Native BLE)
- Flash the BLE UART Firmware: Use the standard ESP32 BLE UART example sketch in your desktop IDE. This sets up the ESP32 as a BLE GATT server with TX and RX characteristics.
- Pairing: Open nRF Connect on your iPad. Scan for the device (usually named 'ESP32_BLE_UART'). Tap CONNECT.
- Service Discovery: Once connected, expand the Generic Attribute Profile and locate the custom UART Service UUID (typically
6E400001-B5A3-F393-E0A9-E50E24DCCA9E). - Enable Notifications: Tap the three arrows (CCC descriptor) on the TX characteristic to subscribe to incoming serial data. Your `Serial.print()` outputs will now stream live to the iPad screen.
- Write Commands: Use the RX characteristic's write button to send string commands from the iPad back to the MCU, triggering hardware interrupts or state changes.
Bandwidth Warning: BLE UART is not a 1:1 replacement for USB Serial. BLE throughput is constrained by the MTU (Maximum Transmission Unit) and connection interval. Expect a maximum reliable throughput of roughly 2 KB/s to 4 KB/s. It is perfect for telemetry, sensor states, and debug strings, but will drop packets if you attempt to stream high-frequency raw ADC data or audio buffers.
Edge Cases and Troubleshooting
iPadOS Stage Manager and External Displays
If you are using an M-series iPad with Stage Manager connected to an external monitor via a USB-C dock, be aware that plugging in an Arduino can sometimes cause the external display to flicker or reset. This occurs due to momentary voltage drops on the shared USB-C bus when the MCU initializes its USB handshake. Always use a dock with dedicated power delivery to isolate the data bus from the display bus.
File System Access (LittleFS / SPIFFS)
Uploading filesystem images (like LittleFS for ESP32 web servers) directly from an iPad browser is currently unsupported by standard cloud IDEs. The Workaround: Write your code on the iPad, push it to a GitHub repository, and use a GitHub Action to compile the binary and filesystem image. Alternatively, use the Raspberry Pi SSH method mentioned above, which gives you full command-line access to pio run --target uploadfs.
Frequently Asked Questions (FAQ)
Can I use the iPad's built-in USB-C port to power an Arduino indefinitely?
While technically possible for low-power boards like the Arduino Nano 33 BLE, it is not recommended for long-term deployments or intensive debugging. Continuously drawing power from the iPad's logic board limits the tablet's battery lifespan and generates excess thermal throttling. Always use a powered hub for sessions lasting longer than two hours.
Do I need a specific cable for Arduino to iPad connection?
Yes. You must use a USB-C cable that supports both data and power. Many cheap USB-C cables included with peripherals are 'charge-only' and lack the internal D+/D- or SuperSpeed data pins. Look for cables explicitly rated for USB 3.1 Gen 2 or Thunderbolt 3/4 to ensure flawless serial handshakes.
Is there a native PlatformIO app for iPadOS?
No. PlatformIO is deeply integrated into Python and desktop-grade toolchains that Apple does not allow to run natively on iPadOS due to sandboxing restrictions. The browser-based code-server (VS Code) via a local Raspberry Pi or cloud VPS remains the only viable way to access the full PlatformIO ecosystem on an iPad.