
The Evolution of Pulse Width Modulation Arduino Ecosystems
As we navigate the maker landscape in 2026, the pulse width modulation Arduino ecosystem has expanded far beyond the classic ATmega328P. With the widespread adoption of the Uno R4 (Renesas RA4M1), the Nano ESP32, and the Raspberry Pi Pico RP2040, makers are no longer limited to the legacy constraints of 8-bit AVR timers. However, bypassing native limitations to achieve precise motor control, high-fidelity audio DACs, or flicker-free LED dimming requires deep knowledge of hardware registers and community-built wrappers.
This community resource roundup curates the most authoritative forums, GitHub repositories, and hardware debugging tools that professional makers and hobbyists rely on to master PWM across modern microcontrollers.
Why Native analogWrite() Falls Short in Advanced Projects
The native Arduino analogWrite() Reference is a fantastic starting point, but it abstracts away the underlying hardware timers. On a classic Uno R3, pins 5 and 6 operate at 980Hz, while the remaining PWM pins default to roughly 490Hz. While adequate for basic LED fading, these default frequencies introduce severe edge cases in real-world applications:
- Audible Motor Whine: 490Hz sits squarely in the most sensitive range of human hearing. Driving DC motors or solenoids at this frequency results in an annoying, high-pitched squeal.
- Camera Flicker: When filming PWM-driven LED panels at 60fps or 120fps, 490Hz frequencies cause severe banding and strobing effects on CMOS sensors.
- Switching Losses in MOSFETs: Higher frequencies increase switching losses in power MOSFETs, while lower frequencies require bulkier inductors for buck converters.
Expert Insight: To push PWM frequencies above 20kHz (ultrasonic, inaudible) or drop them below 50Hz for specialized heating elements, you must manipulate the timer prescalers directly or use community-maintained abstraction libraries.
Timer Register Mapping: Classic AVR vs. Modern ARM/Renesas
Understanding which hardware timer controls which pin is the first step in custom PWM configuration. Below is a quick-reference matrix for the most popular boards in 2026.
| Microcontroller | Board Example | Timer Architecture | Default PWM Freq | Max Resolution |
|---|---|---|---|---|
| ATmega328P | Uno R3 / Nano | 8-bit / 16-bit Hardware Timers | 490Hz / 980Hz | 8-bit (0-255) |
| Renesas RA4M1 | Uno R4 Minima/WiFi | General PWM Timer (GPT) | 490Hz | Up to 32-bit |
| ESP32-S3 | Nano ESP32 | LEDC Peripheral | 5kHz (varies) | Up to 14-bit |
| RP2040 | Pico / Pico W | Hardware PWM Slices | 1kHz | 16-bit |
Top Community-Driven PWM Libraries on GitHub
Rather than manually calculating prescaler bits (CS12, CS11, CS10) and waveform generation modes (WGM) via the Microchip ATmega328P Datasheet, the community has developed robust libraries to handle register manipulation safely.
1. PWM.h (by Palatis / arduino-softpwm)
For AVR-based boards, manipulating Timer1 to achieve 20kHz+ frequencies often breaks the millis() and delay() functions if you accidentally touch Timer0. The PWM.h library allows you to configure specific pins to custom frequencies without breaking core Arduino timing functions. It is heavily documented on the Arduino Forum and remains a staple for ultrasonic motor control.
2. ESP32 LEDC Wrappers
The Nano ESP32 uses the LED Control (LEDC) peripheral rather than traditional timers. Community wrappers like ESP32_AnalogWrite map the familiar analogWrite() syntax to the LEDC API, allowing makers to seamlessly port legacy sketches while unlocking 12-bit resolution (0-4095) and frequencies up to 78kHz.
3. PCA9685 I2C Offloading
When you run out of hardware timers or need to drive 16+ servos and LEDs simultaneously, the community universally recommends offloading PWM generation to a dedicated IC. The Adafruit PCA9685 PWM Driver Guide details how to use this I2C chip to generate bulletproof, hardware-timed PWM signals up to 1526Hz, freeing your MCU's CPU for complex kinematics calculations.
Essential Hardware for Verifying PWM Signals
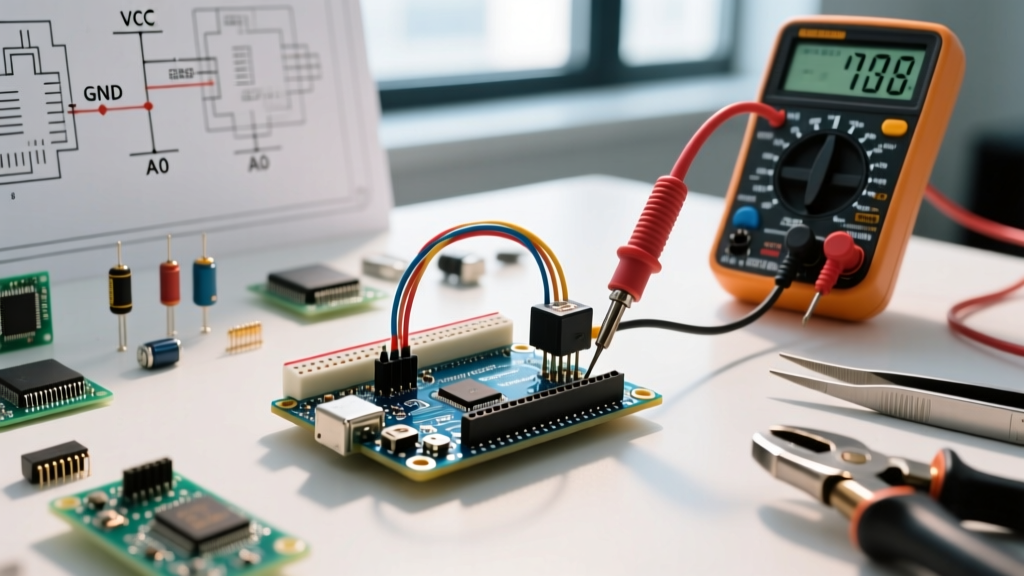
You cannot debug pulse width modulation by staring at an LED. In 2026, the maker community relies on a tiered approach to signal verification, depending on budget and required bandwidth.
- The $55 Hobbyist Tier (Fnirsi DSO-TC3): A handheld combination multimeter, component tester, and basic oscilloscope. It features a 200kHz analog bandwidth, which is perfectly adequate for verifying 490Hz to 20kHz PWM duty cycles and checking for severe gate ringing on MOSFETs.
- The $119 Logic Analyzer Tier (Saleae Logic 8 / Clones): For digital PWM verification, a logic analyzer captures the exact microsecond timing of the rising and falling edges. This is critical when debugging software-based (bit-banged) SoftPWM implementations where CPU interrupts might cause duty cycle jitter.
- The $399 Professional Tier (Rigol DS1054Z / Siglent SDS1104X-E): Essential for power electronics. If you are using PWM to drive a buck converter or a high-current induction heater, you need a true oscilloscope to measure voltage overshoot, ringing, and the exact rise/fall times of your gate driver circuit.
Real-World Failure Modes & Community Fixes
The most valuable community resources are the forum threads detailing catastrophic failures and their solutions. Here are the most common edge cases encountered when scaling up PWM projects.
The MOSFET Gate Ringing Trap
When driving an IRLZ44N or IRF3205 MOSFET directly from an Arduino PWM pin, the rapid switching edges interact with the parasitic inductance of your breadboard wires, causing high-frequency ringing on the gate. This can exceed the Vgs max rating (typically ±20V) and destroy the MOSFET's internal oxide layer.
The Community Fix: Always place a 100Ω to 220Ω gate resistor physically close to the MOSFET gate to dampen the LC circuit, and a 10kΩ pull-down resistor between the gate and source to ensure the MOSFET stays off if the Arduino pin floats during boot-up.
Flyback Diode Selection for Inductive Loads
Using a standard 1N4007 rectifier diode across a PWM-driven DC motor or relay coil is a frequent beginner mistake. The 1N4007 has a slow reverse recovery time (trr). At 20kHz PWM, the diode cannot switch fast enough, leading to massive voltage spikes and overheating.
The Community Fix: Upgrade to a Schottky diode like the 1N5819 or SS34. Schottky diodes have near-zero reverse recovery time and a lower forward voltage drop, making them mandatory for high-frequency inductive PWM circuits.
Expert FAQ from the Arduino Forums
Does changing Timer1 affect millis() and delay()?
No. On the ATmega328P, millis(), delay(), and servo.write() (on certain pins) rely on Timer0. Manipulating Timer1 (pins 9 and 10) or Timer2 (pins 11 and 3) for custom PWM frequencies will not break your core timing functions. However, altering Timer0 will immediately break your sketch's timekeeping.
How do I achieve a true 0% or 100% duty cycle?
Hardware PWM peripherals on some MCUs struggle to output a mathematically perfect 0 or 255, often leaving a tiny nanosecond spike or dropping to 99.6%. For applications requiring absolute zero voltage (like precision laser drivers), the community recommends implementing a software check: if the requested duty cycle is 0, use digitalWrite(pin, LOW); if 255, use digitalWrite(pin, HIGH), bypassing the PWM peripheral entirely.
Can I synchronize PWM signals across multiple boards?
For advanced setups like multi-phase interleaved buck converters, the RP2040 and ESP32 communities utilize hardware trigger pins to sync PWM slices. On the RP2040, you can route a PWM slice output to a GPIO and use it as a trigger input for another slice, achieving sub-nanosecond phase shifting.
By leveraging these community-tested libraries, hardware debugging tools, and circuit protection topologies, you can push your pulse width modulation Arduino projects far beyond the limits of basic tutorials and into the realm of professional-grade power electronics and precision control.