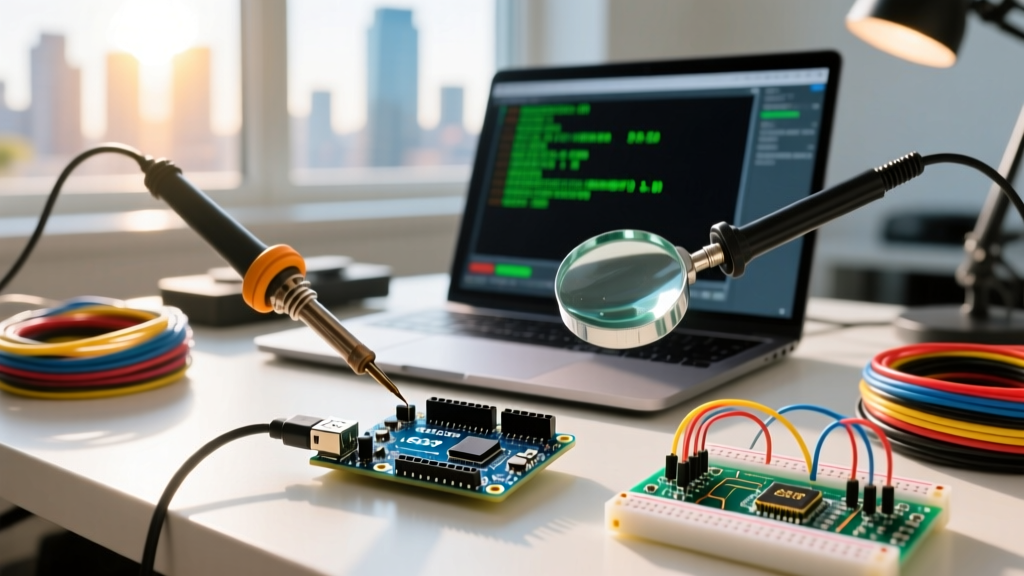

What is the Arduino Hello World?
In traditional software development, a "Hello World" program outputs text to a console. In the microcontroller ecosystem, the Arduino Hello World is universally recognized as the "Blink" sketch—a configuration that toggles an onboard LED to prove the toolchain, compiler, and hardware are communicating correctly. However, in 2026, simply copying and pasting code is rarely enough. The true hurdle lies in the configuration of the Integrated Development Environment (IDE), USB-to-Serial drivers, and board-specific macro mappings.
This comprehensive configuration guide will walk you through setting up your environment, resolving driver conflicts for both genuine and clone boards, and writing your first Blink and Serial Monitor Hello World sketches with precision.
Phase 1: IDE Environment Configuration
The foundation of any successful upload is the IDE. While the legacy Arduino IDE 1.8.x is still floating around legacy forums, the modern standard is the Arduino IDE 2.3.x series, built on the Eclipse Theia framework. It offers IntelliSense, real-time syntax checking, and an integrated Serial Monitor.
Choosing Your Toolchain
| Environment | Best For | Pros | Cons |
|---|---|---|---|
| Arduino IDE 2.3.x | Local development, offline use | Autocomplete, integrated debugger, local board management | Requires manual driver configuration for clones |
| Arduino Web Editor | Chromebooks, zero-setup environments | Cloud storage, pre-installed libraries, no driver hassles | Requires internet, requires Arduino Create Agent plugin |
| Arduino CLI | CI/CD pipelines, advanced makers | Scriptable, lightweight, headless operation | Steep learning curve, no GUI |
Configuration Step: After downloading the IDE from the official Arduino IDE v2 Documentation portal, navigate to File > Preferences. Ensure that "Show verbose output during: compilation and upload" is checked. This is a critical E-E-A-T troubleshooting step; when your first Hello World fails, the verbose output is the only way to read the exact avrdude error codes.
Phase 2: USB Driver & Board Configuration
Before the IDE can send your Hello World sketch to the microcontroller, the operating system must recognize the board's USB-to-Serial converter. This is where 80% of beginners encounter their first roadblock.
Genuine Boards vs. Clone Architectures
- Genuine Arduino UNO R3 / R4: These utilize the ATmega16U2 (R3) or dedicated Renesas/ESP32-S3 USB bridges (R4). Windows 11 and macOS Sonoma natively recognize these chips via native CDC drivers. No manual configuration is required.
- Third-Party Clones (Elegoo, Rexqualis, HiLetgo): To keep costs around the $12–$15 mark, clone manufacturers use the WCH CH340G or CH340C USB-to-Serial chip. While Windows 11 has begun including CH340 drivers in optional updates, macOS often requires manual installation.
Pro-Tip for macOS Users: If your clone board isn't showing up in the Tools > Port menu, you must install the official WCH CH340 driver. Refer to the SparkFun CH340 Driver Installation Guide for the latest signed macOS packages, as older unsigned drivers will be blocked by Apple's Gatekeeper.
Mapping the Correct Board Definition
Plugging in the board is not enough. You must tell the compiler which architecture to target. Go to Tools > Board > Arduino AVR Boards and select Arduino UNO. If you are using an UNO R4 Minima, you must first open the Boards Manager (left sidebar icon), search for Arduino UNO R4 Boards, and install the latest Renesas architecture package. Selecting the wrong board definition will result in a compilation error or, worse, a bricked bootloader.
Phase 3: Configuring the Blink Sketch
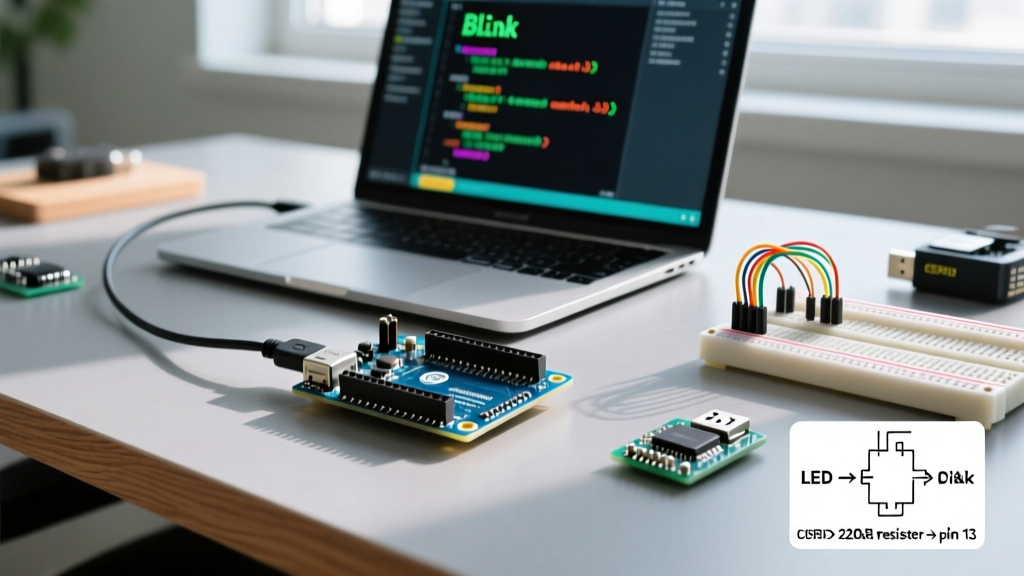
Now we write the physical Arduino Hello World. Open the IDE and navigate to File > Examples > 01.Basics > Blink. Let's dissect the configuration of this sketch.
void setup() {
  // Configure the digital pin as an output
  pinMode(LED_BUILTIN, OUTPUT);
}

void loop() {
  digitalWrite(LED_BUILTIN, HIGH);  // Turn the LED on
  delay(1000);                      // Wait 1000ms (1 second)
  digitalWrite(LED_BUILTIN, LOW);   // Turn the LED off
  delay(1000);                      // Wait 1000ms
}
The LED_BUILTIN Macro Trap
Notice the use of LED_BUILTIN instead of a hardcoded number like 13. This is a crucial configuration abstraction.
On the classic ATmega328P-based UNO R3, LED_BUILTIN maps to digital Pin 13. However, if you migrate your Hello World sketch to an Arduino UNO R4 Minima (which uses the RA4M1 ARM Cortex-M4), the onboard LED is physically wired to Pin 21. If you hardcoded 13, your R4 board would compile successfully, but no LED would blink. Always use the LED_BUILTIN macro to ensure cross-architecture portability.
Timing Configuration: delay() vs millis()
The standard Blink sketch uses delay(1000), which is a blocking function. The microcontroller halts all other operations for that duration. While acceptable for a Hello World test, advanced configurations require non-blocking timing. Below is the professional, non-blocking Hello World configuration using millis():
unsigned long previousMillis = 0;
const long interval = 1000;

void setup() {
  pinMode(LED_BUILTIN, OUTPUT);
}

void loop() {
  unsigned long currentMillis = millis();
  if (currentMillis - previousMillis >= interval) {
    previousMillis = currentMillis;
    digitalWrite(LED_BUILTIN, !digitalRead(LED_BUILTIN)); // Toggle state
  }
}
Phase 4: The Serial Monitor "Hello World"
While Blink proves hardware execution, the Serial Monitor Hello World proves data telemetry. This is essential for debugging sensors and IoT configurations.
void setup() {
  // Initialize serial communication at 9600 bits per second
  Serial.begin(9600);
  while (!Serial) {
    ; // Wait for serial port to connect (Required for native USB boards like Leonardo/R4)
  }
  Serial.println("Hello World from Arduino!");
}

void loop() {
  // Empty loop for this specific test
}
Baud Rate Synchronization
The 9600 in Serial.begin(9600) is the baud rate (bits per second). You must configure the IDE's Serial Monitor dropdown (bottom right corner) to match this exact number. If your sketch outputs at 9600 baud but your monitor is configured to 115200 baud, you will see garbled, unreadable characters (e.g., ÿ¸¿) instead of your Hello World text.
Phase 5: Troubleshooting Upload Failures
Even with perfect code, hardware configuration mismatches will block your Hello World from uploading. Use this diagnostic matrix to resolve common avrdude and bootloader errors.
| Error Message | Root Cause | Configuration Fix |
|---|---|---|
avrdude: stk500_recv(): programmer is not responding |
Wrong board selected, or ATmega328P bootloader is corrupted. | Verify Tools > Board. If correct, use an ISP programmer to reburn the bootloader via Tools > Burn Bootloader. |
Serial port not found / Port menu greyed out |
Missing CH340 driver, or faulty USB-C/Micro-USB cable. | Install WCH CH340 drivers. Swap the USB cable for a data-rated cable (many cheap cables are charge-only). |
Board at /dev/tty.usbmodem is not available |
macOS permissions blocking USB access, or another app is hogging the port. | Close Cura, PrusaSlicer, or 3D printer software that auto-scans serial ports. Grant macOS Security permissions for the IDE. |
Sketch too big; see text for tips |
Exceeded 32KB flash memory limit of the ATmega328P. | Not applicable for Hello World. For larger projects, optimize libraries or upgrade to an Arduino Mega 2560 or UNO R4. |
Summary and Next Steps
Successfully executing the Arduino Hello World is a rite of passage that validates your entire development pipeline. By properly configuring the Arduino IDE 2.3.x environment, installing the correct CH340 or native USB drivers, understanding the LED_BUILTIN macro abstraction, and synchronizing your Serial baud rates, you eliminate the friction that stops most beginners.
Once your Blink and Serial Hello World sketches are running flawlessly, your next configuration step should be exploring the Arduino IoT Cloud or integrating external I2C sensors using the Wire library. The foundation you've built here ensures that when you move to complex architectures, your toolchain will remain rock solid.