
Beyond the Blink: Navigating the Arduino Get Started Ecosystem
When you search for an 'Arduino get started' tutorial, most guides assume your hardware will plug in and work instantly. In reality, the intersection of microcontroller bootloaders, USB-to-UART bridge chips, and modern operating systems creates a minefield of compatibility issues. Whether you are unboxing an official Arduino Uno R4 Minima or a budget-friendly CH340-based clone, understanding the underlying compatibility layer is the difference between a successful weekend project and hours of frustrating driver troubleshooting.
This guide bypasses the basic 'blink an LED' fluff and dives straight into the hardware matrices, operating system driver requirements, and IDE version conflicts you need to know to successfully launch your microcontroller journey in 2026.
The 2026 Hardware Compatibility Matrix
Before writing a single line of C++, you must understand the silicon you are working with. The transition from 8-bit AVR architectures to 32-bit ARM Cortex-M4 chips has fundamentally changed how boards communicate with host computers.
| Board Model | Core MCU | USB-UART Bridge | Est. Price | Native USB HID? |
|---|---|---|---|---|
| Arduino Uno R4 Minima | Renesas RA4M1 (ARM Cortex-M4, 48MHz) | Native USB-C | $19.90 | Yes |
| Arduino Uno R4 WiFi | Renesas RA4M1 + ESP32-S3 | Native USB-C | $27.50 | Yes |
| Official Arduino Uno R3 | ATmega328P (AVR, 16MHz) | ATmega16U2 | $27.60 | No (Requires Bridge) |
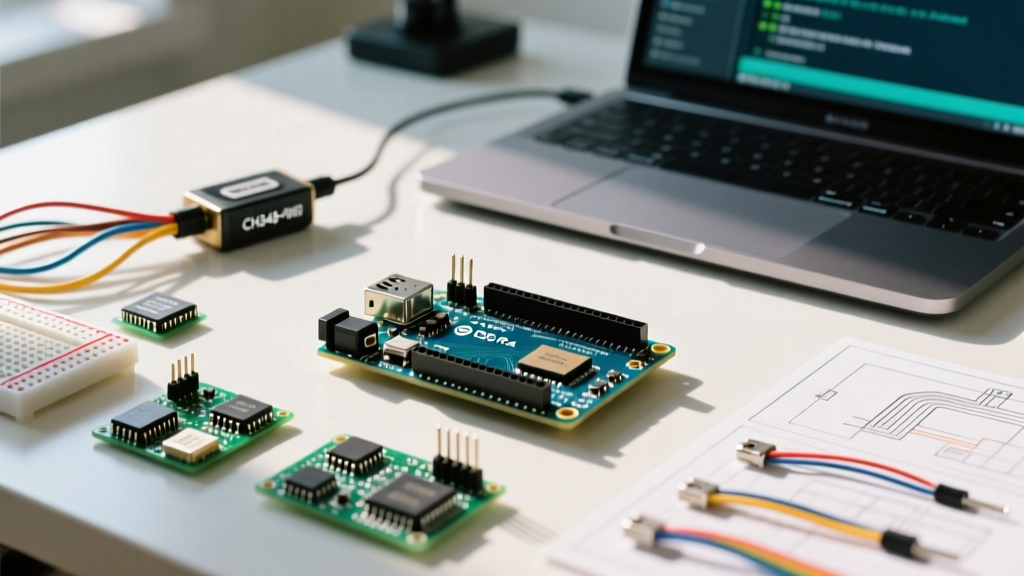
| Generic Uno R3 Clone | ATmega328P (AVR, 16MHz) | WCH CH340G / CH341A | $12.00 (3-pack) | No (Requires Bridge) |
Expert Insight: The official Uno R3 is increasingly difficult to find at retail as Arduino shifts focus to the R4 line. If you are buying clones for classroom kits or rapid prototyping, the CH340G bridge chip is ubiquitous, but it requires specific driver interventions on macOS and Windows that the native ATmega16U2 does not.
Operating System Compatibility & Driver Pitfalls
The most common failure point in any Arduino get started workflow is the operating system failing to mount the serial port. Here is how to navigate the OS-specific quirks.
Windows 11: The ATmega16U2 vs. CH340G Divide
If you are using an official board with the ATmega16U2 chip, Windows 11 will automatically pull the CDC (Communications Device Class) drivers via Windows Update. You plug it in, and COM3 (or similar) appears in Device Manager instantly.
However, if you are using a clone with the WCH CH340G chip, Windows 11 may assign a generic, non-functional serial driver. You must manually download the CH340 driver package (version 3.8 or newer) directly from the WCH vendor site or a trusted distributor like SparkFun's CH340 Driver Guide. Failure Mode: If you previously used Zadig to force a libusb/WinUSB driver onto the CH340 for a different project (like AVRDUDE), the Arduino IDE will not see the port. You must use Device Manager to 'Roll Back Driver' or uninstall the libusb filter.
macOS (Apple Silicon): Signed Driver Hurdles
Running macOS Sonoma or Sequoia on M1/M2/M3 Apple Silicon introduces strict kernel extension (kext) security. The CH340 driver requires a kernel extension to create the virtual /dev/cu.wchusbserial* port.
- Install the latest signed CH340 VCP driver from WCH.
- Reboot your Mac (mandatory for kext staging).
- Navigate to System Settings > Privacy & Security.
- Scroll to the Security section and click Allow next to the WCH developer certificate.
- Reboot a second time.
Note: Official Arduino boards (R3 and R4) bypass this entirely, as they use standard USB CDC classes natively supported by the macOS XNU kernel without third-party kexts.
Linux (Ubuntu/Debian): The dialout Group Fix
Linux natively supports both the ATmega16U2 and CH340G via the ch341-uart and cdc_acm kernel modules. The hardware will show up as /dev/ttyUSB0 or /dev/ttyACM0. The barrier here is permissions, not drivers.
By default, standard users do not have read/write access to serial ports. If the IDE throws a 'Permission Denied' or 'Port busy' error upon upload, execute the following terminal command to add your user to the dialout group:
sudo usermod -a -G dialout $USER
Log out and log back in for the group policy to take effect.
Arduino IDE 2.x vs. Legacy 1.8.x: Which Should You Use?
The Arduino IDE ecosystem underwent a massive architectural shift. For beginners searching for an Arduino get started guide, choosing the right IDE version is critical for library compatibility and board manager stability.
Arduino IDE 2.3.x (The Modern Standard)
Built on the Eclipse Theia framework, IDE 2.x utilizes clangd for real-time code completion, inline error highlighting, and a vastly improved Serial Plotter. According to the Official Arduino IDE Documentation, this is the mandatory environment for the Uno R4 series, as the Renesas core relies on modern build toolchains that struggle in the legacy environment.
- Pros: Autocomplete, live syntax checking, integrated debugger (for R4/Pro boards), modern Board Manager UI.
- Cons: Higher RAM footprint (~800MB+ idle), occasional indexing hangs on massive sketchbooks.
Arduino IDE 1.8.19 (Legacy)
Frozen in time, the 1.8.x branch is a Java-based relic. You should only use this if you are maintaining legacy enterprise hardware, running a 32-bit Linux machine, or relying on highly specific, unmaintained third-party hardware packages (like older ATTiny85 cores) that fail to compile under GCC 12+.
Troubleshooting the 'Port Greyed Out' Failure Mode
You have selected the right board, installed the drivers, but the 'Port' menu in the IDE is greyed out. This is a hardware-level enumeration failure. Here is the step-by-step triage protocol:
- Check the Cable: Over 40% of 'dead' boards are actually connected via charge-only USB-C or Micro-USB cables that lack the D+ and D- data lines. Swap to a verified data-sync cable.
- Verify USB Topology: Avoid unpowered USB hubs. The Renesas RA4M1 on the Uno R4 Minima can draw up to 500mA during peak compilation/upload cycles. Plug directly into the motherboard I/O.
- The Bootloader Double-Tap: If the MCU is stuck in a bad state (common on native USB boards like the R4 or Leonardo), the OS won't enumerate the CDC port. Firmly double-tap the physical RESET button on the board. This forces the bootloader to stay active for 8 seconds, during which a new COM port will appear. Immediately hit 'Upload' in the IDE.
Logic Level Warnings: 5V vs 3.3V Peripherals
A critical compatibility note for those migrating from the Uno R3 to the Uno R4: while the R4 digital I/O pins are 5V tolerant, the board's native logic and I2C/SPI pull-ups operate in a complex hybrid environment. Furthermore, the R4's onboard 3.3V regulator can supply up to 150mA, a massive upgrade from the R3's ~50mA limit. However, if you are connecting legacy 5V-only sensors (like the HC-SR04 ultrasonic module or older 1602 LCDs), ensure you are pulling power from the 5V pin, and be aware that feeding 5V into the R4's dedicated 3.3V I/O pins (like the DAC or specific analog references) will permanently damage the Renesas silicon.
For a complete schematic and pinout verification before wiring your first circuit, always consult the Arduino Uno R4 Minima Hardware Docs.
Final Thoughts on Your Setup
Successfully navigating the Arduino get started phase requires treating your PC's OS, the USB bridge silicon, and the IDE as a unified system. By verifying your cable topology, installing the correct CH340 or CDC drivers, and embracing the modern IDE 2.x ecosystem, you eliminate the 'ghost in the machine' errors that plague beginners. Once your serial monitor is reliably outputting 'Hello World', the true flexibility of the microcontroller ecosystem is yours to command.