
The Reality of iPadOS and Arduino Development
Using an Arduino for iPad workflows has evolved significantly, but it remains constrained by Apple's strict iOS sandboxing. Unlike macOS or Windows, iPadOS does not allow direct execution of low-level compilation tools like avrdude or esptool via local USB. Furthermore, as of 2026, Safari on iPadOS still lacks native support for the Web Serial API, meaning browser-based web editors cannot directly communicate with serial ports over USB-C. You can verify this limitation on Can I Use's Web Serial API tracker.
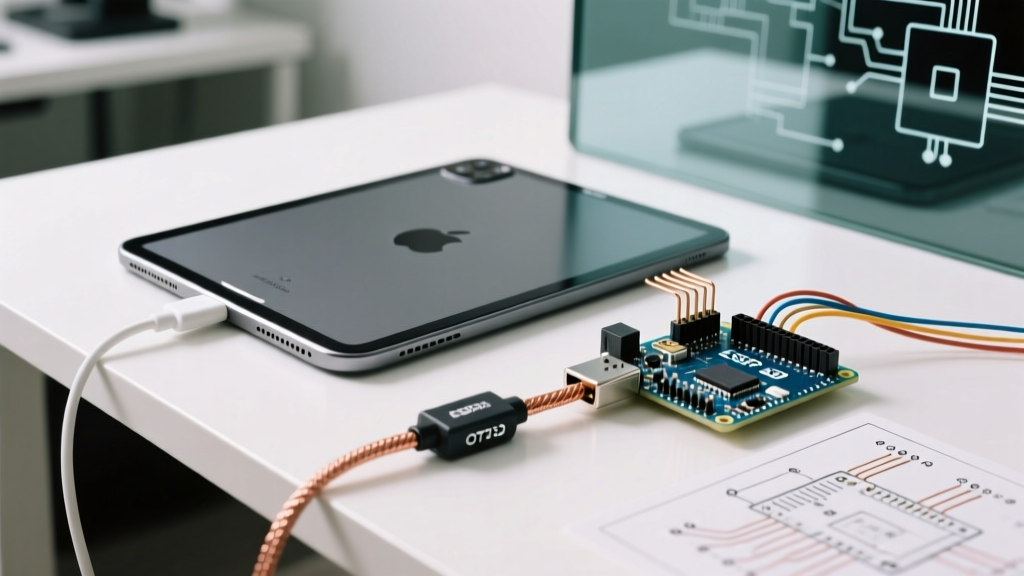
However, makers have developed highly effective workarounds. By leveraging Over-The-Air (OTA) cloud compilers, specific USB-Serial chipsets, and powered OTG (On-The-Go) hubs, you can successfully debug, monitor, and deploy code to microcontrollers using an iPad. This quick reference guide details the exact hardware, software, and troubleshooting steps required to build a robust tablet-based maker workflow.
Quick Reference: Hardware & OTG Wiring Matrix
The physical connection between your iPad and Arduino board dictates your power delivery and data stability. iPadOS aggressively limits power output to USB accessories to preserve battery life. Below is the definitive hardware matrix for connecting microcontrollers to modern iPads.
| Adapter / Hub Type | Apple Model Number | Approx. Cost | Best Use Case & Power Limits |
|---|---|---|---|
| Apple USB-C to USB Adapter | MX0K2AM/A | $19 | Direct connection for low-power boards (e.g., Nano ESP32). Limit: ~500mA draw before iOS throws a power error. |
| Apple Lightning to USB 3 Camera Adapter | MK0W2AM/A | $39 | Older Lightning iPads. Must have a Lightning charger plugged into the pass-through port to prevent power errors. |
| Powered USB-C Hub (e.g., Anker 341) | N/A (Third-Party) | $25 - $45 | Best for sensor-heavy projects. Hub provides external 5V/3A power, bypassing iPad's internal power limits. |
| USB-C to Serial Null Modem Cable | FTDI UC232R-10 | $28 | Direct serial debugging without exposing the iPad to raw 5V logic spikes. |
Pro-Tip: Never backfeed 5V from an external Arduino power supply into the iPad's USB-C port via a cheap, unregulated OTG cable. This can fry the iPad's Tristar/Hydra USB power management IC. Always use a hub with proper power-direction diodes or rely on the iPad to source power.
The USB-Serial Chipset Bottleneck (Crucial E-E-A-T)
Not all Arduino clone boards are created equal when it comes to iPadOS compatibility. iOS requires USB accessories to either be MFi (Made for iPhone/iPad) certified or conform strictly to standard USB CDC-ACM classes. The USB-to-Serial chip on your board determines whether iPadOS will mount the device or ignore it entirely.
- FTDI FT232RL / FT231X: Excellent compatibility. iOS recognizes these natively as serial devices. Genuine Arduino boards and high-end clones use these.
- Silicon Labs CP2102 / CP2104: Very good compatibility. Widely supported by iOS CDC-ACM drivers. Common on ESP32 dev boards.
- WCH CH340G / CH340C: Poor compatibility. Found on 90% of budget Amazon/AliExpress Uno clones. iPadOS lacks the kernel drivers to map the CH340's specific Vendor ID (VID) and Product ID (PID) to a serial stream. If you plan to use an iPad for local serial debugging, avoid CH340 boards entirely.
Workflow 1: Arduino Cloud OTA (The Modern Standard)
Because you cannot compile AVR code locally on an iPad, the most robust method for uploading sketches is using the Arduino Cloud with WiFi-capable boards like the Arduino Nano ESP32 or Nano RP2040 Connect.
- Initial Provisioning (Desktop Required): You must flash the initial Arduino Cloud Agent sketch and configure the WiFi credentials using a Mac or PC. This only needs to be done once per device.
- Cloud Dashboard Setup: Create your variables (e.g.,
int sensorValue,bool ledState) in the Arduino Cloud web portal. - iPad Browser Compilation: Open Safari on your iPad and navigate to the Arduino Cloud Web Editor. While Web Serial doesn't work for local USB, the Cloud Editor compiles your C++ code on AWS servers.
- OTA Push: Click the 'Upload' button in the cloud interface. The compiled binary is sent via MQTT/HTTPS to your ESP32, which downloads and flashes it Over-The-Air.
- Monitoring: Use the Arduino IoT Cloud Remote app (available on the iOS App Store) to view real-time serial logs and interact with custom dashboards via touch widgets.
Workflow 2: Local Serial Debugging via iOS Apps
If you are working with a wired sensor array and need to read raw serial data (baud rates up to 115200) without WiFi, you can use third-party iOS serial terminal apps. Apps like Serial Tools or Termius (when configured for local serial) can read CDC-ACM streams.
Step-by-Step Local Debugging:
- Connect your FTDI-based Arduino to the iPad using the Apple USB-C to USB Adapter (MX0K2AM/A).
- Open your preferred iOS Serial Terminal app.
- Navigate to the 'Local Device' or 'USB' tab. The app should list a device named
FT232R USB UARTorCP2102 USB to UART. - Set your baud rate (e.g., 9600 or 115200), data bits to 8, parity to None, and stop bits to 1.
- Tap 'Connect'. You will now see
Serial.println()outputs directly on your iPad screen.
FAQ: Troubleshooting iPad & Arduino Connections
Q: Why does my iPad display 'Cannot Use Accessory: This device requires too much power'?
A: This is the most common error when using an Arduino for iPad setups. iPadOS limits USB-C accessory power draw to protect the battery. A standard Arduino Uno R3 draws roughly 45mA at idle, but if you attach a 5V relay module, an LCD screen, or a high-draw sensor (like a heated gas sensor), the total draw can exceed the 100mA-500mA iOS threshold.
Fix: Power the Arduino via its Vin pin or DC barrel jack using an external 9V battery or wall adapter. Ensure the grounds (GND) are shared, but do not connect the external 5V to the iPad's USB data lines.
Q: Can I use the Arduino Web Editor via Safari on iPad?
A: You can write, compile, and save code in the Arduino Web Editor on Safari. However, you cannot upload that code to a locally connected USB Arduino. The Web Editor relies on the 'Arduino Create Agent' (a background desktop daemon) or the Web Serial API to push binaries via USB. Since iPadOS supports neither, local USB uploading is blocked. You must use OTA for WiFi boards or a specialized third-party iOS compiler app (which are rare and often outdated).
Q: My iPad sees the USB device, but the serial app shows garbage characters.
A: This is a baud rate mismatch or a logic-level voltage issue. Ensure your serial app is set to the exact baud rate defined in your Serial.begin() function. Additionally, if you are using a hardware UART adapter (not a full Arduino board), ensure the adapter is outputting 3.3V logic. While iPads are somewhat tolerant, feeding 5V logic directly into an unregulated USB-C serial dongle can cause data corruption or trigger the iPad's over-voltage protection.
Q: What is the best microcontroller for iPad makers in 2026?
A: The Arduino Nano ESP32 (approx. $24) is the undisputed champion for iPad workflows. Its native WiFi and Bluetooth LE capabilities allow you to bypass Apple's USB restrictions entirely. You can push code via Arduino Cloud OTA, and use Bluetooth LE to stream serial data to iOS terminal apps wirelessly, completely eliminating the need for physical OTG adapters in the field.