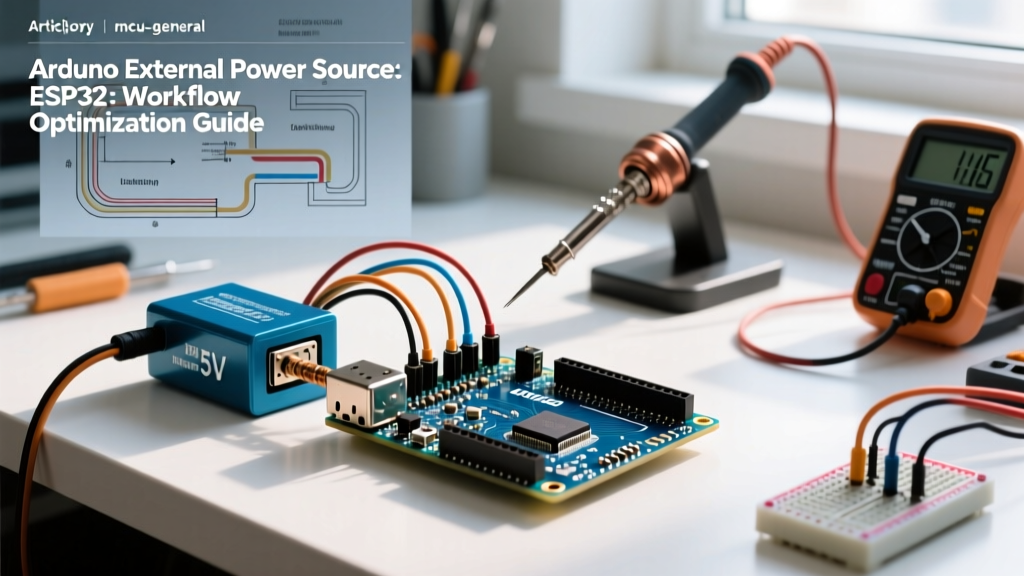

Bridging the Prototyping-to-Deployment Gap
Transitioning an Arduino project from a USB-tethered breadboard to a standalone field node is where most makers hit a critical wall. While the USB port provides a convenient 5V/500mA for prototyping, it is entirely unsuited for long-term deployment. Selecting and integrating the right Arduino external power source is not just about picking a battery; it is a holistic workflow optimization challenge that encompasses power budgeting, thermal management, voltage regulation, and firmware-level sleep states.
In 2026, with the proliferation of high-efficiency buck converters and smart power-path management ICs, there is no excuse for field nodes that brownout or overheat. This guide outlines a professional workflow for designing, testing, and deploying robust external power architectures for ATmega328P, SAMD21, and ESP32-based Arduino environments.
Phase 1: The Power Budget Audit
Before selecting a power source, you must quantify your exact current draw. Guesswork leads to oversized batteries or catastrophic voltage sags. Use an inline USB multimeter or an INA219 I2C breakout board to log your system's current profile over a full operational cycle.
Baseline Current Draw Matrix
| Component / State | Typical Current (5V) | Peak / Spike Current | Notes & Edge Cases |
|---|---|---|---|
| ATmega328P (16MHz, Active) | 15 mA | 20 mA | Excludes onboard USB-Serial & LEDs |
| ESP8266 (Wi-Fi TX Burst) | 80 mA | 350 mA | Requires low-ESR decoupling caps |
| WS2812B LED (White, Max) | 60 mA per pixel | 60 mA per pixel | 10 pixels = 600mA continuous |
| Micro Servo (SG90, Stall) | 10 mA (idle) | 750 mA | Stall current causes severe brownouts |
| ATmega328P (Power-Down Sleep) | 0.1 µA | N/A | Requires BOD disabled in firmware |
Workflow Tip: Always size your Arduino external power source and voltage regulator for the peak spike current, not the average continuous draw. A 350mA Wi-Fi burst lasting 2 milliseconds can trigger a brownout reset if your regulator cannot respond to transient load steps.
Phase 2: Selecting the Right External Power Source
The market is saturated with power options, but only a few meet the rigorous demands of standalone MCU deployment. According to the Arduino official power documentation, the method of power delivery fundamentally alters your circuit topology.
Source Comparison & Procurement Guide
- 9V Alkaline Batteries: Avoid. High internal resistance (ESR) causes severe voltage sag under loads exceeding 100mA. They are a legacy prototyping crutch, not a deployment solution.
- 18650 Li-Ion Cells (e.g., Samsung 35E): Best for portable nodes. Offers 3500mAh capacity with a low ESR. Costs approximately $6.50 per cell in 2026. Requires a dedicated BMS (Battery Management System) and a boost/buck converter to stabilize the 3.7V-4.2V range to 5V.
- AC-DC Isolated Modules (e.g., Mean Well IRM-03-5): Best for indoor IoT. Delivers a rock-solid 5V at 600mA directly from mains AC. Priced around $8.50, these encapsulated modules eliminate the need for external USB bricks and provide built-in short-circuit protection.
- LiPo Pouches with Power-Path ICs: The Adafruit PowerBoost 1000C (~$19.95) integrates a 5V boost converter and a LiPo charging circuit with automatic load-sharing. If USB power is lost, it seamlessly switches to battery power without resetting the MCU.
Phase 3: Bypassing the Onboard Linear Regulator Bottleneck
The most common failure mode in Arduino deployment is thermal throttling of the onboard voltage regulator. The Arduino Uno R3 utilizes an AMS1117-5.0 linear regulator. While it can theoretically handle up to 800mA, its thermal performance in the TO-223 package is abysmal without active cooling.
The Thermal Math: If you feed the Uno's barrel jack 12V and draw 300mA for a sensor array, the regulator must dissipate the voltage difference as heat. Power = (12V - 5V) × 0.3A = 2.1 Watts. The AMS1117 will hit its 150°C thermal shutdown threshold within minutes, causing the Arduino to randomly reboot.
The Workflow Optimization: Direct 5V Injection
To optimize your workflow and eliminate thermal throttling, bypass the onboard linear regulator entirely. Use an external switching buck converter to step down your battery or wall supply directly to 5V, and feed it into the Arduino's 5V pin (bypassing the USB voltage regulator and the barrel jack reverse-polarity diode).
Recommended Component: The Pololu D24V50F5 step-down voltage regulator ($6.95). It accepts inputs up to 32V, outputs a precise 5V, handles up to 5A, and operates at >90% efficiency. Because it is a switching regulator, drawing 500mA at 5V from a 12V source only pulls about 230mA from the battery, drastically extending runtime while generating virtually zero heat.
Phase 4: Automated Power Path Management
When deploying a node that requires occasional firmware updates or data extraction via USB, you face a critical conflict: what happens when you plug in USB while the external battery is also connected? Backfeeding 5V from the battery into the PC's USB port can destroy your computer's motherboard.
Implementing Safe Auto-Switching
Professional deployments utilize Power Path Management to isolate the USB 5V rail from the external 5V rail. If your chosen Arduino board lacks an automatic hardware switching mechanism (like the Uno's USB comparison op-amp, which is notoriously slow and prone to brief brownouts), you must add one.
- The P-Channel MOSFET Method: Place a P-Channel MOSFET (like the FDN340P) on the battery's 5V output. Tie the gate to the USB 5V line. When USB is plugged in, the gate goes high, turning off the MOSFET and isolating the battery. When USB is removed, a pull-down resistor turns the MOSFET on, restoring battery power.
- Dedicated ICs: For mission-critical nodes, use a dedicated load-switch IC like the Texas Instruments TPS2121. These ICs handle the transition in microseconds, ensuring the MCU never experiences a voltage dip during the handover.
Phase 5: Firmware-Level Sleep Optimization
Hardware is only half the workflow. An optimized Arduino external power source will still drain in weeks if the firmware is poorly written. To achieve multi-year battery life on a single 18650 cell, you must leverage the ATmega328P's hardware sleep modes.
Disabling the Brown-Out Detector (BOD)
The BOD monitors VCC and resets the MCU if voltage drops below a safe threshold (typically 4.3V for 16MHz operation). However, the BOD itself consumes roughly 18µA continuously. In deep sleep applications, this parasitic draw ruins your power budget.
Actionable Step: Use the avr/sleep.h library to disable the BOD right before entering SLEEP_MODE_PWR_DOWN. Note that you must disable it via the specific timed sequence in the MCU's control registers, as simply calling a sleep function leaves the BOD active.
#include <avr/sleep.h>
#include <avr/power.h>

void enterDeepSleep() {
  set_sleep_mode(SLEEP_MODE_PWR_DOWN);
  sleep_enable();
  // Disable BOD to save 18uA
  sleep_bod_disable();
  sleep_cpu();
  sleep_disable();
}
Edge Cases and Failure Modes in the Field
Even with a perfect schematic, environmental factors can derail your deployment. Keep these edge cases in your troubleshooting checklist:
- Cold Cranking Li-Ion: Lithium-ion cells suffer from increased internal resistance at temperatures below 0°C. If your node is deployed outdoors in winter, a 350mA Wi-Fi burst that normally sags the voltage by 0.2V might sag it by 1.5V, triggering a BOD reset. Fix: Add a 2200µF low-ESR electrolytic capacitor directly across the 5V and GND pins of the ESP8266 to act as a local energy reservoir.
- Wire Gauge Voltage Drop: Running 1A through 22AWG breadboard jumper wires over a distance of 12 inches will result in a measurable voltage drop. In high-current deployments, always solder power rails or use ≥18AWG silicone wire.
- Quiescent Current Leaks: Every sensor module has a quiescent current draw. An I2C OLED display might draw 15mA even when the screen is 'off'. To achieve true micro-amp sleep states, use a high-side P-Channel MOSFET to physically cut power to all peripheral sensors when the MCU goes to sleep.
Summary: The Optimized Deployment Checklist
Mastering your Arduino external power source workflow requires moving beyond the breadboard mentality. By auditing your transient current spikes, utilizing high-efficiency switching regulators like the Pololu D24V50F5, implementing hardware power-path isolation, and aggressively managing firmware sleep states, you transform fragile prototypes into industrial-grade IoT nodes. Always validate your final design with a continuous 48-hour current log before sealing the enclosure.