
The Prixmolder Arduino Cryptochip 3DAssembler Workflow Explained
As hardware security becomes a non-negotiable requirement for IoT deployments in 2026, integrating dedicated cryptographic co-processors like the Microchip ATECC608A/B into custom Arduino shields is more common than ever. However, hand-soldering these microscopic components is a recipe for disaster. This is where the Prixmolder Arduino cryptochip 3DAssembler workflow bridges the gap between professional PCBA fabs and the DIY maker lab.
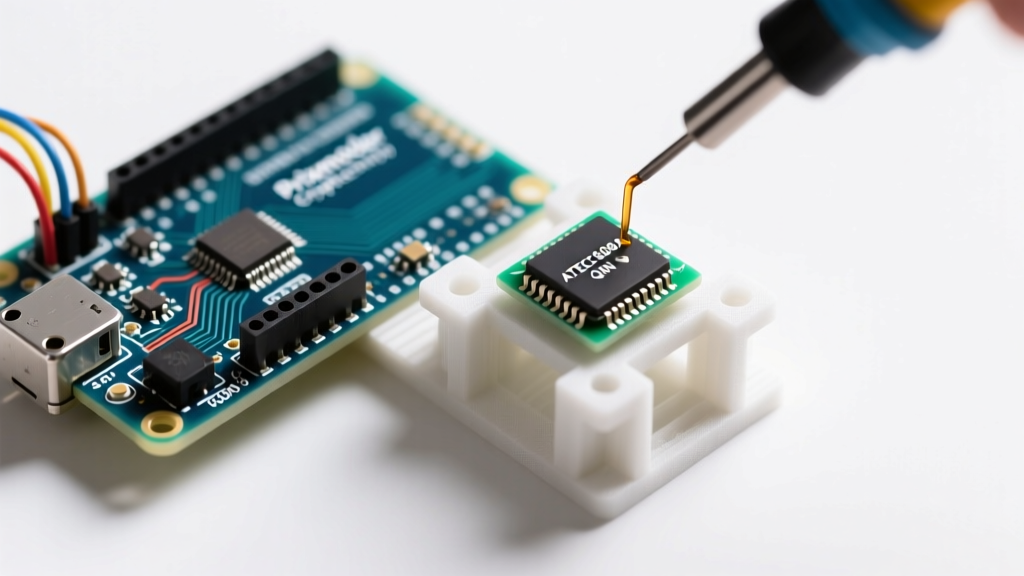
The Prixmolder system utilizes high-resolution SLA 3D-printed alignment jigs combined with the open-source 3DAssembler visual verification script. Together, they allow makers to accurately place and reflow ultra-fine-pitch UDFN-8 packages without expensive pick-and-place machinery. Below is your definitive FAQ and quick-reference guide to mastering this workflow.
Quick Reference: ATECC608A/B vs. Jig Tolerances
Before firing up your resin printer, you must understand the physical constraints of the Microchip ATECC608A and its successor, the ATECC608B. The table below maps the IC specifications to the required Prixmolder jig parameters.
| Parameter | ATECC608A/B Spec | Prixmolder Jig Requirement | 3D Printer Tech Needed |
|---|---|---|---|
| Package Type | 8-pad UDFN (2x3mm) | Pocket depth: 0.55mm ± 0.02mm | SLA / DLP Resin |
| Pad Pitch | 0.50mm | Stencil aperture: 0.25mm width | 4K/8K Monochrome LCD SLA |
| Thermal Pad | Central ground pad | Thermal via relief cutout | Standard SLA |
| Operating Temp | -40°C to +85°C | High-Temp Resin (Deflection > 240°C) | Ceramic-filled or High-Temp Resin |
Frequently Asked Questions (FAQ)
What exactly is the Prixmolder jig system for cryptochips?
The Prixmolder system is a community-developed, modular 3D-printable fixture designed specifically for SMD prototyping. For the Arduino cryptochip, it consists of three parts: a base plate that locks into your PCB's mounting holes, a solder paste stencil layer (typically 0.1mm thick stainless steel or high-temp resin), and a vacuum-assisted placement guide. The 'Prix' designation refers to its low-cost, open-source nature, allowing makers to achieve near-fab-level alignment for under $15 in materials.
How do I calibrate the 3DAssembler software for the UDFN-8 footprint?
The 3DAssembler tool uses OpenCV and a top-down macro camera (typically a 5MP USB microscope) to verify component alignment before reflow. To calibrate it for the cryptochip:
- Mount the Camera: Secure your macro lens exactly 85mm above the PCB plane to eliminate parallax distortion.
- Load the Footprint: Import the official Microchip UDFN-8 DXF outline into the 3DAssembler GUI.
- Set Thresholds: Configure the edge-detection contrast threshold to 45% to reliably pick up the matte-black epoxy body of the ATECC608A against the silver HASL or ENIG pad finish.
- Verify Offset: The software will output X/Y/Teta (rotation) offsets. Use the Prixmolder micro-adjustment screws to dial in the alignment until the software reports a deviation of less than 0.03mm.
Can I use standard PLA or PETG for the Prixmolder alignment frame?
Absolutely not. Standard PLA has a glass transition temperature of around 60°C, and PETG softens near 80°C. A standard lead-free SAC305 reflow profile requires a peak temperature of 240°C to 245°C. Even if the jig doesn't touch the solder joints directly, the ambient heat inside a reflow oven or under a hot air gun will warp standard filaments, ruining your alignment and potentially melting toxic polymers onto your PCB. You must use a ceramic-filled high-temperature resin or cast the jig in high-temp silicone (like Smooth-On Equinox) rated for 300°C+.
Why does my assembled cryptochip fail I2C initialization on the Arduino?
This is the most common failure point. The ATECC608A communicates via I2C, but it has specific electrical quirks. If your Arduino Wire library scanner returns nothing, check the following:
- Addressing Mismatch: The chip's default 7-bit I2C address is
0x60(or0xC0in 8-bit mode). Many generic I2C scanners look for standard addresses and might miss it if the pull-ups are weak. - Pull-Up Resistor Values: The cryptochip requires a minimum of 2.2kΩ pull-up resistors on the SDA and SCL lines for reliable 400kHz Fast-Mode communication. Standard 10kΩ resistors often result in slow rise times and NACK errors.
- Thermal Pad Grounding: The central thermal pad on the UDFN-8 package must be soldered to the PCB ground plane. If your Prixmolder stencil blocked this pad, the chip lacks a proper ground reference and will not power on.
Troubleshooting Matrix: 3D Assembly & Reflow Failures
When combining 3D-printed tooling with micro-SMD assembly, edge cases are inevitable. Use this matrix to diagnose physical assembly faults.
| Visual Symptom | Probable Cause | Prixmolder / 3DAssembler Fix |
|---|---|---|
| Solder bridges between 0.5mm pitch pads | Stencil aperture too large; Type 3 solder paste used. | Switch to Type 4 (T4) or Type 5 (T5) solder paste. Reduce 3DAssembler stencil scaling to 90%. |
| Tombstoning (chip stands on one end) | Uneven heating during reflow; pad thermal mass mismatch. | Add thermal vias to the larger ground pads. Pre-heat the PCB to 150°C before peak reflow. |
| Chip shifts during hot air reflow | Vacuum guide lost suction; flux outgassing. | Use a no-clean, low-outgassing rosin flux (e.g., Amtech NC-559). Ensure Prixmolder vacuum channel is clear of cured resin dust. |
| Resin jig melted/deformed | Standard UV resin used instead of High-Temp variant. | Reprint using Formlabs High Temp or Elegoo High-Temp ABS-like resin with proper secondary UV curing. |
Expert Maker Tip: When using the 3DAssembler camera verification, always apply your flux after the optical alignment check. Liquid flux creates a highly reflective surface that blinds the OpenCV edge-detection algorithm, causing false-positive alignment errors.
Advanced Pro-Tips for 2026 Maker Labs
If you are scaling this workflow beyond a single prototype and producing small batches of secure Arduino nodes, consider these upgrades to your Prixmolder setup:
- Magnetic Stencil Frames: Upgrade your 3D-printed stencil holder to a laser-cut magnetic frame. This allows you to swap between the ATECC608A stencil and passives (0402 resistors/capacitors) without losing your X/Y zero-point registration.
- Nitrogen Profiling: While not strictly required, introducing a low-flow nitrogen atmosphere during reflow reduces oxidation on the microscopic UDFN pads, significantly improving solder wetting and reducing the need for post-assembly cleanup.
- Firmware Provisioning: Remember that the ATECC608A ships blank. Once your 3D assembly is verified and the I2C bus is stable, you must run a provisioning script (via the Arduino CryptoAuthLib) to lock the configuration zone before deploying the device to the field. An unprovisioned chip is just an expensive paperweight.
By strictly adhering to the material constraints and leveraging the optical precision of the 3DAssembler software, the Prixmolder workflow transforms the daunting task of hand-assembling IoT security chips into a repeatable, high-yield process right on your workbench.