
Decoding the Modern Arduino Diagram: Beyond the Breadboard
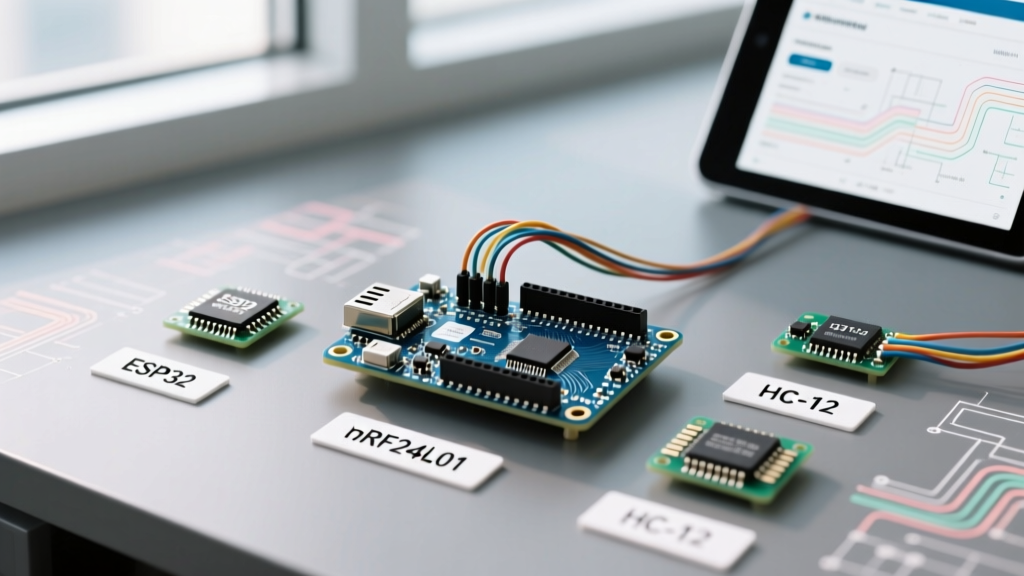
In the rapidly evolving maker landscape of 2026, interpreting an Arduino diagram requires far more than simply matching colored wires to digital pins. With the industry's shift toward hybrid microcontroller architectures—such as the Renesas RA4M1 paired with an ESP32-S3 on the Uno R4 WiFi, or the RP2350-based alternatives—legacy 5V-only assumptions are a fast track to silicon failure. A modern configuration guide must bridge the gap between logical schematics and physical breadboard layouts, ensuring signal integrity, proper logic-level translation, and thermal-safe power routing.
Whether you are configuring a high-speed SPI bus for a TFT display or mapping I2C sensors across mixed-voltage domains, understanding the anatomy of your diagram is the first step toward a functional prototype.
Diagram Taxonomy: Schematic vs. Breadboard Layouts
Before routing a single wire, you must identify which type of diagram you are reading. Fritzing-style breadboard diagrams are ubiquitous in beginner tutorials, but they often obscure critical electrical realities like pull-up resistors, decoupling capacitors, and logic-level shifting.
| Diagram Type | Primary Use Case | Pros | Cons & Edge Cases |
|---|---|---|---|
| Breadboard (Fritzing) | Physical prototyping, spatial layout planning | Visualizes exact physical placement; easy for beginners. | Hides internal node connections; omits decoupling caps. |
| Electrical Schematic | PCB design, complex logic mapping, debugging | Shows exact electrical relationships, buses, and nets. | Requires knowledge of IEEE standard symbols. |
| Pinout Map | Quick reference for GPIO, PWM, and alternate functions | Highlights hardware-specific features (e.g., DAC, UART). | Lacks circuit context; doesn't show external components. |
Expert Insight: Never rely solely on a breadboard diagram for I2C or SPI configurations. Breadboard diagrams frequently omit the mandatory pull-up resistors required for open-drain protocols, leading to floating bus states and intermittent communication failures.
Pinout Configuration: Navigating Hybrid Architectures
Let us examine the Arduino Uno R4 WiFi Official Documentation as our baseline. Unlike the legacy ATmega328P-based Uno R3, the R4 WiFi features a dual-core architecture. When your Arduino diagram labels a pin as 'D2', you must understand the underlying routing.
The 5V vs. 3.3V Logic Trap
The Uno R4 WiFi GPIO pins operate at 5V, driven by the Renesas RA4M1. However, the onboard ESP32-S3 (which handles Wi-Fi and Bluetooth) operates at 3.3V. The board includes internal level shifters for the primary GPIO header, but specific pins like the TX/RX serial lines and the ICSP header may have different voltage tolerances depending on the specific board revision.
- Analog Inputs (A0-A5): The RA4M1 features a native 14-bit ADC (configured to 12-bit by default in the IDE). If your diagram routes a 5V analog sensor to A0, ensure the sensor's output impedance is below 10kΩ to allow the internal sample-and-hold capacitor to charge fully within the acquisition time.
- DAC Output (A0): Unlike older boards, A0 on the R4 can act as a true Digital-to-Analog Converter. If your diagram uses A0 as an input, ensure your sketch does not accidentally initialize the DAC, which will cause a short circuit if driven by an external voltage source.
Power Rail Configuration: Avoiding Thermal Shutdown
The most catastrophic mistakes in MCU wiring stem from misinterpreting power rails in an Arduino diagram. Diagrams often show a 12V power supply plugging into the Vin pin or barrel jack, while simultaneously powering a strip of WS2812B LEDs and a 5V relay module from the 5V pin. This is a guaranteed path to thermal failure.
The Linear Regulator Bottleneck
When powering the board via Vin or the barrel jack, the onboard linear regulator must step the voltage down to 5V. The power dissipated as heat is calculated as: P = (Vin - 5V) × Current.
If you supply 12V and draw 300mA from the 5V pin to power a sensor array, the regulator must dissipate (12V - 5V) × 0.3A = 2.1 Watts. The standard SOT-223 regulator package on most Arduino clones and legacy boards will trigger thermal shutdown at approximately 1.2W without a heatsink.
Vin pin or barrel jack. Instead, use an external buck converter (e.g., LM2596 or MP1584EN set to 5.0V) and feed it directly into the 5V pin, bypassing the onboard linear regulator entirely.
Communication Bus Configuration via Diagram Mapping
Modern sensor arrays rely heavily on I2C and SPI. Translating these buses from a logical diagram to physical wires requires strict adherence to protocol specifications.
I2C Pull-Up Resistor Sizing
The NXP I2C-bus specification (UM10204) dictates that the I2C bus is open-drain and requires pull-up resistors. Many breakout boards include 10kΩ pull-ups. If your diagram daisy-chains three sensors, the parallel resistance drops to ~3.3kΩ, which is acceptable for 100kHz Standard Mode. However, if you configure the bus for 400kHz Fast Mode, the RC time constant of the bus capacitance and 3.3kΩ resistance will cause signal degradation and NACK errors.
- 100kHz (Standard): 4.7kΩ to 10kΩ pull-ups.
- 400kHz (Fast): 2.2kΩ to 3.3kΩ pull-ups.
- 1MHz (Fast+): 1kΩ pull-ups, requiring specialized bus buffers.
SPI Chip Select (CS) Routing
When an Arduino diagram shows multiple SPI devices (e.g., an SD card module and an RFM69 radio), they will share MOSI, MISO, and SCK. The configuration error usually occurs at the Chip Select (CS) line. Never tie CS lines together. Each device must have a dedicated GPIO configured as an output, driven HIGH when idle, and LOW only during active SPI.transfer() operations. Failing to configure unused CS pins as OUTPUT and setting them HIGH in the setup() loop will result in bus contention and corrupted data.
Step-by-Step: Physical Wiring Execution
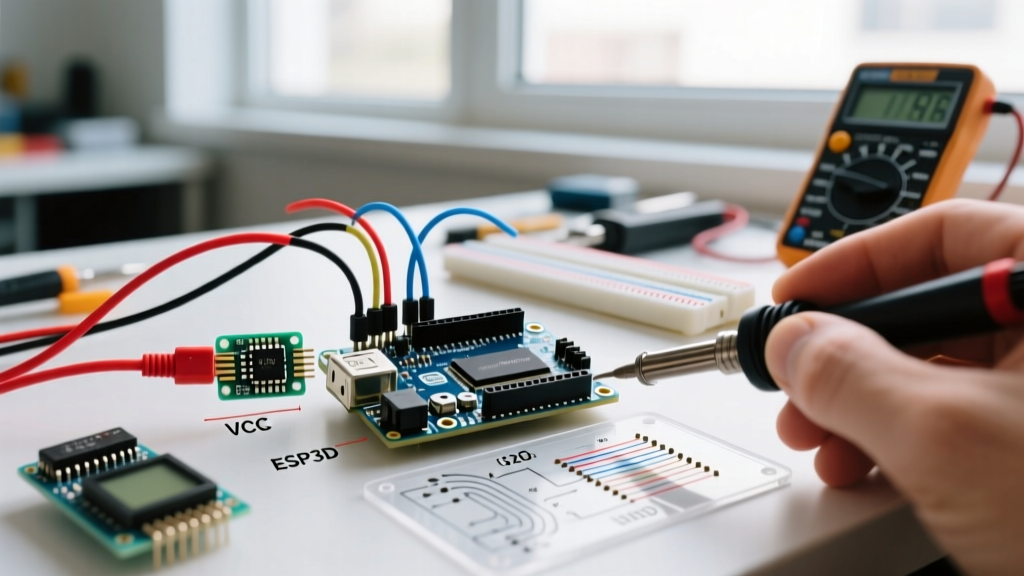
Once the schematic is validated, physical execution requires attention to wire gauge and routing to minimize crosstalk and voltage drop. Referencing the Arduino Wiring and Breadboards Guide, follow this standardized workflow:
- Power First: Route the ground (GND) and power rails before placing any components. Use 20 AWG or 22 AWG solid-core wire for power rails to handle higher current without resistive heating.
- Color Coding Standard: Strictly adhere to industry color codes. Red for positive voltage (5V/3.3V), Black for Ground, Yellow/Orange for digital signals, Blue/Green for analog or communication buses (I2C/SPI).
- Signal Routing: Use 24 AWG or 26 AWG stranded or solid wire for GPIO signals. Keep high-frequency SPI clock lines (
SCK) as short as possible, and avoid routing them parallel to analog sensor wires to prevent capacitive coupling and ADC noise. - Decoupling: If your diagram includes ICs or high-draw sensors, place a 100nF (0.1µF) ceramic capacitor directly across the VCC and GND pins of the component, physically as close to the pins as possible.
Summary: The Diagram as a Living Document
An Arduino diagram is not merely a picture; it is a strict electrical contract. By critically evaluating the logic levels of hybrid boards, calculating the thermal limits of linear regulators, and sizing I2C pull-ups according to bus capacitance, you transition from simply copying tutorials to engineering robust, production-ready MCU configurations. Always verify the schematic against the official silicon datasheets before applying power.