
Why Learning to Code for Arduino Feels Like Debugging the IDE
When you first set out to learn coding for Arduino, the hardware is rarely the main roadblock. Instead, the steepest learning curve lies in deciphering cryptic C++ compiler errors, managing severely constrained microcontroller memory, and troubleshooting serial communication failures. Whether you are using a classic ATmega328P-based Uno R3 or the modern Renesas RA4M1-powered Uno R4 Minima, the Arduino IDE 2.x environment hides a complex toolchain of GCC compilers and avrdude uploaders behind a simple 'Verify' and 'Upload' button.
This troubleshooting guide bypasses basic syntax tutorials and dives straight into the advanced failure modes, edge cases, and memory traps that stall intermediate makers. By understanding why the compiler throws specific errors and how the microcontroller handles memory allocation, you can transition from copying sketches to engineering robust embedded systems.
The Preprocessor Trap: 'Expected Unqualified-ID' Errors
One of the most baffling errors you will encounter when you learn coding for Arduino is the expected unqualified-id before numeric constant compilation error. This almost always stems from a misunderstanding of the C++ preprocessor, specifically the #define directive.
The Anatomy of a Macro Collision
Consider the following common beginner snippet:
#define LED 13
int LED = 10;

void setup() {
  pinMode(LED, OUTPUT);
}
Before the GCC compiler even sees your code, the C++ preprocessor performs a blind text replacement. It replaces every instance of the word LED with 13. The compiler actually receives this:
int 13 = 10;Because a variable name cannot start with a number, the compiler throws an unqualified-id error. The fix is to adopt strict naming conventions. Always use ALL_CAPS for preprocessor macros and camelCase for variables. Better yet, replace #define with const int, which respects C++ scoping rules and type checking:
const int ledPin = 13;
int currentLedState = 0; // No collision
Troubleshooting Avrdude Upload Failures
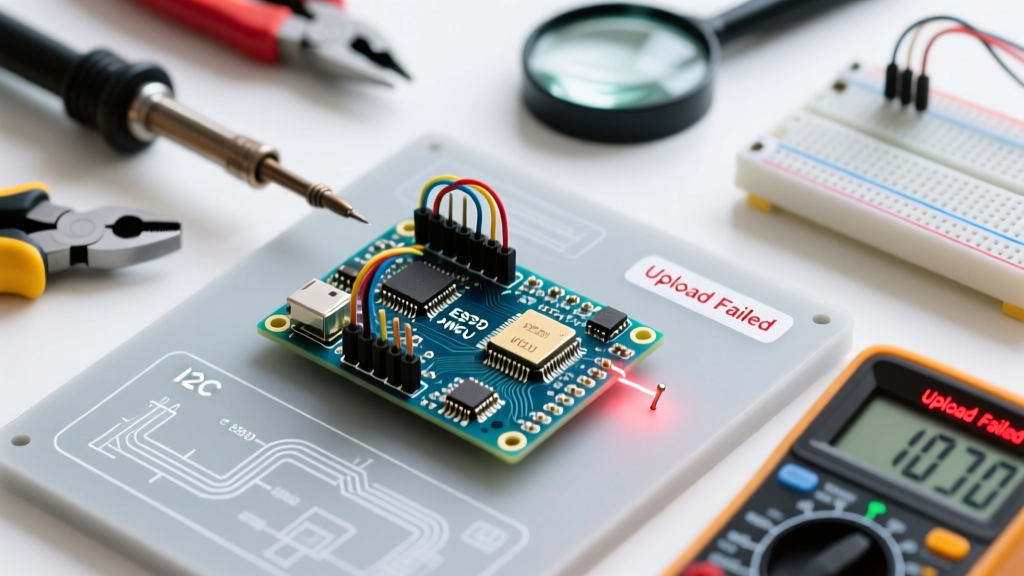
Writing perfect code is useless if you cannot flash it to the silicon. The infamous avrdude: stk500_recv(): programmer is not responding error accounts for nearly 40% of all support tickets in maker forums. This error means the host computer's USB-to-Serial bridge cannot establish the STK500 protocol handshake with the target microcontroller's bootloader.
Hardware vs. Software Root Causes
Before blaming your code, verify the physical layer. Genuine Arduino boards use an ATmega16U2 chip for USB communication, while budget clones typically use the CH340G or CP2102 chips. If you are using a clone, ensure you have installed the correct CH340 drivers from the silicon manufacturer, not a third-party wrapper.
If the port is recognized but the upload fails, the issue is often the auto-reset circuit. The Arduino IDE relies on a 0.1µF capacitor bridging the DTR (Data Terminal Ready) line to the microcontroller's RESET pin. When the IDE opens the serial port, DTR drops low, the capacitor pulls RESET low, and the bootloader starts. On cheap clone boards, this capacitor is sometimes missing or incorrectly soldered.
Pro-Troubleshooting Trick: If your board lacks a functioning auto-reset capacitor, you must manually time the reset. Click 'Upload' in the IDE. The moment the console output switches from 'Compiling...' to 'Uploading...', press and release the physical RESET button on the board. This gives the bootloader the exact 500-millisecond window it needs to catch the incoming hex file.
For ATmega328P Nano clones purchased after 2018, the bootloader was often downgraded to save 1.5KB of flash space. If you get sync errors, navigate to Tools > Processor and change the selection from 'ATmega328P' to 'ATmega328P (Old Bootloader)'. This adjusts the avrdude baud rate from 115200 to 57600, matching the older Optiboot configuration.
SRAM Exhaustion: The 'String' Object Memory Leak
When makers learn coding for Arduino, they naturally gravitate toward the String object (capital 'S') because it mimics high-level languages like Python or JavaScript. On a PC with 16GB of RAM, dynamic string concatenation is harmless. On an ATmega328P with exactly 2,048 bytes of SRAM, it is a fatal flaw that causes random reboots and erratic sensor readings.
Understanding Heap Fragmentation
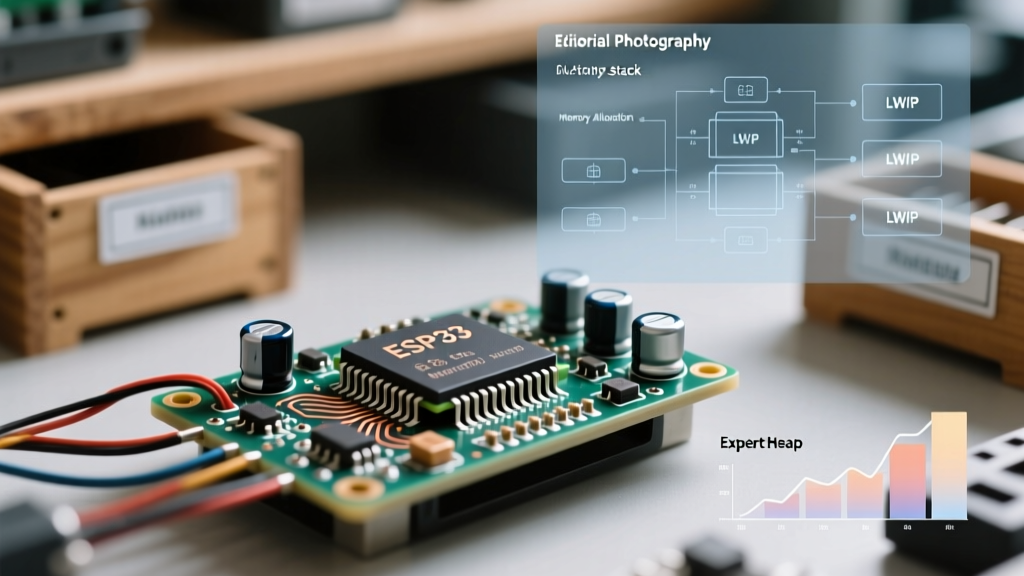
Every time you modify a String object (e.g., myString += newChar;), the Arduino core requests a new, contiguous block of memory from the heap via malloc(). If the old block cannot be expanded, it is abandoned, and a new block is allocated. Over hours of operation, the 2KB SRAM becomes Swiss-cheesed with unusable memory fragments. Eventually, a memory allocation fails, returning a null pointer, and the microcontroller crashes without throwing an IDE error.
As detailed in embedded systems research on avoiding memory fragmentation, dynamic allocation on bare-metal microcontrollers without an MMU (Memory Management Unit) should be strictly avoided in loop() functions.
Comparison: String Object vs. Char Arrays
| Feature | Arduino String Object | C-Style char[] Array |
|---|---|---|
| Memory Allocation | Dynamic (Heap) | Static (Stack/BSS) |
| Fragmentation Risk | High (Causes random crashes) | None (Fixed at compile time) |
| Concatenation | str1 + str2 |
strcat() or snprintf() |
| Safety | Requires null-termination checks | Requires strict bounds checking |
To fix this, replace dynamic strings with fixed-size character arrays and use snprintf() for formatting. The official Arduino String documentation explicitly warns about heap fragmentation and recommends char arrays for production firmware.
// BAD: Causes heap fragmentation
String payload = "Sensor: " + String(analogRead(A0));

// GOOD: Static allocation, zero fragmentation
char payload[32];
snprintf(payload, sizeof(payload), "Sensor: %d", analogRead(A0));
Logic Debugging: Beyond Serial.println()
Once your code compiles and uploads, logic errors remain. Relying solely on Serial.println() at 9600 baud introduces severe timing delays. Transmitting a single character at 9600 baud takes approximately 1.04 milliseconds. If your debugging string is 20 characters long, you are blocking the main loop for over 20ms—fast enough to completely ruin the timing of PID control loops or brushless motor commutation.
Leveraging the IDE 2.x Serial Plotter
Modern debugging requires visual data. The Arduino IDE 2.x Serial Plotter can graph multiple variables simultaneously if you format your serial output as Comma-Separated Values (CSV).
void loop() {
  int targetSpeed = 1500;
  int actualSpeed = readEncoder();

  // Format: Label1:Value1,Label2:Value2
  Serial.print("Target:");
  Serial.print(targetSpeed);
  Serial.print(",Actual:");
  Serial.println(actualSpeed); // Must end with println

  delay(10); // 100Hz update rate for smooth plotting
}
This outputs a live, color-coded graph, allowing you to instantly spot phase lag, overshoot, and sensor noise without parsing walls of text in the serial monitor.
Quick-Reference Troubleshooting Matrix
Keep this matrix handy when your build fails. It maps the exact IDE output to the underlying root cause and the required fix.
| IDE Error Message | Root Cause | Exact Fix |
|---|---|---|
expected unqualified-id before numeric constant |
Preprocessor #define macro colliding with a variable name. |
Rename the variable or use const int instead of #define. |
avrdude: stk500_recv(): programmer is not responding |
Bootloader baud rate mismatch or missing DTR auto-reset capacitor. | Select 'Old Bootloader' in Tools menu, or manually press RESET during upload. |
Sketch too big; see [link] for tips on reducing it |
Compiled hex file exceeds the 32,256-byte flash limit of the ATmega328P. | Remove unused libraries, use F() macro for static strings, or upgrade to a Mega2560. |
exit status 1 / Error compiling for board |
Generic catch-all error, usually a missing library or mismatched board package. | Check the black console window (not the orange box) for the specific missing header file. |
Final Thoughts on Embedded Troubleshooting
Mastering how to learn coding for Arduino is less about memorizing syntax and more about understanding the physical limitations of the silicon. By respecting the preprocessor, managing SRAM without dynamic allocation, and utilizing modern debugging tools like the Serial Plotter, you eliminate the vast majority of roadblocks that plague beginners. For further reading on resolving low-level software faults, consult the comprehensive SparkFun Arduino Software Troubleshooting guide, which covers edge cases regarding USB driver conflicts and board manager JSON corruption.