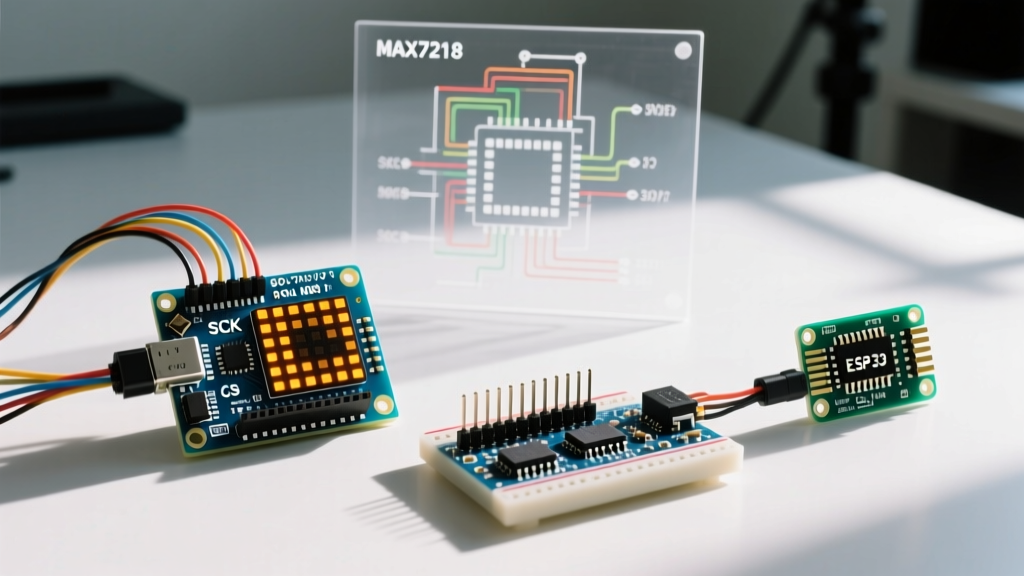

The Modern Arduino Controller Landscape
When makers and engineers refer to an Arduino controller, they are typically talking about the primary microcontroller unit (MCU) board orchestrating their project. In 2026, the ecosystem has expanded far beyond the classic 8-bit AVR architecture. Today, selecting the right board requires understanding ARM Cortex-M4 integrations, Wi-Fi/BLE native stacks, and advanced power management. This quick reference FAQ addresses the most critical hardware, software, and power questions for modern Arduino controllers.
Quick Reference: 2026 Arduino Controller Specifications
Before diving into wiring and troubleshooting, it is essential to understand the baseline specifications of the most popular boards. According to the SparkFun Arduino Comparison Guide, choosing the right MCU depends on your memory, speed, and I/O requirements.
| Board Model | Core MCU | Clock Speed | Flash / SRAM | Approx. Price (2026) |
|---|---|---|---|---|
| Uno R4 WiFi | Renesas RA4M1 (ARM Cortex-M4) + ESP32-S3 | 48 MHz | 256 KB / 32 KB | $27.50 |
| Nano ESP32 | ESP32-S3 (Dual-core Xtensa LX7) | 240 MHz | 8 MB / 512 KB | $21.00 |
| Mega 2560 Rev3 | ATmega2560 (8-bit AVR) | 16 MHz | 256 KB / 8 KB | $45.00 |
Hardware & Wiring FAQs
How much current can I safely draw from the 5V pin?
This is the most common point of failure for beginners. The 5V pin on an Arduino controller is not an infinite power supply. If you are powering the board via USB, the limit is dictated by your PC's USB port or the polyfuse on the board (typically 500mA for USB 2.0). If you are powering the board via the VIN pin or the barrel jack, the current is limited by the onboard linear voltage regulator (usually an NCP1117 5.0V).
Pro-Tip: The NCP1117 regulator can dissipate roughly 1.2W of heat before thermal shutdown. If you supply 12V to VIN and draw 300mA from the 5V pin, the regulator must dissipate (12V - 5V) * 0.3A = 2.1W. This will trigger thermal protection and crash your MCU. For projects requiring more than 200mA at 5V, bypass the linear regulator entirely and use an external switching buck converter (like an LM2596 module) wired directly to the 5V pin.
What is the absolute maximum current per I/O pin?
For classic 8-bit AVR controllers (like the ATmega328P on the Uno R3), the absolute maximum rating per I/O pin is 40mA, but the recommended continuous operating limit is 20mA. Exceeding 20mA causes voltage sag and long-term electromigration damage to the silicon. For modern 3.3V controllers like the Arduino Uno R4 WiFi (Renesas RA4M1), the pins can source up to 20mA safely, but you must respect the cumulative port current limits detailed in the Renesas datasheet. Never drive relays or high-power LEDs directly from an I/O pin; always use a logic-level MOSFET (like the IRLZ44N) or an optocoupler.
Software, Compilation & Upload FAQs
Why does my IDE show "Port not found" or fail to upload?
Upload failures usually stem from a misunderstanding of the board's USB architecture. Modern Arduino controllers utilize one of two methods:
- Native USB: Boards like the Nano ESP32 or Leonardo handle USB directly via the main MCU. If your sketch crashes or disables interrupts, the USB stack dies, and the COM port disappears.
- UART-to-USB Bridge: Boards like the Mega 2560 use a secondary chip (e.g., ATmega16U2 or CH340G) to translate USB to serial. The COM port remains visible even if the main MCU is bricked.
The Fix for Native USB: If your COM port vanishes, perform a "1200bps touch." Open your serial monitor, set the baud rate to 1200, and connect. This triggers the hardware bootloader. Quickly select the newly appeared bootloader COM port in the Arduino IDE and hit upload.
How do I recover a bricked bootloader?
If you accidentally overwrote the bootloader section of the flash memory, or if you set the fuses incorrectly, your Arduino controller will no longer accept code via USB. You must use the ICSP (In-Circuit Serial Programming) header. Connect a hardware programmer (like a USBasp or a second Arduino running the "ArduinoISP" sketch) to the 6-pin ICSP header. In the Arduino IDE, select Tools > Programmer > USBasp, then click Tools > Burn Bootloader. This restores the factory fuse settings and re-flashes the Optiboot or UF2 bootloader.
Power Management & Battery FAQs
What is the most efficient way to run an Arduino controller on batteries?
Powering a standard Uno via the barrel jack from a 9V alkaline battery is highly inefficient. The linear regulator wastes over 40% of the battery's energy as heat. For battery-operated IoT nodes, use a low-power controller like the Nano ESP32 or an Arduino Pro Mini (3.3V). Feed a regulated 3.3V directly into the 3.3V pin, completely bypassing the onboard regulator. Combine this with deep sleep modes (e.g., esp_deep_sleep_start()), which drop the current consumption to under 10 µA, allowing a standard 2000mAh LiPo to run the node for months.
Quick Troubleshooting Matrix
Use this diagnostic matrix to quickly isolate common Arduino controller anomalies in the field.
| Symptom | Probable Cause | Actionable Fix |
|---|---|---|
| Board gets extremely hot near the power jack | Linear regulator thermal overload (VIN > 9V with high current draw). | Reduce VIN to 7V, lower the 5V pin current draw, or switch to an external buck converter. |
| Random resets when a servo motor moves | Brownout condition due to voltage sag on the 5V rail. | Power servos from a separate 5V supply. Connect the servo GND to the Arduino GND. |
| Serial monitor outputs garbage characters | Baud rate mismatch between IDE and sketch. | Ensure Serial.begin(9600) matches the serial monitor dropdown (e.g., 9600 baud). |
| Upload fails with "avrdude: stk500_recv()" error | Wrong board selected, bad USB cable, or corrupted bootloader. | Verify cable supports data (not charge-only). Check COM port. Burn bootloader via ICSP. |
Final Thoughts on Controller Selection
Mastering your Arduino controller requires looking past the basic blink sketch and understanding the underlying hardware limitations. Whether you are managing thermal dissipation on a linear regulator, recovering a native USB stack, or designing a low-power sleep circuit, applying these specific engineering principles will drastically improve the reliability of your embedded projects.