
The Reality of the Arduino Cloud Free Plan in 2026
For makers and IoT prototypers, the Arduino IoT Cloud remains one of the most accessible platforms for deploying connected devices. However, as projects scale from a single blinking LED to multi-sensor environmental monitors, hobbyists inevitably hit the hard ceilings of the free tier. Instead of immediately upgrading to the Maker plan (approximately $11.99 per month), advanced developers leverage workflow optimization to bypass these architectural bottlenecks. By rethinking network topology, variable multiplexing, and local data logging, you can build enterprise-grade IoT workflows entirely within the Arduino Cloud free plan constraints.
Understanding the Hard Limits
Before optimizing, we must define the exact boundaries of the free tier compared to the entry-level paid tier. According to the Arduino Cloud Documentation, the restrictions are designed to limit commercial deployment, but they can be navigated with clever firmware architecture.
| Feature | Free Plan ($0) | Maker Plan (~$11.99/mo) |
|---|---|---|
| Things (Devices) | 2 | 5 |
| Variables per Thing | 5 | 25 |
| Data Retention | 24 Hours | 30 Days |
| OTA Updates | Limited / Manual | Unlimited / Automated |
| Webhooks / API | Restricted | Full Access |
Architectural Shift: The ESP-NOW Gateway Pattern
The most restrictive limit on the free plan is the 2 Things cap. If you are deploying a network of five environmental sensors across a property, creating five separate "Things" is impossible. The optimized workflow abandons the "every node connects to Wi-Fi" paradigm in favor of a localized Gateway architecture.
Implementing the Gateway Topology
Instead of using power-hungry Wi-Fi on every node, we use low-power mesh or point-to-point protocols to aggregate data locally, pushing it to the cloud through a single "Thing."
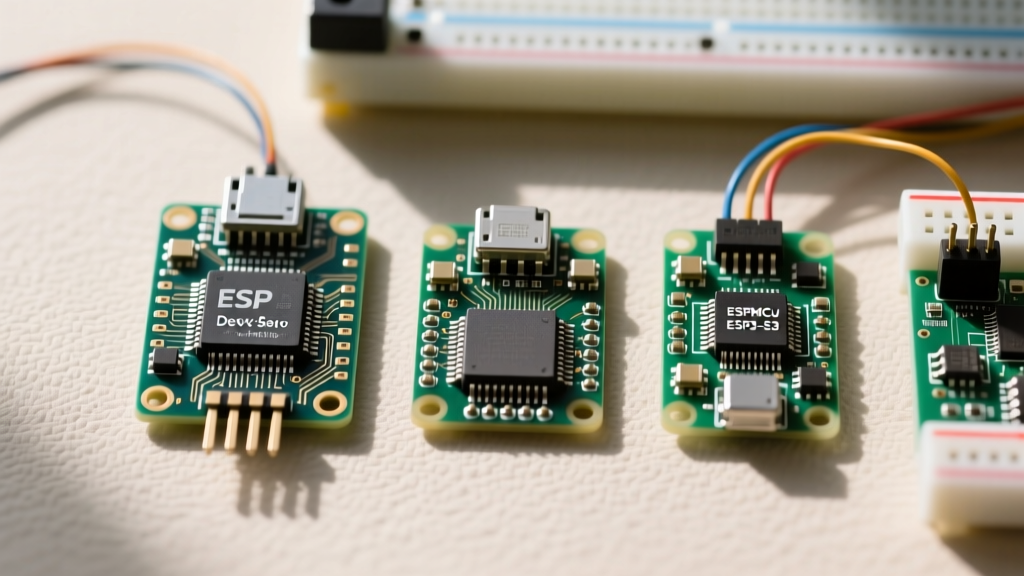
- Remote Nodes: Deploy battery-powered ESP32-C3-MINI-1 modules. These nodes read sensors (e.g., BME280, SCD41) and transmit payloads using ESP-NOW.
- The Gateway: Use a robust ESP32-S3-WROOM-1-N8R8 (with 8MB PSRAM) connected to mains power and Wi-Fi. This single device acts as your one allocated "Thing" on the Arduino Cloud.
- Data Aggregation: The Gateway receives ESP-NOW packets, parses the MAC address to identify the node, and updates the cloud variables.
By utilizing the Espressif ESP-NOW API, remote nodes can transmit data in milliseconds and return to deep sleep, consuming less than 15µA, while the Gateway handles the heavy lifting of TLS encryption and cloud synchronization.
Variable Multiplexing: Beating the 5-Variable Limit
With only 5 variables permitted per Thing, a standard weather station (Temperature, Humidity, Pressure, Wind Speed, Rainfall, Battery) immediately exceeds the quota. The solution is variable multiplexing—packing multiple data points into a single cloud variable.
Method 1: JSON String Serialization
Allocate one `String` variable on the Arduino Cloud dashboard named `payload_json`. In your firmware, use the ArduinoJson v7 library to serialize multiple sensor readings into a single JSON object.
Pro Tip: Avoid standard string concatenation (e.g.,
data = data + temp;) on ESP8266 or low-memory ESP32 variants. This causes severe heap fragmentation, leading to random reboots after 48 hours of uptime. Always useArduinoJsonor pre-allocated character arrays.
While the Arduino Cloud dashboard widgets cannot natively parse JSON strings for gauges, you can use the "Custom Widget" feature (which allows basic HTML/JS) or export the JSON via webhooks to a third-party dashboard like Grafana.
Method 2: Bitwise Packing for Boolean States
If you need to monitor the status of 8 different relays or digital alarms, do not waste 8 variables. Create a single `int` variable named system_states. Use bitwise operations to pack and unpack the boolean states:
bitWrite(system_states, 0, relay1_state);bitWrite(system_states, 1, alarm_triggered);
This reduces 8 boolean variables into a single integer, leaving you with 4 remaining variable slots for critical analog telemetry.
Overcoming the 24-Hour Data Retention Wall
The free plan deletes historical data after 24 hours, rendering long-term trend analysis impossible natively. To optimize your workflow, you must decouple real-time control from historical logging.
The Local MQTT Shadow Broker
Deploy a Raspberry Pi Zero 2 W on your local network running Eclipse Mosquitto as an MQTT broker, alongside an InfluxDB instance for time-series storage.
- Configure your ESP32 Gateway to publish all sensor telemetry to the local Mosquitto broker via standard MQTT (port 1883) before it sends the multiplexed payload to the Arduino Cloud.
- The Arduino Cloud connection is reserved strictly for real-time dashboard viewing, OTA firmware updates, and remote command execution (e.g., toggling a relay via the cloud app).
- Use Telegraf on the Pi to subscribe to the MQTT topics and write the data to InfluxDB, giving you infinite, free, local data retention with millisecond precision.
Edge Cases & Connection Resilience
When operating on the free plan, you cannot rely on the platform's premium automated recovery features. Firmware-level resilience is mandatory to prevent devices from dropping offline and requiring physical resets.
Implementing the Task Watchdog Timer (WDT)
A common failure mode in IoT sketches is the Wi-Fi reconnection loop. If the router reboots, the ArduinoIoTCloud library may hang indefinitely while attempting to negotiate a TLS handshake, freezing the main loop. To prevent this, implement the ESP32's Task Watchdog Timer with a strict 5-second timeout:
#include <esp_task_wdt.h>

void setup() {
  esp_task_wdt_init(5, true); // 5 second timeout, panic on trigger
  esp_task_wdt_add(NULL);     // Add current thread to WDT
}

void loop() {
  ArduinoCloud.update();
  esp_task_wdt_reset();       // Reset timer every loop iteration
}
If the cloud connection hangs for more than 5 seconds, the WDT forces a hardware reset, allowing the ESP32 to boot cleanly and re-establish the connection.
OTA Update Failure Modes
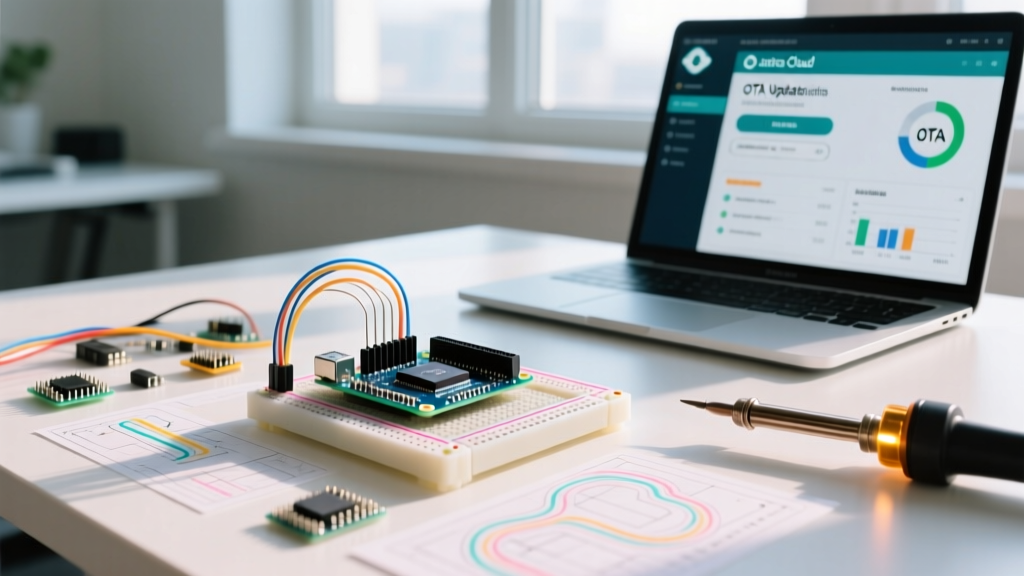
Over-The-Air (OTA) updates on the free plan are highly susceptible to brownouts. When the ESP32-S3 downloads a new binary and begins flashing the SPI flash memory, current draw spikes to over 350mA. If your power supply is a standard 500mA USB wall wart with long, thin cables, the voltage will drop below 3.3V, corrupting the bootloader and bricking the device. Always use a dedicated 5V/2A power supply and keep USB cables under 1 meter in length during OTA deployments.
Summary of the Optimized Workflow
By shifting from a naive "one device, one cloud connection" mindset to an aggregated Gateway topology, multiplexing telemetry via JSON, and offloading historical logging to a local MQTT/InfluxDB stack, the Arduino Cloud free plan transforms from a restrictive hobbyist toy into a robust, production-ready control layer. You retain the convenience of Arduino's OTA and mobile app interface while entirely sidestepping the financial overhead of premium SaaS IoT tiers.