
The Architecture Divide: Hardware vs. Pin-Change Interrupts
When designing real-time embedded systems, relying on millis() polling is a rookie mistake that leads to missed events and jittery timing. The arduino interrupt system allows microcontrollers to immediately pause their main loop, execute an Interrupt Service Routine (ISR), and resume. However, assuming that interrupt behavior is uniform across all Arduino-compatible boards is a critical error that causes widespread hardware incompatibilities and silent software failures.
At the silicon level, interrupts are split into two distinct categories:
- Dedicated Hardware Interrupts (INTx): These are tied to specific external interrupt vectors in the MCU. They support advanced trigger modes (RISING, FALLING, CHANGE, LOW) and have the lowest latency.
- Pin-Change Interrupts (PCINT): Grouped by hardware ports, these trigger when any pin on that port changes state. The ISR must then poll the port register to determine which specific pin triggered the event, adding slight overhead and limiting trigger modes strictly to CHANGE.
Understanding which architecture your board uses is the first step in ensuring sensor and peripheral compatibility.
Cross-Board Arduino Interrupt Pin Mapping Matrix
Not all digital pins are created equal. Below is a compatibility matrix detailing hardware interrupt availability across the most common MCU families used in the Arduino ecosystem as of 2026.
| Board Family | Core MCU | Dedicated HW INT Pins | Total HW INTs | PCINT Support | Native Logic Level |
|---|---|---|---|---|---|
| Uno R3 / Nano | ATmega328P (AVR) | D2 (INT0), D3 (INT1) | 2 | Yes (Ports B, C, D) | 5.0V |
| Mega 2560 | ATmega2560 (AVR) | D2, D3, D18, D19, D20, D21 | 6 | Yes (Ports B, J, K) | 5.0V |
| Nano 33 IoT / MKR | SAMD21 (ARM Cortex-M0+) | All Digital Pins (via EIC) | 16 (Shared) | N/A (Not required) | 3.3V |
| ESP32 DevKit V1 | ESP32 (Xtensa LX6) | All GPIOs (Except 6-11) | 32 (Matrix routed) | N/A | 3.3V |
| ESP32-S3 / C3 | ESP32-S3/C3 (RISC-V/Xtensa) | All GPIOs (Except SPI flash) | Up to 45 | N/A | 3.3V |
Expert Note on SAMD21: While the SAMD21 (Arduino Zero/Nano 33 IoT) allows attachInterrupt() on almost any pin via the External Interrupt Controller (EIC), the EIC only has 16 physical channels. If you map more than 16 pins to interrupts, or map pins that share the same EIC channel (e.g., D2 and D14 often share EXTINT[2]), you will experience channel collision and silent ISR failures.
Logic Level Compatibility and Hardware Interfacing
An often-overlooked aspect of arduino interrupt compatibility is the physical voltage threshold required to trigger the state change. Mixing 5V AVR boards with 3.3V sensors (like the MPU6050 or modern LiDAR modules) without level shifting will either fail to trigger the interrupt or permanently damage the 3.3V peripheral.
Trigger Thresholds and Pull-Up Requirements
The ATmega328P recognizes a logical HIGH at approximately 3.0V (0.6 * VCC). Therefore, a 3.3V sensor can technically trigger a 5V Arduino Uno interrupt pin directly. However, the reverse is fatal: feeding a 5V interrupt signal into a 3.3V ESP32 or SAMD21 GPIO will exceed the absolute maximum ratings (typically VDD + 0.3V), degrading the silicon over time.
Hardware Solution: For bidirectional or 5V-to-3.3V interrupt lines, use a MOSFET-based bidirectional logic level shifter (like the BSS138 breakout boards, costing around $1.50 to $2.50). For high-frequency interrupt signals (e.g., rotary encoders generating 10kHz+ pulse trains), the BSS138's parasitic capacitance may cause edge rounding. In these cases, upgrade to a dedicated IC like the Texas Instruments SN74LVC8T245 ($1.10 in SMD, ~$4.00 on a breakout), which guarantees sub-nanosecond propagation delays.
Software API Quirks: attachInterrupt() and IRAM_ATTR
The Arduino IDE abstracts hardware interrupts via the attachInterrupt(digitalPinToInterrupt(pin), ISR, mode) function. According to the official Arduino language reference, you must always wrap your pin number in digitalPinToInterrupt() to translate the physical silk-screen pin number to the internal hardware vector.
The ESP32 IRAM_ATTR Mandate
When migrating code from an AVR Uno to an ESP32, developers frequently encounter the 'Guru Meditation Error: Core 1 panic'ed (Interrupt wdt timeout)'. This occurs because the ESP32 executes code from SPI flash, which is temporarily inaccessible during certain memory operations. If an interrupt fires while the flash cache is disabled, the MCU crashes.
The Fix: Every ISR on the ESP32 must be stored in the Internal RAM (IRAM). You must prefix your ISR function with the IRAM_ATTR macro:
void IRAM_ATTR handleEncoder() { ... }
Furthermore, any variables modified inside the ESP32 ISR must be declared volatile and, ideally, accessed using atomic operations or mutexes in the main loop to prevent race conditions inherent to the ESP32's dual-core FreeRTOS environment. For deep architectural specifics, refer to the Espressif GPIO API documentation.
AVR Pin-Change Interrupt Libraries
Because the native Arduino core only exposes dedicated INT0 and INT1 for the Uno, utilizing PCINT requires direct register manipulation (PCMSK, PCICR). To maintain cross-platform compatibility without writing raw C bitwise operations, the industry standard is the PinChangeInterrupt library by NicoHood. It abstracts the port-masking logic, allowing you to use familiar attachPCINT() syntax across the entire ATmega and ATtiny families.
Real-World Edge Cases and Failure Modes
Theoretical compatibility means nothing if your physical circuit introduces noise or your software blocks the ISR. Here are the most common edge cases encountered in professional MCU deployments.
1. The I2C Bus Lockup Inside an ISR
A frequent beginner mistake is attempting to read an I2C sensor (using the Wire library) directly inside an interrupt service routine. The Wire library relies on its own internal interrupts to handle the I2C clock stretching and ACK/NACK handshakes. Because global interrupts are automatically disabled the moment your ISR begins executing, the Wire library will wait infinitely for an interrupt that will never come, permanently hard-locking the MCU.
Actionable Fix: Use the ISR exclusively to set a volatile boolean flag = true;. In your main loop(), check this flag, execute the I2C read, and then clear the flag.
2. Mechanical Switch Bouncing and Hardware Debouncing
Mechanical tactile switches and reed relays exhibit contact bounce lasting anywhere from 1ms to 15ms. If attached directly to an interrupt pin configured for CHANGE, a single button press will trigger the ISR dozens of times. While software debouncing (ignoring subsequent triggers within a 50ms window using millis()) works, it consumes CPU cycles and complicates state machines.
Actionable Fix: Implement a hardware RC low-pass filter. Placing a 10kΩ series resistor and a 100nF ceramic capacitor to ground creates a time constant (τ = R × C) of 1ms. This physically filters out the high-frequency bounce noise before it reaches the MCU's Schmitt trigger input, resulting in a single, clean interrupt edge.
Expert Troubleshooting Checklist
Before blaming the silicon or the Arduino core, run through this diagnostic checklist when your interrupts fail to trigger:
- Verify Pin Mapping: Did you use
digitalPinToInterrupt()? Hardcoding '2' works on an Uno, but will map to the wrong vector on a Mega or SAMD board. - Check Floating Pins: Interrupt pins left unconnected will act as antennas, picking up 50/60Hz mains hum and spamming the ISR. Always use
INPUT_PULLUPor external 10kΩ resistors. - Inspect ISR Execution Time: An ISR should execute in microseconds. If you are using
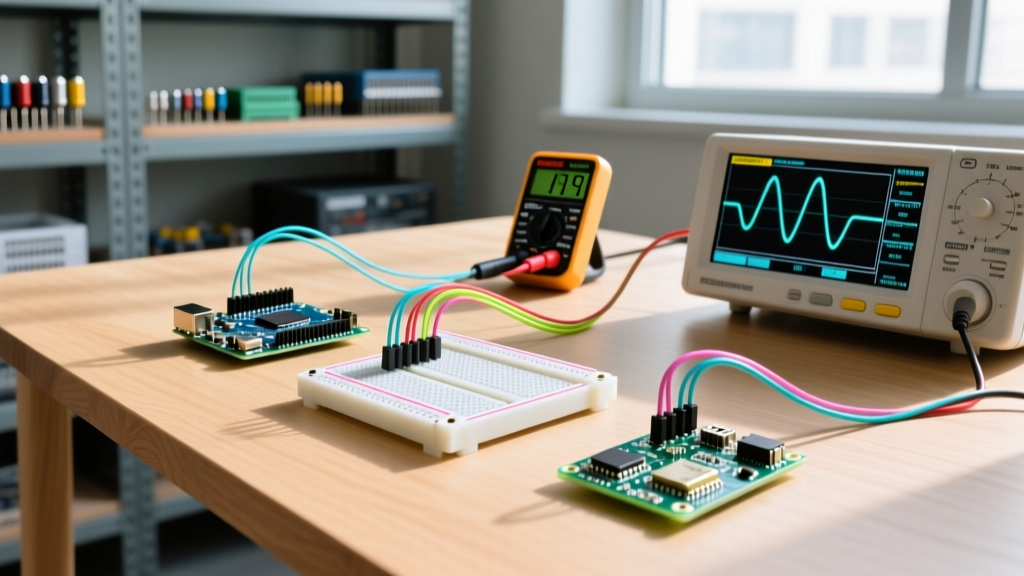
delay(),Serial.print(), or complex math inside the ISR, you will block the main loop and drop subsequent hardware events. - Validate Logic Levels: Use an oscilloscope or logic analyzer to confirm the peripheral is actually pulling the line below 0.8V (for LOW) or above 2.0V (for HIGH) relative to the MCU's specific VCC.
By respecting the hardware limitations of the ATmega PCINT system, managing the ESP32's IRAM requirements, and properly conditioning your input signals, you can build robust, jitter-free embedded systems that leverage the true power of the arduino interrupt architecture.