
The Evolution of Arduino Chromebook Compatibility
For years, the phrase 'Arduino Chromebook' was an oxymoron in the maker community. ChromeOS was designed as a lightweight, browser-first operating system, completely lacking the local serial port access and C++ compilation toolchains required for embedded development. Students and hobbyists were forced to dual-boot Windows or rely on clunky Android apps with severe hardware limitations.
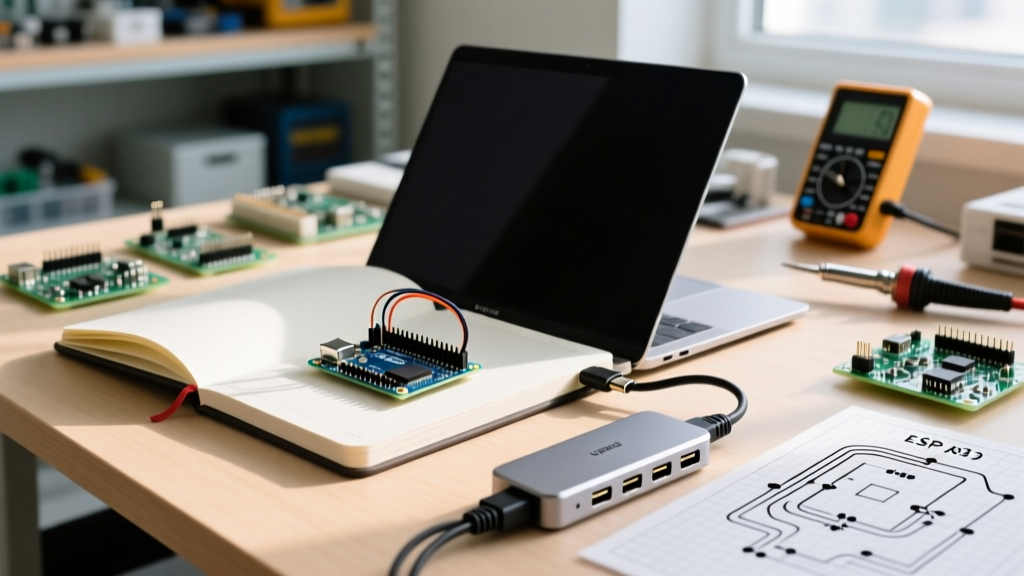
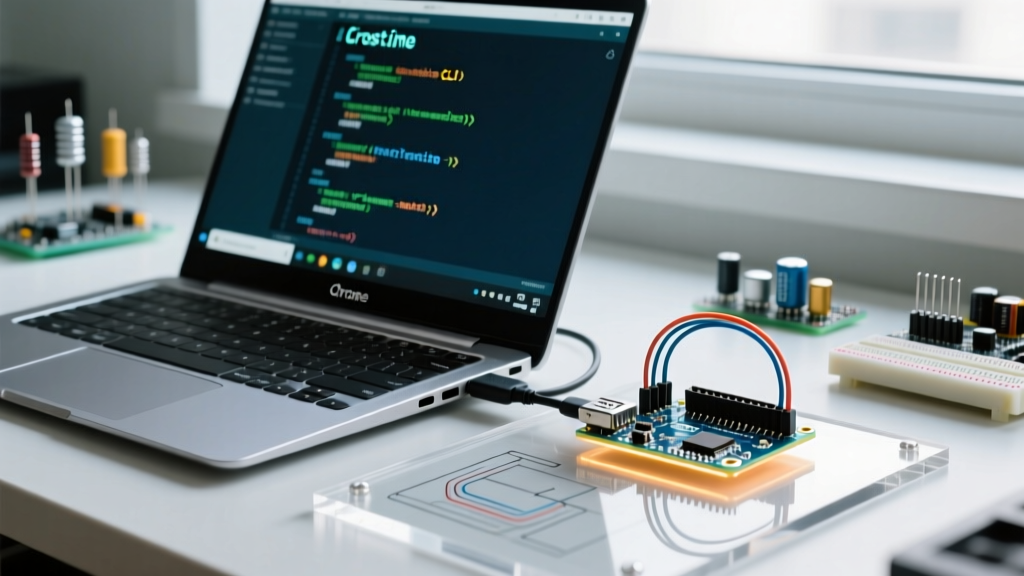
However, the landscape in 2026 is radically different. Thanks to the maturation of the ChromeOS Linux development environment (Crostini) and the widespread adoption of the WebUSB API, programming microcontrollers on a Chromebook is now a seamless, production-ready workflow. Whether you are using an Intel-based Acer Chromebook Spin 714 or an ARM-powered Lenovo Duet, you can compile, flash, and debug complex firmware without leaving the ChromeOS ecosystem.
Choosing Your Development Pathway
There is no single 'correct' way to code an Arduino on a Chromebook. The best method depends on your hardware, internet connectivity, and project complexity. Below is a comparison matrix of the three primary pathways available to ChromeOS users today.
| Method | Environment | Offline Capable? | Best For | Limitations |
|---|---|---|---|---|
| Crostini Desktop IDE | ChromeOS Linux (Debian container) | Yes | Advanced users, large codebases, custom libraries | Requires manual USB passthrough and permission mapping |
| Arduino Cloud (Web Editor) | Chrome Browser + Create Agent | No | IoT projects, quick prototyping, classroom settings | Requires active internet; cloud storage limits on free tier |
| ArduinoDroid (Android) | Android Subsystem (ARCVM) | Yes | Emergency flashes, basic blink sketches | No native serial monitor; poor support for ESP32/RP2040 boards |
Method 1: The Crostini Linux Desktop IDE (Recommended)
For serious firmware development, running the native Arduino IDE 2.x inside the ChromeOS Linux container is the gold standard. As of 2026, Arduino officially supports ARM64 Linux builds, meaning you no longer need x86 emulation layers to run the IDE on MediaTek or Snapdragon Chromebooks.
Step 1: Provision the Linux Container
Navigate to Settings > Advanced > Developers and turn on the Linux development environment. Allocate at least 10GB of storage; the IDE, toolchains (like the ESP32 core), and local libraries will quickly consume the default 4.5GB allocation.
Step 2: Architecture Verification and Installation
Open the Linux terminal and verify your CPU architecture to download the correct AppImage:
uname -mIf it returns aarch64, you need the ARM64 build. If it returns x86_64, download the standard 64-bit Linux build from the official Arduino software page. Once downloaded, make the file executable and run it:
chmod +x arduino-ide_2.3.2_Linux_64bit.AppImage
./arduino-ide_2.3.2_Linux_64bit.AppImage
Step 3: USB Passthrough and the 'dialout' Fix
This is where 90% of Chromebook users encounter the dreaded 'Board not found' error. ChromeOS does not automatically pass USB serial devices to the Linux container, nor does the container grant your user permission to write to the serial port.
- Plug in your Arduino (e.g., an Arduino Uno R4 WiFi, approx. $27.50).
- Click the ChromeOS system tray, find the Linux USB settings, and explicitly connect the Arduino device (often listed as 'Arduino SA' or 'Espressif Systems') to the Linux container.
- Open the Linux terminal and add your user to the dialout group to grant serial R/W permissions:
sudo usermod -a -G dialout $USER sudo chmod 666 /dev/ttyACM0 - Restart the Linux container or log out and back in for the group changes to take effect.
Method 2: Arduino Cloud and the WebUSB API
If you are managing a classroom of 30 Chromebooks or simply refuse to use the terminal, the Arduino Cloud Web Editor is a powerful alternative. This method leverages the WebUSB API, allowing the Chrome browser to communicate directly with the microcontroller's USB endpoint without requiring local OS-level drivers.
How WebUSB Bypasses Driver Hell
Traditionally, Windows and macOS required FTDI or CH340 driver installations to translate USB signals into virtual COM ports. WebUSB intercepts the USB enumeration process at the browser level. When you click 'Upload' in the Arduino Web Editor, Chrome prompts you to select the connected device from a native dialogue box, establishing a direct, secure pipe to the bootloader.
Critical Caveat: WebUSB works flawlessly with native USB boards like the Arduino Leonardo, Nano 33 IoT, and ESP32-S3. However, older boards relying on external USB-to-Serial converter chips (like the ATmega16U2 on the Uno R3 or the CH340 on cheap clones) may fail to enumerate via WebUSB. For these legacy boards, you must install the Arduino Create Agent, which acts as a local bridge between the browser and the ChromeOS USB subsystem.
Hardware Compatibility & Edge Cases on ChromeOS
Not all microcontrollers play nicely with ChromeOS's strict security sandboxing. Below is a field-tested compatibility matrix for popular maker boards in 2026.
| Microcontroller Board | USB Interface | Crostini Compatibility | WebUSB Compatibility | Known ChromeOS Edge Cases |
|---|---|---|---|---|
| Arduino Uno R4 WiFi | Native RA4M1 USB | Excellent | Excellent | Requires udev rules for DFU bootloader mode. |
| Generic Nano (CH340) | CH340 UART Bridge | Good (needs driver) | Poor | ChromeOS lacks native CH340 kernel modules; compile fails on Web Editor. |
| ESP32-S3 DevKit | Native USB OTG | Excellent | Excellent | Must manually hold 'BOOT' button during upload via Crostini. |
| Raspberry Pi Pico | RP2040 Native | Excellent | Good | Drag-and-drop UF2 mounting is blocked by ChromeOS file manager; use IDE upload. |
Advanced Troubleshooting: Serial Monitor Bugs
A common frustration when using the Arduino IDE 2.x inside Crostini is the serial monitor dropping characters or failing to auto-scroll at high baud rates (e.g., 921600 for ESP32 logging). This occurs because the ChromeOS virtual machine hypervisor introduces slight latency in USB interrupt handling.
The Fix: Instead of relying on the IDE's built-in serial monitor, use the native Linux screen or minicom terminal utilities. They handle high-speed serial buffers much more efficiently within the Debian container.
sudo apt-get install screen
screen /dev/ttyACM0 115200
To exit the screen session, press Ctrl+A followed by K, then Y.
Summary: The Chromebook as a Maker Tool
The days of needing a dedicated Windows laptop for embedded systems are over. By leveraging the Crostini Linux environment for heavy-duty local compilation, or utilizing WebUSB for frictionless cloud-based flashing, the modern Chromebook is a highly capable, secure, and portable hub for Arduino development. Whether you are deploying IoT sensors with the Nano ESP32 or teaching introductory C++ logic on an Uno R4, ChromeOS provides a robust, distraction-free environment that aligns perfectly with the modern maker workflow.
For further reading on setting up your development environment, consult the official ChromeOS Linux development setup documentation to ensure your container is optimized for hardware passthrough.