
The Core Concept: What Defines an Arduino Kit?
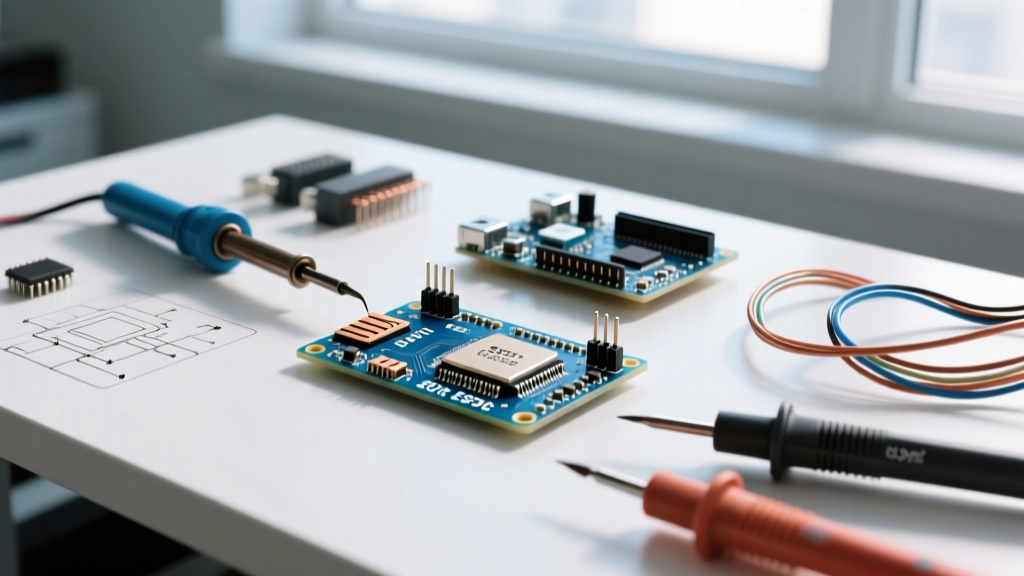
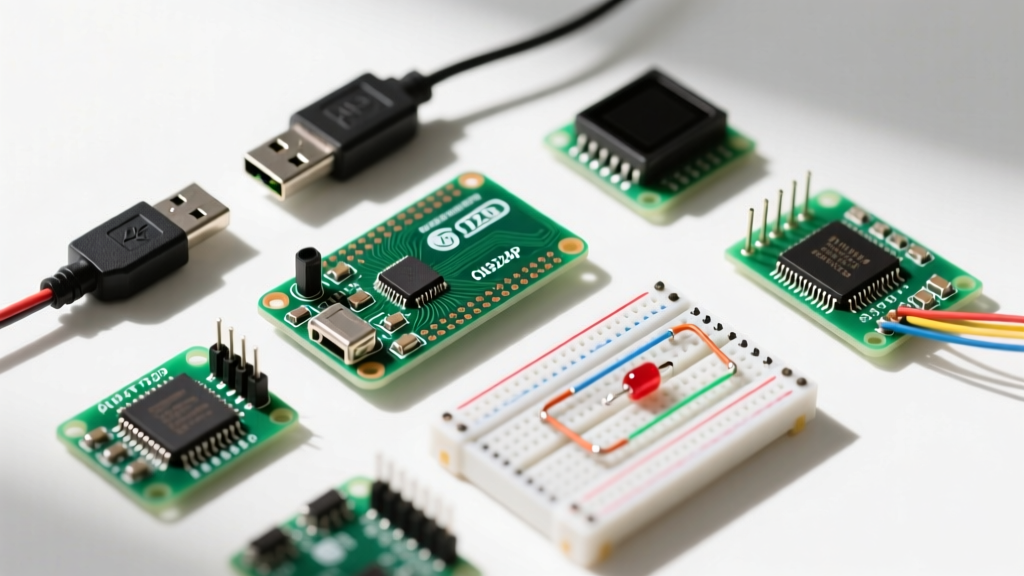
To the uninitiated, an Arduino kit appears to be nothing more than a plastic box overflowing with blinking LEDs, tangled wires, and a small blue circuit board. However, from an engineering and pedagogical perspective, a well-designed kit is a curated Bill of Materials (BOM) engineered to eliminate impedance mismatches in early embedded systems learning. It bridges the gap between abstract C++ programming and physical hardware manipulation.
Unlike purchasing a standalone microcontroller, a true kit provides a closed-loop ecosystem of interoperability. The components included are specifically chosen to operate within the 5V or 3.3V logic thresholds of the host board without requiring immediate secondary purchases like level shifters or external power supplies. As of 2026, the landscape of these kits has evolved significantly, transitioning from legacy 8-bit AVR architectures to 32-bit ARM Cortex-M4 ecosystems, fundamentally changing what you should expect inside the box.
Expert Insight: The primary value of an Arduino kit is not the sum of its component costs, but the reduction of 'friction-to-first-blink.' A poorly curated kit introduces hardware debugging (e.g., faulty jumper wires, incompatible logic levels) before the user has even written their first line of code.
Anatomy of a Standard Kit: Beyond the Microcontroller
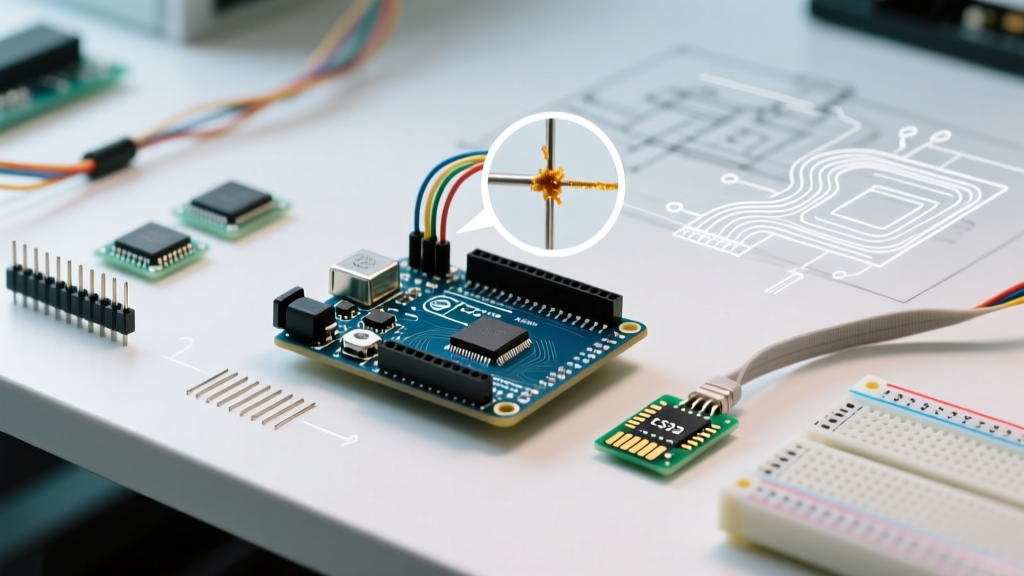
When evaluating an Arduino kit, amateurs look at the quantity of components; professionals look at the quality of the interconnects and the silicon support chips. Let us dissect the critical subsystems hidden within a standard kit.
The USB-to-Serial Bottleneck (Official vs. Clone)
The most critical point of failure in any entry-level kit is the USB-to-Serial interface. This chip translates data from your computer's USB port into the UART serial protocol the microcontroller understands.
- Official Boards (ATmega16U2): Official Arduino boards utilize the Microchip ATmega16U2 programmed as a USB-to-Serial converter. This chip natively supports standard CDC/ACM drivers built directly into Windows, macOS, and Linux. It also allows for advanced techniques like reprogramming the 16U2 to act as a native USB HID device (keyboard/mouse emulator).
- Clone Boards (CH340G / CH340C): Budget kits (typically priced between $25 and $35) almost universally use the WCH CH340 series to cut costs. While the CH340C is a vast improvement over the older CH340G, it still requires manual driver installation on many Windows environments, and driver signature enforcement updates in Windows 11 frequently break legacy CH340 drivers, leading to the infamous 'Port Greyed Out' error.
For a deeper dive into how these serial protocols operate at the hardware level, refer to the SparkFun guide on Serial Communication.
Passive Components and Prototyping Hardware
The hidden cost of budget kits lies in the prototyping hardware. A standard solderless breadboard relies on internal spring-clip contacts. High-quality breadboards (like those from Adafruit or Bus Pirate) use phosphor bronze clips with a contact resistance of under 20 milliohms. Budget kit breadboards often use cheap stamped steel, resulting in contact resistance exceeding 100 milliohms, which causes unexplained voltage drops and erratic sensor readings when pulling currents above 100mA.
Furthermore, examine the jumper wires. Premium kits include AWG 22 solid-core wires that grip breadboard ties securely. Ultra-cheap kits often supply AWG 28 stranded wires with poorly crimped Dupont connectors that slip out of the breadboard and suffer from high resistance.
The Three Tiers of Arduino Kits (2026 Market Matrix)
Selecting the right kit requires matching the component BOM to your end-goal. The market has largely stratified into three distinct tiers.
| Tier / Category | Core MCU Architecture | Signature Components Included | Primary Use Case | 2026 Price Range |
|---|---|---|---|---|
| Tier 1: Fundamental Logic | AVR 8-bit (ATmega328P) or ARM (Renesas RA4M1 in Uno R4 Minima) | LEDs, 220Ω-10kΩ resistors, pushbuttons, basic LDRs, 5V buzzer | Learning C++ syntax, digital I/O, basic analog sensing | $30 (Clone) - $105 (Official) |
| Tier 2: IoT & Environmental | ESP32-S3 or Nano 33 IoT (ARM Cortex-M0+ with NINA-W102) | BME280 (Temp/Hum/Press), OLED SSD1306 displays, MQTT-capable Wi-Fi modules | Networked sensors, home automation, data logging | $65 - $130 |
| Tier 3: Robotics & Actuation | AVR Mega2560 or Portenta H7 (Dual-core ARM) | L298N Motor drivers, MG996R metal-gear servos, HC-SR04 ultrasonic arrays | Kinematics, motor control, autonomous navigation | $85 - $180+ |
Hidden Costs and Failure Modes in Budget Kits
While saving $70 on a clone kit seems economically sound, it often introduces specific failure modes that cost hours of troubleshooting. Be aware of these common hardware traps:
- The DHT11 vs. DHT22 Trap: Budget kits include the DHT11 temperature sensor. It is notoriously inaccurate (±2°C) and struggles to read below 0°C. If your project requires reliable environmental data, you will immediately need to purchase a BME280 or DHT22 separately.
- Missing Flyback Diodes on Relays: Many cheap 5V relay modules omit the reverse-biased flyback diode across the relay coil. When the coil de-energizes, the resulting inductive voltage spike can backfeed into your Arduino's GPIO pin, permanently frying the microcontroller's ATmega328P port register.
- Flashing Firmware Failures: Clone boards often ship with a modified or non-standard Optiboot bootloader. When you attempt to use the Arduino IDE's 'Burn Bootloader' feature via an ISP programmer to recover a bricked chip, the process will fail due to signature mismatches. You can read more about managing bootloaders and board configurations in the official Arduino getting started documentation.
How to Audit a Kit Before Purchasing
Before adding an Arduino kit to your cart, perform this rapid BOM audit to ensure you are getting a viable engineering platform rather than a box of e-waste.
- Check the USB IC: Look closely at the product photos. If you see a rectangular 16-pin chip labeled 'CH340G' near the USB port, expect to spend time troubleshooting drivers. If you see a square 'ATmega16U2', it is an official or high-tier clone board.
- Verify the Breadboard Size: Ensure the kit includes a full-size (830 tie-point) breadboard. Half-size (400 tie-point) boards included in micro-kits lack the physical real estate to mount a standard Arduino Uno alongside an H-bridge and sensor array.
- Look for Active Components: A good Tier 1 kit should include at least one shift register (like the 74HC595) or a transistor array (ULN2003). These teach the vital concept of multiplexing and driving high-current loads from low-current GPIO pins.
- Review the Resistor Assortment: Ensure the kit provides a minimum of 1/4W resistors with 5% tolerance. Kits that only supply 10kΩ and 220Ω resistors will severely limit your ability to build proper voltage dividers for analog sensors.
Frequently Asked Questions
Is the Arduino Uno R3 still relevant in 2026?
Yes, but primarily for legacy support and ultra-low-power simple logic. The Arduino Uno R4 Minima has largely superseded it in modern kits, offering a 32-bit ARM Cortex-M4 processor, 48MHz clock speed, and a native DAC (Digital-to-Analog Converter), all while maintaining the exact same physical footprint and 5V logic tolerance of the R3.
Can I use an ESP32 kit instead of a standard Arduino kit?
Absolutely. In fact, for IoT and wireless projects, an ESP32-based kit is vastly superior. The ESP32 operates at 3.3V logic, meaning you must ensure the sensors included in the kit are 3.3V tolerant (like the BME280) rather than 5V-only legacy sensors (like the HC-SR04 ultrasonic sensor, which requires a logic level shifter to interface safely with an ESP32).
Why do some kits include a 9V battery snap?
This is largely a legacy inclusion. Powering an Arduino Uno via the barrel jack or Vin pin with a standard 9V alkaline battery is highly inefficient. The onboard linear voltage regulator will dissipate the excess voltage as heat, draining a standard 9V battery in under two hours. For portable projects, modern kits should instead include a 2S LiPo battery and a buck-boost converter.