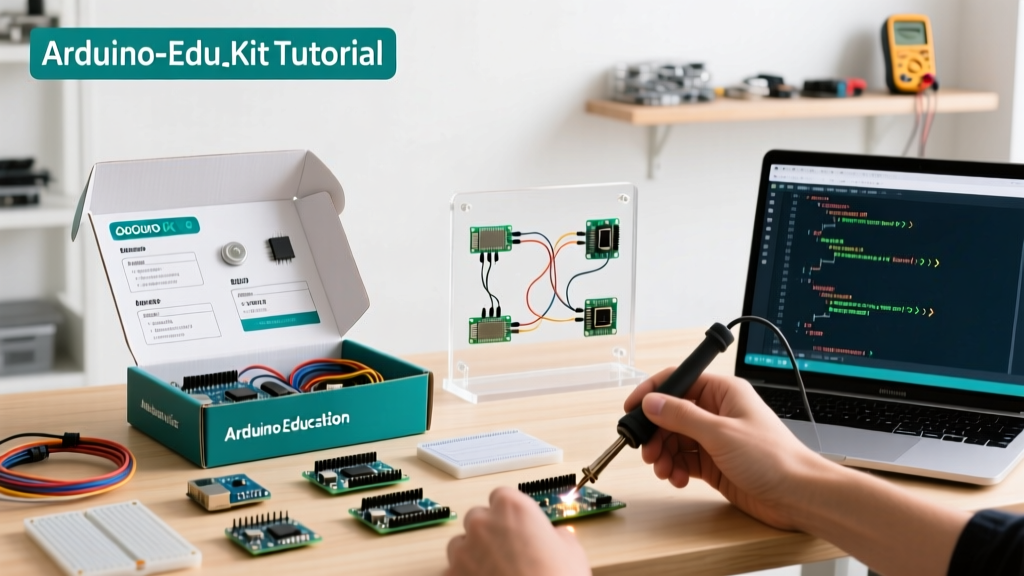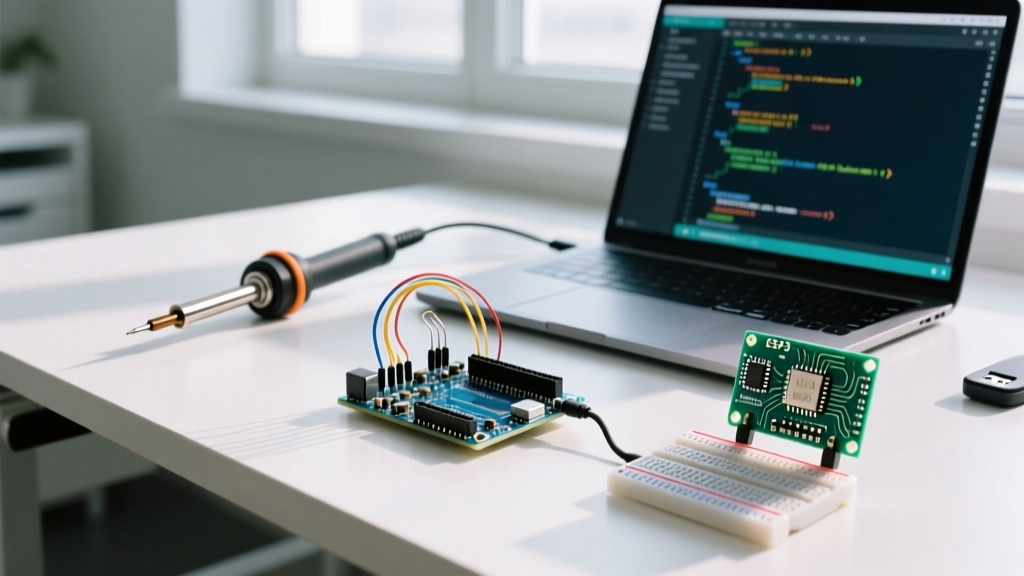

Introduction to Modern Arduino Board Configuration
Configuring an Arduino board (frequently searched by newcomers typing arduino borad in a hurry) requires far more than simply plugging in a USB cable in 2026. The maker ecosystem has evolved dramatically. While the classic ATmega328P remains a staple, modern development heavily features ARM Cortex-M4, RISC-V, and dual-core ESP32-S3 architectures. Proper configuration of the Integrated Development Environment (IDE), USB-to-serial bridge drivers, and low-level bootloader fuses is critical for reliable firmware deployment.
This guide bypasses generic advice and dives straight into the exact parameters, driver versions, and fuse bit configurations required to get your microcontroller communicating flawlessly with your host machine.
Modern IDE Environment & Board Manager Endpoints
As of 2026, the Arduino IDE 2.3.x series is the standard. It utilizes a robust Language Server Protocol (LSP) for code completion and requires precise Board Manager JSON endpoints to resolve third-party core dependencies. Relying solely on the built-in AVR boards is insufficient for modern IoT projects.
Configuring Additional Boards Manager URLs
Navigate to File > Preferences and locate the Additional boards manager URLs field. You must input comma-separated JSON endpoints for non-AVR silicon. Here are the verified, stable endpoints for the most popular 2026 architectures:
- Espressif ESP32 (v3.x Core):
https://raw.githubusercontent.com/espressif/arduino-esp32/gh-pages/package_esp32_index.json - Raspberry Pi RP2040/RP2350:
https://github.com/earlephilhower/arduino-pico/releases/download/global/package_rp2040_index.json - Adafruit SAMD (Cortex-M0+):
https://adafruit.github.io/arduino-board-index/package_adafruit_index.json
For deeper architectural insights on how the IDE parses these cores, refer to the Arduino IDE Official Documentation, which details the interaction between boards.txt and platform.txt during compilation.
USB-to-Serial Driver Configuration & Port Mapping
A massive point of failure in board configuration is the mismatch between the host OS and the onboard USB bridge chip. Understanding which chip your board uses dictates your driver strategy.
Native USB vs. Bridge Chips
Boards like the Uno R4 Minima or Nano RP2350 utilize Native USB. The microcontroller itself handles the USB CDC (Communication Device Class) protocol. These generally do not require third-party drivers on Windows 11/12 or modern Linux kernels.
Conversely, clone boards and legacy designs rely on bridge ICs:
- WCH CH340G / CH341A: Ubiquitous in budget clones. Windows 11 24H2 includes a basic signed driver, but for stable high-baud-rate uploads (1,500,000 baud), download the official WCH CH341SER.EXE (v3.8+).
- Silicon Labs CP2102: Common in NodeMCU and ESP8266 boards. Requires the CP210x Universal Windows Driver (v11.3.0) to properly map the DTR/RTS handshake lines for automatic boot-mode entry.
- FTDI FT232RL: Found in premium Pro Mini programmers. Use the FTDI CDM v2.12.36 driver to avoid latency issues caused by the default Windows inbox driver.
Linux Udev Rules for Non-Native Boards
On Ubuntu 24.04 or Fedora 40, non-root users often lack permission to write to /dev/ttyUSB0. Instead of running the IDE as root (a severe security risk), create a custom udev rule.
Pro-Tip: Create a file named
99-arduino.rulesin/etc/udev/rules.d/with the following content to grant dialout permissions to WCH and FTDI chips:SUBSYSTEM=="usb", ATTRS{idVendor}=="1a86", ATTRS{idProduct}=="7523", MODE="0666" SUBSYSTEM=="usb", ATTRS{idVendor}=="0403", ATTRS{idProduct}=="6001", MODE="0666"
After saving, reload the rules with sudo udevadm control --reload-rules && sudo udevadm trigger. The Adafruit Arduino IDE Setup Guide provides an excellent primer on Linux serial permissions.
Bootloader Flashing & AVR Fuse Bit Calibration
When uploading a sketch via ISP (In-System Programming) or when a board fails to accept serial uploads, the bootloader is often corrupted, or the fuse bits are misconfigured. The bootloader is a small program residing in the high-memory section that listens for serial data upon reset.
Restoring the Optiboot Bootloader
To restore the standard 16MHz Uno bootloader, you need an external ISP programmer like a USBasp or Atmel-ICE. Connect the 6-pin ICSP header and execute the following avrdude command via the IDE's Tools > Burn Bootloader or via CLI:
avrdude -c usbasp -p m328p -U flash:w:optiboot_atmega328p.hex:i -U lfuse:w:0xFF:m -U hfuse:w:0xDE:m -U efuse:w:0xFD:mDecoding the Fuse Bits
Understanding the hex values is crucial for advanced configuration. Using the Engbedded AVR Fuse Calculator, we can decode the standard Uno configuration:
- Low Fuse (0xFF): Configures the clock source.
0xFFselects the External Crystal Oscillator (8-16 MHz) with a Start-Up Time (SUT) of 16K CK and an additional 65ms delay. This is vital for ensuring the crystal stabilizes before the MCU executes code. - High Fuse (0xDE): Sets the bootloader size to 512 words (1024 bytes) and enables the Serial Program Downloading (SPIEN) fuse. If SPIEN is disabled, you can no longer program the chip via ICSP without a high-voltage programmer.
- Extended Fuse (0xFD): Configures the Brown-Out Detection (BOD) level to 2.7V. This prevents the MCU from executing erratic code if the supply voltage sags during a brownout event.
Hardware Matrix: 2026 Board Specifications
Selecting the right board requires matching the silicon capabilities to your project constraints. Below is a configuration matrix for the most relevant boards in the current ecosystem.
| Board Model | Core MCU | USB Interface | Bootloader Protocol | Default Clock | Avg. Price (2026) |
|---|---|---|---|---|---|
| Uno R4 Minima | Renesas RA4M1 (ARM Cortex-M4) | Native USB | DFU / TinyUF2 | 48 MHz | $19.00 |
| Nano ESP32 | ESP32-S3 (Dual-Core Xtensa) | Native USB | USB-Serial-JTAG | 240 MHz | $21.00 |
| Nano RP2350 Connect | Raspberry Pi RP2350 | Native USB | UF2 Mass Storage | 150 MHz | $24.00 |
| Classic Uno R3 (Clone) | ATmega328P | CH340G Bridge | Optiboot (UART) | 16 MHz | $6.50 |
Advanced ESP32 Flash Partitioning
When configuring ESP32-based Arduino boards for IoT applications, the default partition table is rarely sufficient. The ESP32 Arduino Core uses a CSV file to define how the 4MB or 8MB SPI flash is divided between the bootloader, OTA (Over-The-Air) update partitions, and the filesystem.
In 2026, LittleFS has completely replaced SPIFFS due to its superior wear-leveling and power-loss resilience. To configure a custom partition scheme for an ESP32-S3 with OTA support and a 1.5MB LittleFS partition, create a partitions.csv file in your sketch root:
# Name,   Type, SubType, Offset,  Size, Flags
nvs,      data, nvs,     0x9000,  0x5000,
otadata,  data, ota,     0xe000,  0x2000,
app0,     app,  ota_0,   0x10000, 0x140000,
app1,     app,  ota_1,   0x150000,0x140000,
spiffs,   data, spiffs,  0x290000,0x170000,
Ensure you select Tools > Partition Scheme > Custom in the IDE to force the compiler to use this layout instead of the default default_8MB.csv.
Edge Case Troubleshooting
Even with perfect configuration, edge cases occur. Here is how to resolve the most stubborn upload failures.
The 'stk500_recv() Programmer is Not Responding' Error
This error indicates that avrdude sent a synchronization byte to the Optiboot bootloader, but received no reply.
- Auto-Reset Circuit Failure: Clone boards often use a 0.1µF capacitor between the DTR line and the RESET pin. If this capacitor is missing or damaged, the board won't reset into the bootloader. Fix: Manually press and release the reset button exactly when the IDE console says 'Uploading...'.
- Wrong Processor Speed: If the board was compiled for 8MHz (internal RC oscillator) but is physically running at 16MHz, the baud rate math will be wrong. The bootloader will listen at 57600 baud instead of 115200. Fix: Re-burn the bootloader using the correct clock configuration.
Native USB 'Port Greyed Out' on RP2040/RP2350
If your board crashes during a Serial.begin() initialization or enters a hard fault loop, the USB stack may crash, causing the COM port to disappear from the OS device manager.
Fix: Hold the BOOTSEL button while plugging in the USB cable. This forces the ROM bootloader to mount the board as a mass storage device (RPI-RP2), bypassing the corrupted user firmware. You can then drag and drop a known-good UF2 file or use the IDE to flash a recovery sketch.
Conclusion
Mastering Arduino board configuration in 2026 means looking past the basic 'plug-and-play' myth. By understanding the nuances of USB bridge drivers, accurately mapping IDE board manager endpoints, and confidently manipulating AVR fuse bits or ESP32 partition tables, you transform from a casual hobbyist into a capable embedded systems engineer. Keep your toolchains updated, verify your hardware matrix, and always validate your clock sources before deployment.