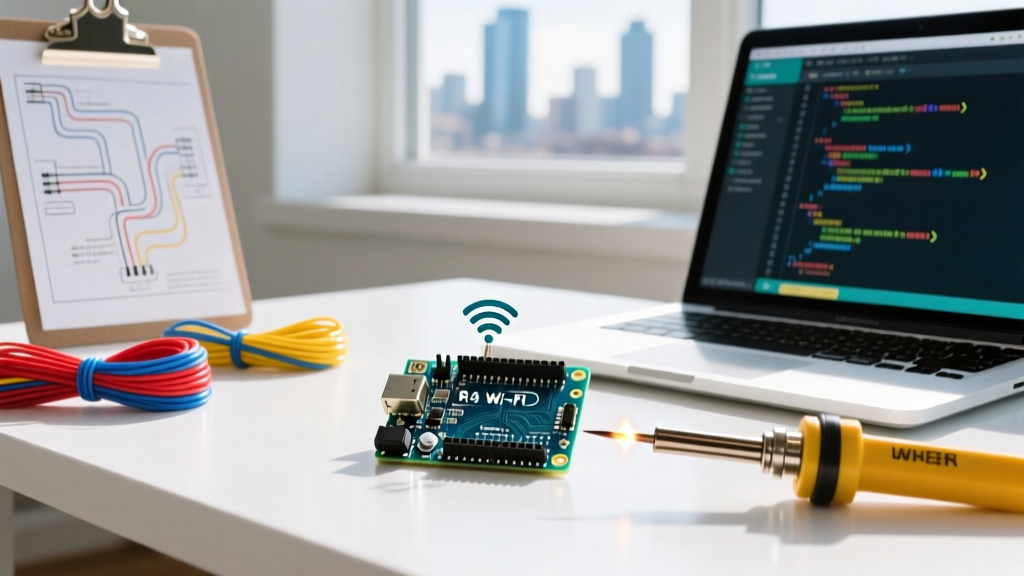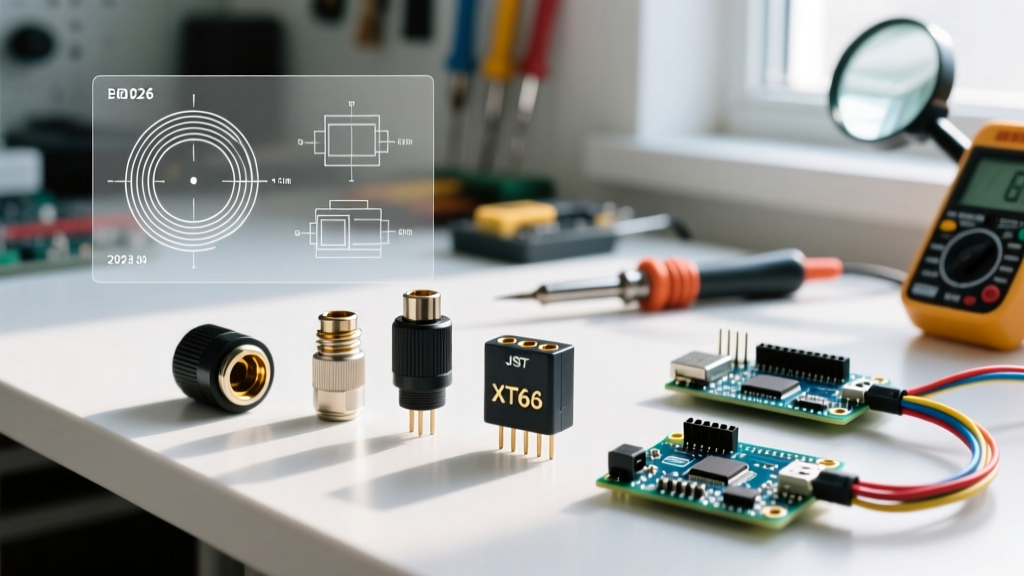

The Maker Community's Definitive Arduino Battery Connector Roundup
Power delivery is the silent killer of portable microcontroller projects. You can write flawless C++ code and design a beautiful PCB, but if your arduino battery connector introduces voltage drop, thermal throttling, or intermittent contact, your project will fail in the field. As we move through 2026, the maker community has largely moved away from relying solely on the Arduino's onboard linear regulators, favoring direct-switching power architectures and robust physical connections.
In this community resource roundup, we have aggregated data from robotics forums, portable art installation guides, and IoT deployment logs to bring you the definitive guide on choosing, crimping, and managing battery connectors for your MCU projects.
Connector Standards Compared: What the Community Actually Uses
Not all connectors are created equal. Below is a comparison matrix of the most prevalent battery connectors used in the Arduino and custom PCB ecosystem today, complete with real-world current limits and community consensus on their best applications.
| Connector Type | Pitch / Size | Safe Continuous Current | Best Use Case | Avg. Cost (per pair) |
|---|---|---|---|---|
| JST-PH | 2.0mm | 1.0A - 2.0A | Standard 3.7V LiPo batteries (up to 2000mAh) | $0.15 - $0.30 |
| JST-XH | 2.5mm | 3.0A | Battery management systems (BMS), custom sensor arrays | $0.20 - $0.40 |
| DC Barrel Jack | 5.5x2.1mm | 2.0A - 5.0A | Wall adapters, heavy-duty 9V/12V lead-acid setups | $0.50 - $1.00 |
| XT60 | N/A (Bullet) | 60.0A | High-draw mobile robots, e-bikes, large LiPo packs | $1.00 - $2.00 |
| Screw Terminal | 3.5mm / 5.0mm | 8.0A - 15.0A | Permanent industrial IoT installations, thick 14 AWG wire | $0.30 - $0.80 |
The Great JST Confusion: PH vs. XH
If you have ever ordered 'JST connectors' from a generic marketplace only to find they do not fit your Adafruit or SparkFun LiPo battery, you have fallen victim to the pitch confusion. The community universally standardizes on two distinct JST series for low-power MCU applications:
- JST-PH (2.0mm pitch): This is the undisputed king of single-cell 3.7V LiPo batteries. If you are buying off-the-shelf lithium polymer batteries for an Arduino Nano 33 IoT or an ESP32 project, they will almost certainly terminate in a JST-PH 2-pin connector. The Adafruit PowerBoost 1000C, a community favorite for 5V step-up regulation, features a native JST-PH receptacle.
- JST-XH (2.5mm pitch): Slightly larger and capable of handling higher currents. You will frequently find these on multi-cell battery packs, balance charging leads, and custom PCB headers where 2.0mm pins might melt under a 2A continuous load.
Failure Mode Alert: The Barrel Jack Thermal Trap
Community Warning: Never route a high-current battery through the Arduino Uno's DC barrel jack if you are using the onboard 5V linear regulator. The NCP1117-5.0 regulator dissipates excess voltage as heat. If you input 9V and draw just 400mA, the regulator must burn off (9V - 5V) * 0.4A = 1.6 Watts. This will cause the barrel jack and regulator to overheat, triggering thermal shutdown and resetting your microcontroller.
The 2026 Best Practice: Bypass the barrel jack entirely. Use a JST-PH connector wired directly into a high-efficiency switching buck/boost converter (like the Pololu U3V40F5), and feed the resulting clean 5V directly into the Arduino's 5V pin. This eliminates the thermal bottleneck and increases battery life by up to 40%.
Step-by-Step: Crimping JST-PH Connectors Like a Pro
Pre-crimped pigtails are great for prototyping, but for a reliable deployment, you need to crimp your own wires. The community strongly advises against using cheap Dupont crimpers for JST connectors; the profiles are entirely different. Here is the professional workflow:
- Select the Right Wire: Use 26 AWG or 28 AWG stranded silicone wire. Silicone insulation won't melt when you solder or crimp, and its high strand count ensures a tight mechanical grip in the JST terminal.
- Strip Exactly 2.5mm: Use a precision wire stripper (like the Engineer PA-18). Stripping too much exposes bare copper outside the crimp, risking short circuits; stripping too little results in the insulation being crimped into the conductor wings, causing an open circuit.
- Use a Dedicated JST Crimper: The SN-01BM or the premium Engineer PA-09 (approx. $35) are the community's top picks. These tools feature the exact die profile required to fold the JST-PH terminal wings without crushing the central wire barrel.
- Verify the Pull Test: After crimping, give the wire a firm tug. A properly crimped JST-PH terminal should withstand 3-5 kg of pull force before failing. If it slides off, your crimp pressure was too light or your wire gauge is mismatched.
- Insert with the Latch Orientation: Push the crimped terminal into the plastic housing until you hear a distinct 'click'. Ensure the locking barb faces the correct direction (usually toward the center ridge of the housing) to prevent it from backing out during vibration.
Top 3 Community-Approved Power Boards with Integrated Connectors
To save time and ensure safety, many makers opt for power management boards that come with high-quality arduino battery connector receptacles pre-soldered. Here are the top three recommendations for 2026:
1. Adafruit PowerBoost 1000C
Featuring a native JST-PH connector, this board handles charging and 5V step-up regulation simultaneously. It can output over 1000mA continuously, making it perfect for Arduinos driving multiple servos or Neopixel strips. Price range: $20 - $25.
2. Pololu 5V Step-Up Voltage Regulator U3V40F5
While it requires you to solder your own JST pigtail, Pololu's U3V series is legendary in the robotics community for its incredibly low quiescent current and high efficiency (often >90%). It accepts input voltages as low as 1.3V, meaning it will squeeze every last drop of energy out of a dying LiPo cell. Price range: $8 - $12.
3. SparkFun LiPo Charger Basic (Micro USB / USB-C variants)
For projects that only need charging and raw battery voltage routing, SparkFun's basic chargers feature a robust JST-PH connector and a simple LED indicator. They charge at a safe 500mA default, which is ideal for standard 1000mAh to 2500mAh cells. Price range: $10 - $15.
Frequently Asked Questions (FAQ)
Can I use a 9V battery snap connector directly on the Arduino Vin pin?
Yes, but it is highly discouraged for long-term deployments. Standard 9V alkaline batteries have very high internal resistance and low total capacity (approx. 400-500mAh). When an Arduino and a few sensors draw 100mA, the voltage at the snap connector will quickly sag below the dropout voltage of the onboard regulator, causing random reboots. The community consensus is to use a 2S (7.4V) LiPo pack with a JST-XH connector instead.
My JST-PH connector is melting. What went wrong?
JST-PH connectors are rated for 2A maximum. If your project includes high-draw components like motors, large LED matrices, or GSM modules that spike above 2A, the 2.0mm pins will overheat and melt the plastic housing. Upgrade to a JST-XH (2.5mm) or an XT60 connector for any circuit anticipated to draw more than 1.5A continuously.
How do I safely disconnect a JST connector without breaking the wires?
Never pull on the wires. This will eventually pull the metal terminal out of the plastic housing or break the crimp. Use a small flathead screwdriver or a dedicated JST removal tool to gently pry up on the plastic latch of the connector housing while pulling the plastic shell, not the wires, away from the receptacle.
For more foundational knowledge on electronics interfaces, refer to the official Arduino hardware documentation to verify your specific board's voltage regulator limits and pinout diagrams before wiring your battery connectors.