
Beyond the Sketch: Elevating Arduino and C++ Firmware Development
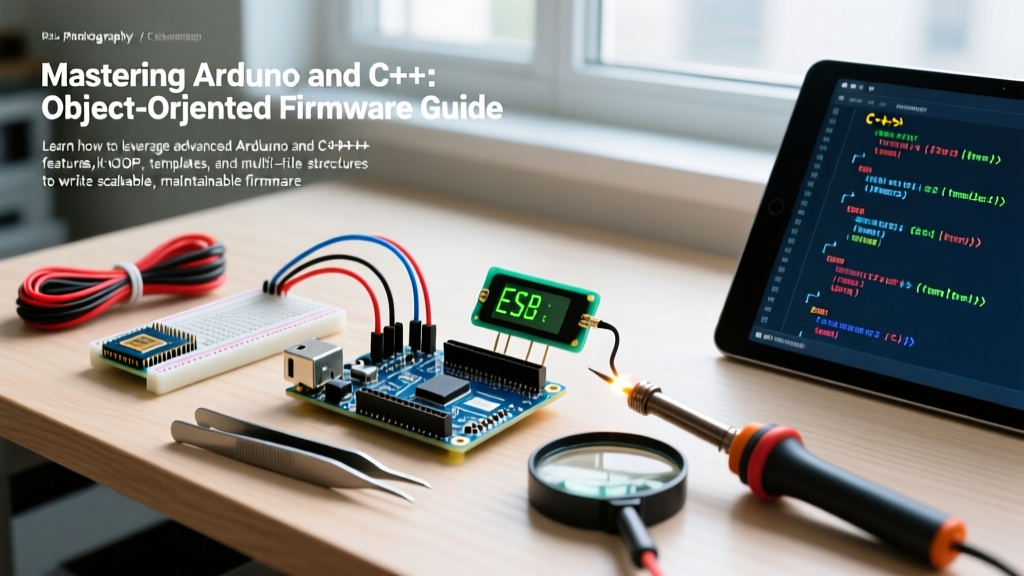
Most beginner tutorials treat the Arduino ecosystem as a procedural C environment, relying on monolithic .ino files packed with global variables and blocking delays. However, under the hood, the Arduino IDE compiles code using a full C++ compiler (such as avr-g++ or xtensa-g++). Mastering the intersection of Arduino and C++ object-oriented programming (OOP) transforms spaghetti sketches into scalable, production-ready firmware. In this comprehensive guide, we will explore how to leverage modern C++17 features, multi-file project structures, and zero-cost abstractions to write robust code for microcontrollers in 2026.
Step 1: Understand Your Toolchain Reality (AVR vs. ARM)
Before writing advanced C++, you must understand the compiler toolchain tied to your specific microcontroller. The classic Arduino Uno R3 (ATmega328P, priced around $22 in 2026) uses the 8-bit AVR architecture. Its GCC toolchain supports up to C++14, but you are severely constrained by 2KB of SRAM and 32KB of Flash. Conversely, modern boards like the Arduino Uno R4 Minima (Renesas RA4M1 ARM Cortex-M4, ~$27.60) or the ESP32-S3 (~$8.50) utilize 32-bit ARM and Xtensa toolchains that fully support C++17. This distinction dictates which C++ features you can safely use without bloating your binary or exhausting your heap.
Enabling C++17 in PlatformIO
If you are still using the default Arduino IDE 2.2.x, you are at the mercy of its hidden build flags. For serious C++ development, migrate to PlatformIO. You can force the C++17 standard by modifying your platformio.ini file:
[env:esp32s3]
platform = espressif32
board = esp32-s3-devkitc-1
framework = arduino
build_flags = -std=gnu++17
For deeper configuration options, refer to the official PlatformIO Build Flags documentation to fine-tune your compiler optimizations.
Step 2: Structuring a Multi-File C++ Project
The single-file .ino approach fails when your project exceeds 500 lines. Professional firmware separates hardware drivers, business logic, and UI components. In a PlatformIO or advanced Arduino IDE workspace, structure your project as follows:
- include/: Header files (
.h) containing class declarations and interfaces. - src/: Implementation files (
.cpp) containing the actual C++ logic. - lib/: Local, project-specific libraries.
When creating C++ files for Arduino, you must include the core API header at the top of every .cpp file to access functions like digitalWrite() or millis():
#include <Arduino.h>
#include 'MotorController.h'
According to the Arduino Language Reference, the IDE automatically prototypes functions in .ino files, but in pure .cpp files, you must manually manage your headers and forward declarations.
Step 3: Designing Hardware-Agnostic Classes via Dependency Injection
A common mistake in Arduino C++ is hardcoding hardware pins directly inside a class. This makes unit testing impossible and prevents code reuse across different PCB revisions. Instead, use Dependency Injection (DI) to pass hardware interfaces into your classes.
The Anti-Pattern: Hardcoded Pins
class Pump {
  public:
    void turnOn() { digitalWrite(8, HIGH); }
};
The C++ Best Practice: Interface Injection
Define an abstract interface for hardware control, then inject it into your business logic class. This allows you to mock the hardware during desktop testing.
class IPinOutput {
  public:
    virtual void setHigh() = 0;
    virtual void setLow() = 0;
};

class ArduinoPin : public IPinOutput {
  private:
    uint8_t _pin;
  public:
    ArduinoPin(uint8_t pin) : _pin(pin) { pinMode(_pin, OUTPUT); }
    void setHigh() override { digitalWrite(_pin, HIGH); }
    void setLow() override { digitalWrite(_pin, LOW); }
};

class IrrigationSystem {
  private:
    IPinOutput* _pumpPin;
  public:
    IrrigationSystem(IPinOutput* pump) : _pumpPin(pump) {}
    void waterPlants() { _pumpPin->setHigh(); }
};
Step 4: Memory Management and the Heap Trap
When combining Arduino and C++, memory management is the most critical edge case. On an ESP32-S3 with 512KB of SRAM, using the new and delete keywords or std::vector is generally safe. However, on an ATmega328P (2KB SRAM), dynamic allocation causes severe memory fragmentation, eventually leading to a hard crash when the heap and stack collide.
Expert Rule of Thumb: Never use dynamic allocation (new,malloc, orStringobjects) inside theloop()function on 8-bit AVR microcontrollers. Always prefer static allocation, memory pools, or fixed-size arrays.
If you are developing for 32-bit ARM boards and must use dynamic memory, leverage C++11 smart pointers like std::unique_ptr to ensure deterministic cleanup and prevent memory leaks during exception handling.
Step 5: Zero-Cost Abstractions with C++ Templates
Virtual functions (used in the DI example above) introduce a slight overhead due to vtable lookups, which costs precious clock cycles and Flash memory on constrained devices. C++ templates offer 'zero-cost abstractions'—allowing you to write generic code that the compiler resolves entirely at compile-time.
As detailed in the CppReference guide on templates, template metaprogramming shifts the computational burden from the microcontroller's runtime to your PC's compile time. Here is how to rewrite the Pin Output using templates:
template <uint8_t PIN>
class FastPin {
  public:
    static void init() { pinMode(PIN, OUTPUT); }
    static void setHigh() { digitalWrite(PIN, HIGH); }
    static void setLow() { digitalWrite(PIN, LOW); }
};

// Usage in main.cpp
FastPin<8> pumpPin;
void setup() {
  pumpPin.init();
}
Because the pin number 8 is known at compile-time, an optimizing compiler like avr-g++ -O2 will inline the digitalWrite call, reducing it to a single, ultra-fast assembly port-manipulation instruction.
Comparison: Procedural C vs. OOP C++ on Microcontrollers
| Feature | Procedural C (Standard Sketch) | Object-Oriented C++ (Advanced) |
|---|---|---|
| State Management | Global variables (prone to naming collisions) | Encapsulated class members (private/protected) |
| Code Reusability | Copy-pasting functions, macro hacks | Templates, inheritance, and composition |
| Hardware Coupling | Highly coupled to specific pins/boards | Decoupled via interfaces and dependency injection |
| Memory Overhead | Minimal, but risks global namespace bloat | vtable overhead (if using virtuals), optimized via templates |
| Testing | Requires physical hardware on the bench | Can be mocked and unit-tested on a desktop PC |
Edge Cases: C++ Objects and Interrupt Service Routines (ISRs)
A frequent failure mode when merging Arduino and C++ is attempting to call class methods directly from an Interrupt Service Routine (ISR). ISRs on AVR and ARM architectures are strict C-style functions; they do not possess a this pointer. If you attempt to call a non-static member function inside an ISR, the compiler will throw an error.
The Workaround: Static Instance Pointers
To bridge the gap between C-style ISRs and C++ objects, use a static pointer to the class instance. Ensure any variables modified by the ISR are marked volatile and protected by critical sections (noInterrupts() / interrupts()) when read in the main loop.
class Encoder {
  private:
    static Encoder* _instance;
    volatile int32_t _position;
  public:
    Encoder() { _instance = this; _position = 0; }
    static void isrHandler() {
      if (_instance) _instance->updatePosition();
    }
    void updatePosition() { _position++; }
    int32_t getPosition() {
      noInterrupts();
      int32_t pos = _position;
      interrupts();
      return pos;
    }
};
Encoder* Encoder::_instance = nullptr;
Conclusion
Transitioning from basic Arduino sketches to advanced C++ firmware engineering requires a shift in mindset. By embracing multi-file architectures, dependency injection, strict memory management, and template metaprogramming, you can write firmware that is not only highly efficient but also maintainable and testable. Whether you are building a simple weather station on an Arduino Nano Every or a complex robotic controller on an ESP32-S3, mastering the true capabilities of Arduino and C++ is the definitive step from hobbyist to professional embedded engineer.