
The ChromeOS Challenge for Makers in 2026
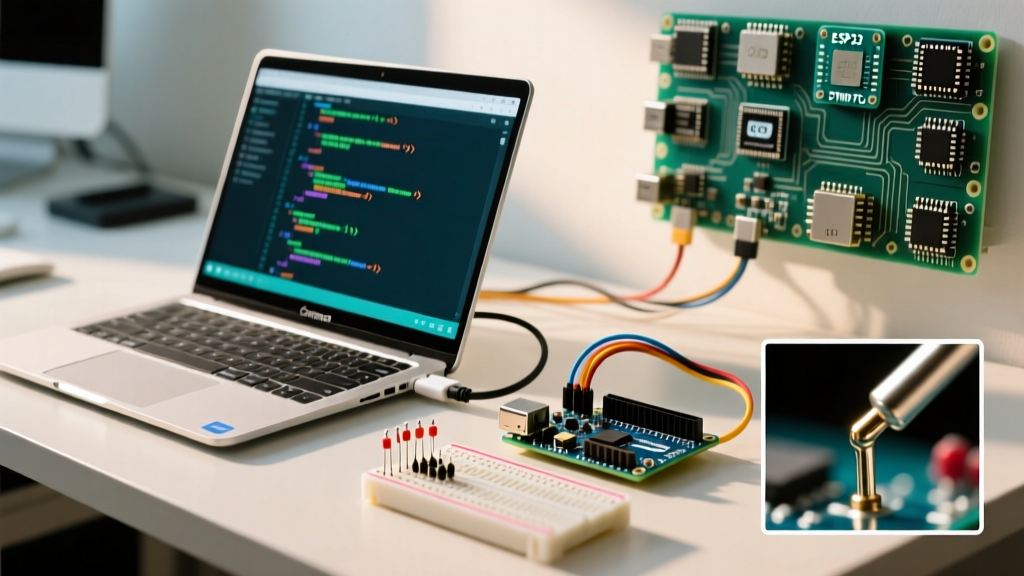
As schools and makerspaces continue to deploy Chromebooks like the Acer Chromebook Spin 514 and Lenovo IdeaPad Flex 3 for STEM education, a common frustration has emerged: how do you reliably connect an Arduino and Chromebook for local sketch compilation and uploading? Unlike Windows or macOS, ChromeOS is a locked-down, browser-centric environment. While the ecosystem has matured significantly by 2026, bridging the gap between a microcontroller's serial port and ChromeOS requires specific workarounds.
In this community resource roundup, we dissect the three primary methods for coding and flashing Arduinos on a Chromebook, highlighting the hidden pitfalls of cloud-based IDEs and providing exact terminal commands for Linux container setups.
Method 1: The Arduino Cloud Myth and Reality
Many beginner tutorials recommend the Arduino Web Editor (part of Arduino Cloud) as the ultimate Chromebook solution. The logic seems sound: it runs entirely in the Chrome browser. However, the community quickly hits a massive roadblock regarding local USB flashing.
The Create Agent Limitation
To flash code via USB, the Web Editor requires the Arduino Create Agent running in the background to act as a bridge between the browser and the local serial port. As of 2026, Arduino provides Create Agent installers for Windows, macOS, and Linux. There is no native ChromeOS installer.
- The Failure Mode: You can write and compile code in the browser, but clicking Upload will yield a No port selected or Agent not running error.
- The Workaround: You can only use Arduino Cloud for OTA (Over-The-Air) updates if you are using Wi-Fi-enabled boards like the ESP32 or Arduino Nano RP2040 Connect, completely bypassing the USB requirement.
Community Verdict: Arduino Cloud is excellent for IoT dashboard management and remote OTA updates, but it is fundamentally broken for local USB flashing of standard boards (like the Uno R3 or Nano) directly from ChromeOS.
Method 2: Linux (Crostini) and Arduino IDE 2.3.x (The Power User Route)
The most robust, fully-featured method endorsed by the maker community is leveraging the built-in Linux development environment (Crostini) on your Chromebook. This allows you to run the full, offline Arduino IDE 2.3.x desktop application.
Step-by-Step Crostini Setup
- Enable Linux: Navigate to
Settings > Advanced > Developersand turn on the Linux development environment. Allocate at least 10GB of storage, as board packages (especially for ESP32 and STM32) consume significant space. - Download the IDE: Visit the official Arduino Linux installation docs and download the
.debpackage for Arduino IDE 2.3.x. - Install via Terminal: Open the Linux terminal and run:
sudo apt updatesudo apt install ./arduino-ide_2.3.4_Linux_64bit.deb - USB Passthrough: This is the most critical step. Plug in your Arduino. Navigate to
Settings > Advanced > Developers > Linux development environment > Manage USB devices. Toggle the switch next to your Arduino (often listed as Arduino SA or QinHeng Electronics for clones) to share it with Linux.
Fixing the Permission Denied Serial Error
Even with USB passthrough enabled, the Linux container will block serial access by default. You must add your user to the dialout group. Run this command in the terminal, then restart the Linux container:
sudo usermod -a -G dialout $USER
Hardware Considerations: ARM vs. x86 Chromebooks
Not all Chromebooks are created equal when it comes to compiling C++ code for microcontrollers. The architecture of your Chromebook's processor dictates how smoothly the Linux container will handle large Arduino sketches.
- x86 Processors (Intel Celeron, Core i3/i5): Found in premium models like the Lenovo ThinkPad C13 Yoga. These natively support the standard Arduino IDE and compile complex ESP32 sketches with dozens of libraries in seconds.
- ARM Processors (MediaTek, Snapdragon): Common in budget and education models like the Lenovo IdeaPad 3 Chromebook. The Arduino IDE 2.x does have an ARM64 Linux build, but many third-party board packages (like certain STM32 or ESP8266 cores) lack pre-compiled ARM toolchains. This forces the IDE to attempt x86 emulation, resulting in compilation times that can stretch from 5 seconds to over 3 minutes.
Pro-Tip for ARM Users: If you are on an ARM-based Chromebook, allocate at least 4GB of RAM to your Linux container in the ChromeOS settings. The Java-based language server in Arduino IDE 2.x is memory-hungry, and hitting the default 2GB swap limit will cause the IDE to crash silently during the Verifying phase.
Method 3: ArduinoDroid via Google Play (The Offline Tablet Route)
If your Chromebook supports Android apps and you need a quick, offline solution without configuring Linux, ArduinoDroid from the Google Play Store is a viable fallback.
- Hardware Required: A USB-C to USB-A OTG adapter (approx. $8 on Amazon).
- Capabilities: Supports basic AVR boards (Uno, Mega, Nano) and includes a built-in serial monitor.
- Limitations: Compiling complex sketches with heavy libraries (like FastLED or TFT_eSPI) is painfully slow on ARM-based Chromebook processors. Furthermore, adding custom Board Manager URLs (like the Espressif ESP32 JSON link) is notoriously buggy in the Android app interface.
Comparison Matrix: Chromebook Arduino Workflows
| Feature | Arduino Cloud (Browser) | Linux Crostini (IDE 2.x) | ArduinoDroid (Android) |
|---|---|---|---|
| Local USB Flashing | No (Create Agent missing) | Yes (via USB Passthrough) | Yes (via OTG Cable) |
| ESP32 / Wi-Fi Support | Yes (OTA only) | Full Support | Limited / Buggy |
| Offline Capability | No | Yes | Yes |
| Setup Complexity | Low (but fails at upload) | Medium (requires terminal) | Low (Plug and Play) |
| Estimated Cost | Free / $11.99/mo (Maker) | Free (Open Source) | Free / $6.99 (Pro) |
Troubleshooting: Serial Port and Driver Nightmares
When connecting an Arduino and Chromebook via the Linux container, driver recognition is a frequent pain point, particularly with budget-friendly clones.
The CH340G vs. ATmega16U2 Divide
Genuine Arduino boards use the ATmega16U2 USB-to-Serial chip, which is natively recognized by the Linux kernel as /dev/ttyACM0. However, most third-party boards (Elegoo, Rexqualis) use the CH340G or CP2102 chips to cut costs. These map to /dev/ttyUSB0.
If your board is not showing up in the IDE's port menu, open the Linux terminal and verify the kernel is seeing the USB handshake:
dmesg | grep tty
If you see ch341-uart converter now attached to ttyUSB0, the hardware connection is successful, and your issue is strictly the dialout permissions mentioned in Method 2. For deeper hardware verification, the Google Chromebook Linux support documentation provides excellent baseline troubleshooting for Crostini USB peripheral failures.
Final Community Recommendations
For serious makers, robotics teams, and students using an Arduino and Chromebook in 2026, Method 2 (Linux Crostini) is the undisputed champion. It provides the exact same development experience as a premium Windows laptop, completely free of charge. Invest 15 minutes into setting up the Linux container, configure your USB passthrough, and you will never be locked out of your microcontroller projects again.