
The ChromeOS Paradigm Shift: Why Migrate?
Transitioning from a traditional Windows or macOS development environment to a Chromebook fundamentally changes how you interact with microcontrollers. The ChromeOS architecture, built on a hardened Linux kernel with strict sandboxing, does not natively support legacy x86_64 desktop applications like the classic Arduino IDE 1.8.x or the desktop-based Arduino Create Agent. For makers, students, and IoT engineers, this means the local toolchain must be replaced or heavily modified.
Fortunately, Arduino Cloud provides a seamless, browser-based ecosystem that perfectly aligns with ChromeOS. By migrating to Arduino Cloud for Chromebook, you bypass local driver installations, leverage cloud-based compilation, and gain access to over-the-air (OTA) updates for IoT deployments. This guide details the exact migration steps, hardware compatibility nuances, and 2026 IoT tier configurations required to make the switch.
Hardware Compatibility Matrix: Web Serial vs. Crostini
Before migrating your workflow, you must understand how ChromeOS communicates with USB devices. Historically, developers relied on the Linux development environment (Crostini) and complex USB passthrough rules. Today, Chrome's native Web Serial API handles most modern boards directly in the browser, eliminating the need for background agents.
| Microcontroller Board | Web Serial API (Browser Native) | Crostini USB Passthrough (Linux) | Recommended Cloud Workflow |
|---|---|---|---|
| Arduino Nano ESP32 | Full Support | Supported (via lsusb) | Web Serial (IoT Cloud) |
| Arduino Uno R4 WiFi | Full Support | Supported | Web Serial (Web Editor) |
| Raspberry Pi Pico W | Full Support (UF2/Serial) | Supported (OpenOCD) | Web Serial (IoT Cloud) |
| Legacy ATmega328P (Uno R3) | Partial (CH340G drivers vary) | Highly Reliable | Crostini / Web Serial |
| ESP32-S3 DevKitC-1 | Full Support | Supported | Web Serial (IoT Cloud) |
Step-by-Step Migration: Local IDE to Cloud Editor
Moving your existing codebase to the cloud requires careful handling of custom libraries and multi-file sketches. Follow this exact procedure to ensure zero data loss during the migration.
1. Exporting Local Sketches and Libraries
The Arduino Cloud Web Editor does not automatically scan your local hard drive. You must package your dependencies.
- Open your local Arduino IDE and navigate to Sketch > Export Compiled Binary to ensure your code currently compiles without errors.
- Zip your entire sketch folder, including all
.ino,.h, and.cppfiles. - For custom or modified third-party libraries, navigate to your local
Documents/Arduino/librariesdirectory and compress the specific library folders into individual.zipfiles.
2. Importing to Arduino Cloud
- Log into the Arduino Cloud Web Editor via your Chromebook's Chrome browser.
- Navigate to the Libraries tab on the left sidebar and click Import. Upload your custom
.ziplibraries. Note that standard Library Manager dependencies are resolved automatically by the cloud compiler. - Go to the Sketchbook tab, click Import Sketch, and upload your zipped sketch folders.
Pro Tip for 2026: If your legacy sketches use deprecated functions like WiFiClientSecure without proper certificate validation, the cloud compiler (which uses the latest ESP32/Arduino cores) will throw strict warnings or errors. Update your TLS handshake routines before migrating to avoid compilation bottlenecks.
Configuring the Web Serial API on ChromeOS
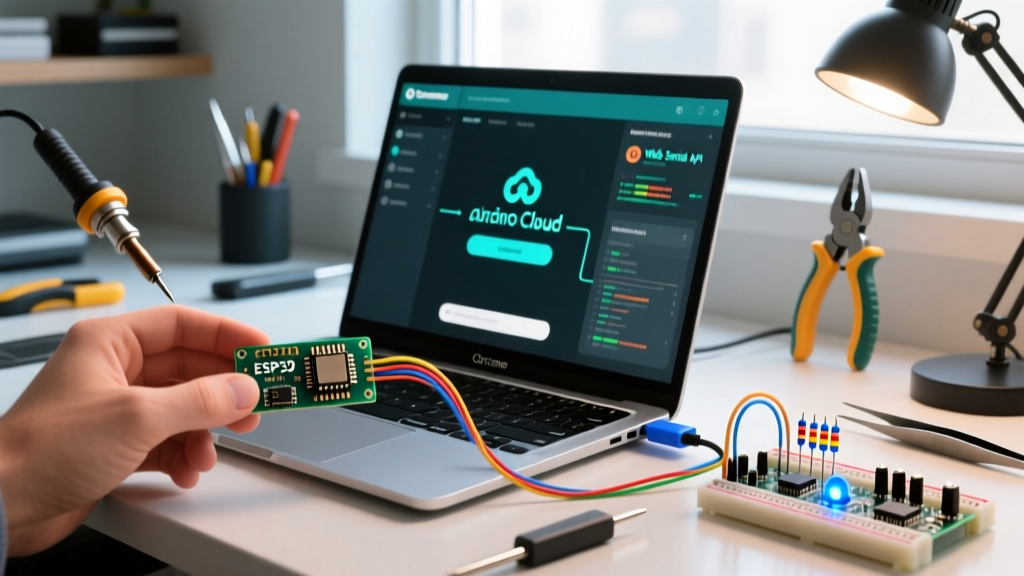
The Web Serial API is the backbone of Arduino Cloud for Chromebook. It allows the browser to send compiled binaries directly to the microcontroller's UART/USB interface without a local daemon.
Enabling and Granting Permissions
When you connect your board (e.g., Arduino Nano ESP32) and click Upload in the Web Editor, Chrome will trigger a permission modal.
- Select the correct port: You will typically see two options. Select the one labeled with the specific chipset (e.g., 'Espressif USB JTAG' or 'Arduino Nano ESP32') rather than the generic 'USB Serial Device'.
- Bootloader Edge Case: Some ESP32-S3 boards require manual entry into download mode. If the upload stalls at 0%, hold the 'BOOT' button on the board, press 'RESET', release 'RESET', then release 'BOOT' before clicking Upload in the browser.
Upgrading to Arduino IoT Cloud: 2026 Configurations
If your migration involves connected devices, the Arduino IoT Cloud is essential. The platform's architecture allows you to define 'Things' (devices) and 'Variables' (data points) that automatically generate the underlying C++ connection code.
2026 Tier Breakdown and Limits
| Plan Tier | Monthly Cost (2026) | Device Limit | Cloud Variables | Message Retention |
|---|---|---|---|---|
| Free | $0.00 | 2 Devices | 5 per Device | 1 Day |
| Maker | $5.99 | 5 Devices | 25 per Device | 7 Days |
| Maker Plus | $14.99 | 10 Devices | 50 per Device | 30 Days |
For most Chromebook-based makers building home automation or environmental monitoring dashboards, the Maker tier ($5.99/mo) provides the optimal balance. It unlocks OTA (Over-The-Air) updates, meaning you can push code modifications from your Chromebook to an ESP32 in the field without physically plugging it into your USB-C hub.
Troubleshooting Edge Cases and Common Failures
ChromeOS is notorious for aggressive power management and sandbox restrictions. Here is how to resolve the most common migration blockers.
Failure Mode 1: Crostini USB Passthrough Dropouts
If you are using the Linux terminal to flash boards via avrdude or esptool.py instead of the Web Editor, you must attach the USB device to the Linux container via the ChromeOS settings menu (Settings > Developers > Linux development environment > Manage USB devices).
- The Issue: ChromeOS reclaims the USB device if the Linux container is idle for more than 5 minutes.
- The Fix: Run a lightweight background ping or keep the terminal active. Alternatively, map a persistent
udevrule inside the Crostini container, though ChromeOS host-level reclamation will still override it. For reliable flashing, stick to the Web Serial API.
Failure Mode 2: Web Serial Port Grayed Out
Sometimes the 'Connect' button in the Arduino Cloud Web Editor remains grayed out despite the board being plugged in.
- Cause: Another Chrome tab or background extension (like a 3D printer slicer or serial terminal) has already claimed the serial port lock.
- Resolution: Close all other browser tabs. Navigate to
chrome://device-log/in your address bar to verify if ChromeOS recognizes the USB insertion at the hardware level. If it shows up here but not in the editor, a rogue extension is holding the port.
Failure Mode 3: Missing Board Definitions in Cloud
If you are migrating from a local IDE where you installed third-party board manager URLs (like the ESP8266 community core or STM32duino), you must add these URLs to your Arduino Cloud account.
- Click your profile icon in the top right of the Web Editor.
- Select Preferences.
- Paste your third-party JSON URLs into the Additional Boards Manager URLs field, separated by commas.
- Wait for the cloud compiler to index the new cores before selecting your board from the dropdown menu.
Final Thoughts on the Cloud Workflow
Migrating to Arduino Cloud for Chromebook transforms a hardware limitation into a streamlined, cloud-native advantage. By relying on the Web Serial API and leveraging the IoT Cloud's automated variable mapping, you eliminate the driver conflicts and environment variable nightmares that plague local Windows and macOS setups. Ensure your custom libraries are properly zipped, verify your Web Serial port permissions, and select the appropriate 2026 IoT tier for your deployment scale. Your Chromebook is now a fully capable, portable microcontroller development powerhouse.