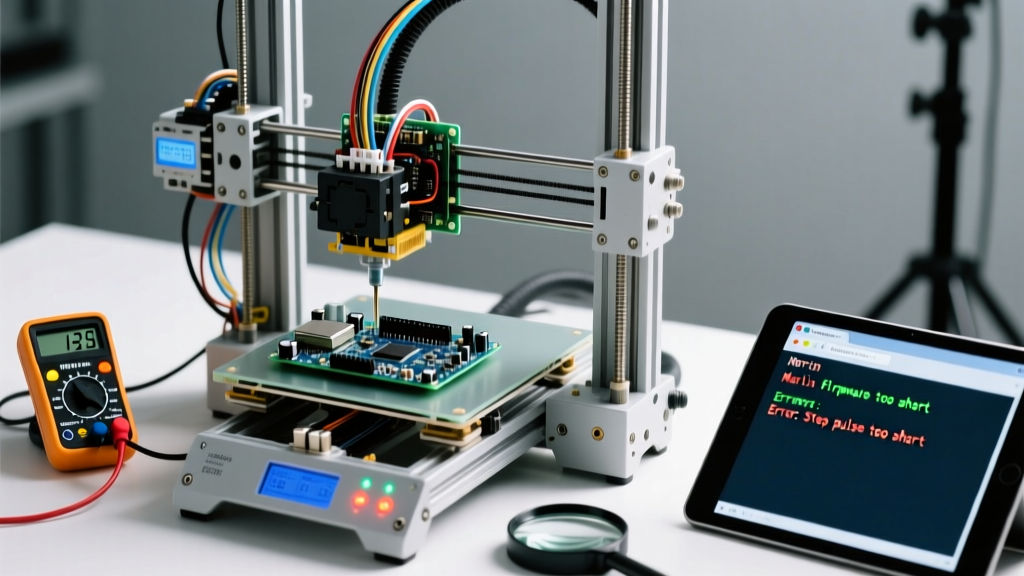

The Enduring Legacy of Arduino-Based 3D Printers in 2026
While the consumer market has largely shifted to 32-bit ARM Cortex-M0 and M4 boards, the classic Arduino 3D printer configuration—specifically the Arduino Mega 2560 paired with a RAMPS 1.4 shield—remains a staple in custom RepRap builds, university engineering labs, and DIY CNC conversions. Running Marlin firmware on an 8-bit AVR microcontroller is a rite of passage, but it comes with distinct hardware and software bottlenecks. This guide dives deep into the most critical failure modes of Arduino-driven 3D printers and provides exact, actionable fixes for stepper stuttering, serial dropouts, and thermal safety hazards.
Diagnosing USB Serial Dropouts & Upload Failures
A frequent frustration when flashing Marlin to an Arduino Mega 2560 is serial communication failure. This usually stems from a mismatch between the USB-to-Serial bridge chip on your specific board clone and your host OS drivers.
The CH340G vs. ATmega16U2 Divide
Official Arduino boards use the ATmega16U2 chip for USB communication, while budget clones (typically priced between $12 and $16 in 2026) use the WCH CH340G chip. Modern operating systems like Windows 11 and macOS Sonoma often enforce strict driver signatures that can cause silent packet drops with outdated CH340 drivers. If your Arduino IDE fails to upload or OctoPrint drops the connection mid-print, verify your baud rate in Configuration.h.
- ATmega16U2 (Official): Supports stable communication at
250000baud. - CH340G (Clones): Often suffers from buffer overflows at 250k. Force your baud rate to
115200in Marlin and your host software (Pronterface, OctoPrint, or Cura) to eliminate packet loss and ghost pauses during complex curve printing.
Stepper Motor Stuttering and RAMPS 1.4 Thermal Throttling
Stuttering axes or skipped layers are rarely caused by the Arduino's processing speed; they are almost always the result of stepper driver thermal shutdown. The RAMPS 1.4 shield relies on pololu-style socketed drivers. If you are still using legacy A4988 drivers in 2026, you are leaving performance and acoustic comfort on the table.
Stepper Driver Comparison and VREF Tuning
| Driver Model | Max Continuous Current | Target VREF (0.1Ω Rsense) | Microstepping | Approx. Cost (2026) |
|---|---|---|---|---|
| A4988 | 1.0A (with active cooling) | 0.8V | 1/16 | $3 - $5 |
| DRV8825 | 1.5A (with active cooling) | 1.2V | 1/32 | $4 - $6 |
| TMC2209 V1.2 | 2.0A (UART capable) | 1.1V (RMS ~1.5A) | 1/256 (interpolated) | $8 - $12 |
Note: The VREF formula is VREF = Imax × 8 × Rsense. Always measure with a digital multimeter (black probe on RAMPS GND, red probe on the driver's trimmer potentiometer) while the board is powered via 12V, but with the motors physically disconnected to prevent back-EMF damage.
Expert Upgrade Tip: Swap your noisy A4988s for TMC2209 drivers. Even on an 8-bit Arduino Mega, you can wire the TX/RX pins to the RAMPS AUX-1 header to enable Marlin's StealthChop2 and Sensorless Homing (StallGuard), eliminating the need for physical X and Y endstop switches and reducing mechanical wear.
Marlin Firmware Compilation Errors & EEPROM Wear
Compiling Marlin 2.1.x for an 8-bit AVR board frequently triggers memory overflow errors or pin-mapping conflicts. The Arduino Mega 2560 has 256KB of Flash memory, but Marlin's feature bloat can easily exceed this if you aren't careful. Furthermore, the ATmega2560 only has 4KB of EEPROM.
Fixing 'Sketch Too Big' and EEPROM Burnout
- Disable Unnecessary Features: Open
Configuration_adv.hand disableARC_SUPPORT(saves ~3KB of Flash) andEXPERIMENTAL_I2CBUSif you aren't using external I2C sensors. - Optimize U8glib Graphics: If you are using a RepRapDiscount 12864 Full Graphic Smart Controller, ensure you are using the
U8GLIB_ST7920_128X64_1Xdefinition. Switching to the lighterU8X8library in newer Marlin builds can reclaim up to 15KB of Flash. - Prevent EEPROM Wear: Marlin's Unified Bed Leveling (UBL) saves mesh data to EEPROM. The AVR's EEPROM is rated for only 100,000 write cycles. Enable
#define SDCARD_EEPROM_EMULATIONin your configuration to offload settings to the SD card, preserving the AVR's silicon from premature death. - Verify Motherboard Definition: Ensure
#define MOTHERBOARD BOARD_RAMPS_14_EFBis set correctly. EFB (Extruder, Fan, Bed) is standard for single-extruder printers. Using EEB (Extruder, Extruder, Bed) by mistake will map the hotend fan to D9 and the bed to D8, causing immediate thermal runaway upon boot.
Endstop Wiring and Optical Sensor False Triggers
Ghost homing or axes crashing into the frame are classic Arduino 3D printer issues caused by electromagnetic interference (EMI) from unshielded stepper wires inducing voltages in the endstop lines.
- The Pull-Up Resistor Fix: Ensure
#define ENDSTOPPULLUPSis uncommented in Marlin. This engages the AVR's internal 20kΩ-50kΩ pull-up resistors, preventing floating pins from registering false triggers caused by ambient EMI. - Optocoupler Isolation: If using cheap mechanical microswitches, route the endstop wires away from the stepper motor cables. For high-EMI environments, upgrade to optical endstops (like the Omron D2F-01F based modules) which require 5V, GND, and Signal, completely isolating the trigger mechanism from mechanical bounce and switch degradation.
Thermal Runaway Protection: The Critical Safety Fix
The most dangerous failure mode of an Arduino 3D printer is a shorted heated bed MOSFET. The RAMPS 1.4 board utilizes a single N-channel MOSFET (often an IRF3712 or similar generic part) for the heated bed. These components are notorious for failing 'closed' (shorted), sending continuous 12V to the bed even if the Arduino commands it off.
Enabling Marlin's Thermal Runaway
Never compile firmware without #define THERMAL_PROTECTION_BED enabled. This instructs the Arduino to monitor the 100k NTC thermistor (Beta 3950). If the temperature rises without the PID loop commanding it, or if the thermistor reads a disconnected state (open circuit, yielding -14°C), the Arduino will halt all operations and display a 'THERMAL RUNAWAY' error, cutting power to the stepper drivers and extruder.
Step-by-Step: Bypassing the RAMPS Bed MOSFET
To prevent fires, bypass the underpowered RAMPS bed MOSFET entirely using an external IRLB8743 or IRF520 MOSFET module ($4 to $7 on electronics marketplaces).
- Disconnect the main 12V power supply and discharge capacitors.
- Wire the heavy-gauge 12V from your PSU directly to the external MOSFET module's VIN and GND terminals (use minimum 14 AWG wire).
- Connect your heated bed to the module's VOUT and GND.
- Run a lightweight signal wire from the RAMPS D8 pin (labeled 'HEAT 1' or 'BED' depending on silkscreen) to the SIG pin on the external MOSFET.
- Connect the RAMPS 5V and GND to the module's VCC and GND to complete the logic circuit.
By offloading the 15A-20A current draw of a silicone heated bed to a properly heatsinked external module, you eliminate the primary fire hazard associated with RAMPS 1.4 shields.
Frequently Asked Questions (FAQ)
Can an Arduino Mega 2560 handle 32-bit microstepping?
Not natively through hardware step pulses. The 8-bit AVR struggles to generate step pulses fast enough for true 1/256 microstepping at high travel speeds (above 200mm/s) without freezing the main loop. However, using TMC drivers with hardware interpolation allows the Arduino to send 1/16 step pulses while the driver internally smooths the motion to 1/256, preserving the Mega's processing headroom for SD card reading and display updates.
Why does my Arduino reset when the heated bed turns on?
This is a classic voltage sag issue. When a 200W heated bed engages, it pulls roughly 16 amps. If your 12V PSU is undersized or the wiring gauge is too thin, the 5V linear regulator on the Arduino Mega starves, causing a brownout reset. Upgrade to a 30A (360W) 12V PSU and ensure your main power rails use 12 AWG wiring to stabilize the logic rail.
For deeper configuration matrices and pinout diagrams, always refer to the official Marlin Troubleshooting Documentation before altering your board's core voltage rails or flashing experimental branches.