
The Breaking Point: Outgrowing Entry-Level Simulation
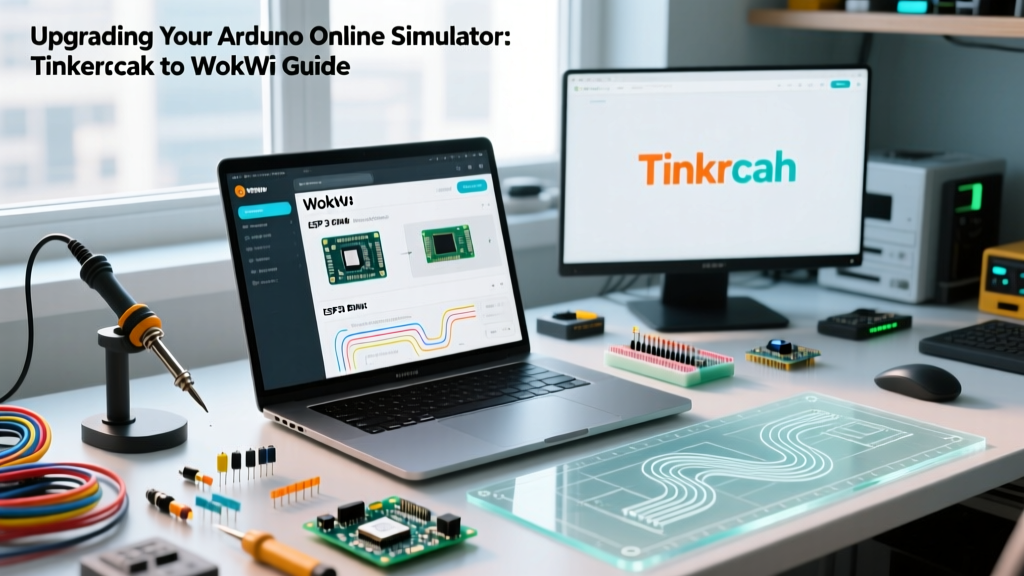
For most makers and engineering students, Autodesk Tinkercad Circuits is the gateway to embedded systems. It provides a frictionless, browser-based environment to blink LEDs on an ATmega328P and test basic analog sensors. However, as the maker ecosystem has shifted heavily toward 32-bit architectures like the ESP32-S3, RP2040, and STM32, the limitations of entry-level tools become glaringly obvious. If your projects now involve RTOS tasks, WiFi provisioning, or dual-core processing, you need to upgrade your arduino online simulator workflow.
Migrating to an advanced simulation environment is no longer just about convenience; it is a critical step for professional prototyping, CI/CD integration, and complex IoT deployment. As of 2026, simulating hardware before committing to physical PCB fabrication saves thousands of dollars in respin costs and weeks of debugging time.
Simulator Comparison Matrix: Tinkercad vs. Wokwi vs. Proteus
When planning your migration, it is essential to understand the architectural differences between the dominant platforms. While Proteus remains a desktop-heavy enterprise tool, cloud-native simulators have largely captured the modern maker market.
| Feature | Tinkercad Circuits | Wokwi (Browser/VS Code) | Proteus Design Suite |
|---|---|---|---|
| Primary MCUs | AVR (ATmega328P, ATtiny85) | ESP32 (all variants), RP2040, STM32, AVR | ARM, PIC, AVR, ESP32 |
| WiFi/BLE Simulation | None | Full virtual WiFi gateway & MQTT support | Limited/Requires complex network modeling |
| IDE Integration | Browser-only (Block/C++ text) | Native VS Code / PlatformIO extension | Desktop IDE / Compiler integration |
| Custom Chips/I2C | Basic standard library | Custom chip API (Rust/C) & vast community library | Proprietary VSM models |
| Pricing (2026) | Free | Free (Club tier ~$12/mo for private projects) | ~$250+ (Base license) |
For modern IoT and 32-bit development, Wokwi has emerged as the definitive upgrade path. Its ability to simulate the ESP32's WiFi stack and integrate directly into VS Code via PlatformIO makes it the superior choice for scaling your workflow.
Step-by-Step Migration Strategy
Transitioning from a basic browser tool to a professional-grade simulator requires refactoring both your code architecture and your development environment. Follow this phased approach to ensure a smooth migration.
Phase 1: Decouple Hardware-Blocking Code
Entry-level simulators often forgive the use of delay() because single-threaded AVR loops rarely require strict multitasking. When migrating to an ESP32 or RP2040 simulator, blocking delays will trigger the Task Watchdog Timer (TWDT), causing a simulated kernel panic. You must refactor your code to use non-blocking timing.
As detailed in the official Arduino BlinkWithoutDelay documentation, utilizing millis() for state management is mandatory for RTOS-friendly simulation. Replace all delay() calls exceeding 10 milliseconds with state-machine logic.
Phase 2: Shift to PlatformIO and VS Code
The Arduino IDE 2.x is an improvement over 1.8, but for serious simulation, PlatformIO is the industry standard. PlatformIO allows you to manage dependencies (like the Adafruit BME280 or LVGL graphics libraries) via a platformio.ini file, which the simulator reads to compile the exact binary that will run on your virtual hardware.
- Install the PlatformIO IDE extension in VS Code.
- Install the Wokwi VS Code extension.
- Initialize a new project targeting your specific board (e.g.,
esp32-s3-devkitc-1). - Press F1 and select "Wokwi: Start Simulator" to launch the virtual environment directly against your compiled firmware.
Phase 3: Configure the Virtual Schematic (diagram.json)
Unlike Tinkercad's drag-and-drop canvas, advanced simulators use declarative JSON files to define hardware topology. This is a massive advantage for version control. A typical diagram.json for an ESP32 with an I2C OLED and a rotary encoder looks like this:
{
  "version": 1,
  "author": "Electrical Flux",
  "parts": [
    { "type": "board-esp32-s3-devkitc-1", "id": "esp", "attrs": {} },
    { "type": "wokwi-ssd1306", "id": "oled1", "attrs": { "i2c-address": "0x3C" } },
    { "type": "wokwi-pushbutton", "id": "btn1", "attrs": { "color": "green" } }
  ],
  "connections": [
    ["esp:GND.1", "oled1:GND", "black"],
    ["esp:3V3", "oled1:VCC", "red"],
    ["esp:GPIO21", "oled1:SDA", "blue"],
    ["esp:GPIO22", "oled1:SCL", "purple"]
  ]
}
This JSON approach allows you to commit your virtual hardware topology to GitHub alongside your firmware code, enabling reproducible builds and automated testing.
Real-World Edge Cases and Simulation Failure Modes
Advanced simulators model hardware physics much more accurately than beginner tools. When you migrate, you will likely encounter "bugs" in your code that actually work on physical hardware due to parasitic effects, but fail in the strict simulation environment. Be prepared for the following edge cases:
- The Floating Pin Trap: In Tinkercad, an unconnected digital input pin often defaults to a stable LOW state. In Wokwi and on real silicon, floating pins act as antennas, picking up electromagnetic noise and causing erratic interrupts. Fix: Always define inputs using
INPUT_PULLUPorINPUT_PULLDOWNin yourpinMode()declarations. - I2C Pull-Up Forgiveness: Beginner simulators often auto-inject virtual pull-up resistors on I2C buses to prevent beginners from getting frustrated. Advanced simulators do not. If you are simulating a BME280 sensor on a 400kHz I2C bus, your simulation will hang unless you explicitly add 2.2kΩ pull-up resistors to the SDA and SCL lines in your
diagram.json. - WiFi Gateway Latency: When simulating ESP32 WiFi, the simulator routes traffic through a virtual gateway to your host machine's network stack. If your code expects a TCP handshake to complete in 2ms (as it might on a local LAN), it may timeout in simulation due to host OS network bridging latency. Always implement robust timeout and retry logic in your network clients.
Expert Insight: If your ESP32 simulation continuously reboots with a
Task Watchdog Timeouterror, it means yourloop()function or a high-priority FreeRTOS task is monopolizing the CPU without yielding. Insertyield();orvTaskDelay(1);inside heavy computational loops to allow the simulator's background WiFi and RTOS tasks to execute.
Scaling to CI/CD: The Ultimate Upgrade
The final stage of migrating your arduino online simulator workflow is integrating it into your Continuous Integration (CI) pipeline. Because modern simulators operate via CLI and declarative JSON, you can spin up a headless simulation environment in GitHub Actions.
By writing automated test scripts (using Python and PySerial to connect to the simulator's virtual COM port), you can verify that your embedded state machine correctly responds to simulated button presses and sensor telemetry on every single Git commit. This transforms the simulator from a simple prototyping toy into a rigorous, enterprise-grade validation tool, ensuring your firmware is bulletproof before it ever touches a physical microcontroller.