
The 9V Battery for Arduino: Quick Reference FAQ
Using a 9V battery for Arduino projects is a classic rite of passage for makers. It is accessible, inexpensive, and fits perfectly into standard battery snaps. However, while a standard 9V alkaline battery can technically power an Arduino Uno R3, it is rarely the optimal choice for long-term or high-current deployments. This quick reference guide breaks down the exact wiring methods, the hidden thermal limitations of onboard voltage regulators, real-world runtime mathematics, and modern alternatives for portable microcontroller projects.
Quick Answer: Can I use a 9V battery?
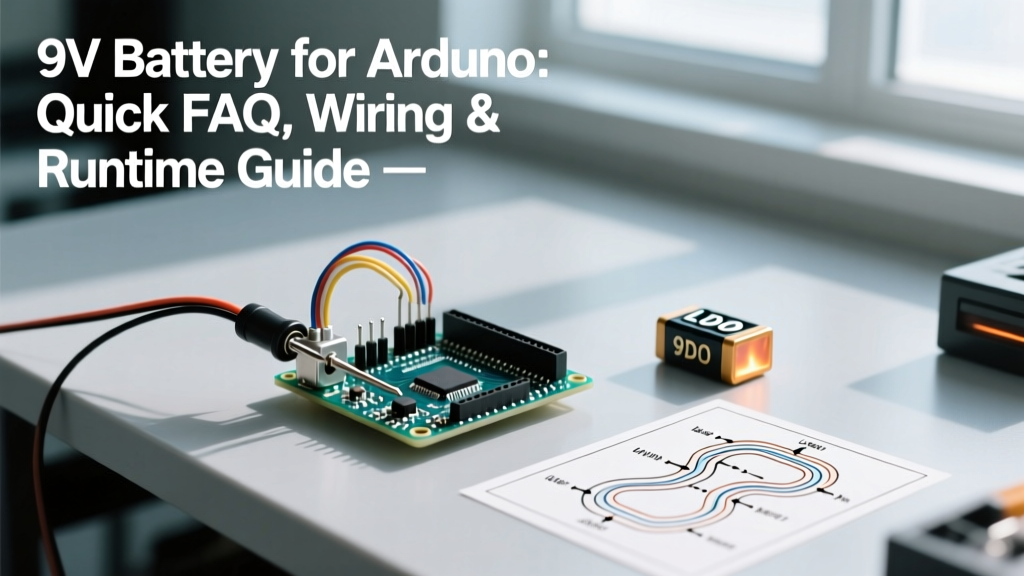
Yes. You can safely connect a 9V battery to the Arduino Uno, Mega, or Nano via the DC barrel jack or the Vin (Voltage In) pin. The onboard linear voltage regulator will step the 9V down to the 5V required by the ATmega328P microcontroller. However, you must avoid connecting 9V directly to the 5V pin, which will instantly destroy the board.
Battery Chemistry & Capacity Reference Table
Not all 9V batteries are created equal. The internal chemistry dictates both the total energy capacity and the voltage sag under load. Below is a comparison of common 9V battery types available on the market.
| Battery Type | Nominal Voltage | Typical Capacity (mAh) | Best Use Case | Approx. Cost (USD) |
|---|---|---|---|---|
| Alkaline (Standard) | 9.0V | 400 - 550 mAh | Short-term prototyping, low-power sensors | $2.50 - $4.00 |
| Lithium Primary | 9.0V | 1000 - 1200 mAh | Remote outdoor IoT nodes, extreme temps | $12.00 - $18.00 |
| NiMH Rechargeable | 8.4V - 9.6V | 150 - 300 mAh | Eco-friendly testing (poor runtime) | $8.00 - $12.00 |
| Li-ion Rechargeable | 7.4V - 8.4V | 500 - 700 mAh | Reusable robotics, motorized projects | $15.00 - $25.00 |
How to Wire a 9V Battery to an Arduino
There are two safe methods to route 9V into your microcontroller. Both utilize the board's reverse-polarity protection and voltage regulation circuitry.
Method 1: The DC Barrel Jack (Recommended for Beginners)
- Purchase a 9V battery snap connector with a 2.1mm DC barrel plug. Ensure the center pin is positive (standard for Arduino).
- Snap the connector onto the 9V battery.
- Plug the barrel jack directly into the Arduino's black DC receptacle.
- The board will automatically detect the input voltage and switch the power source from USB to the external battery via an internal P-channel MOSFET.
Method 2: The Vin Pin (For Custom PCBs & Breadboards)
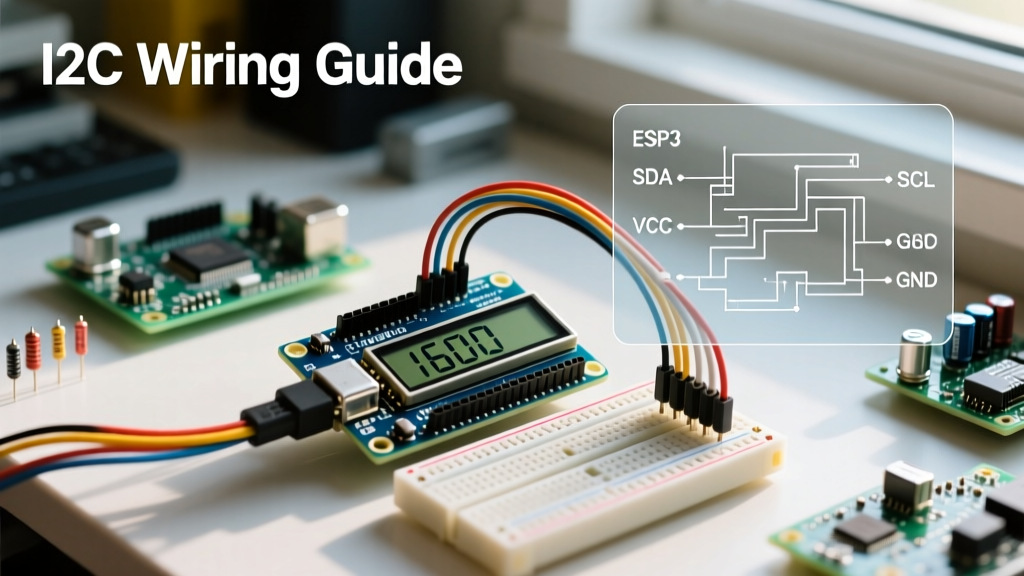
- Connect the Red wire (Positive) from the 9V snap to the Vin pin on the Arduino header.
- Connect the Black wire (Negative/Ground) to any of the GND pins.
- Note: The Vin pin bypasses the reverse-polarity protection diode found on the barrel jack. Double-check your wiring before connecting the battery to avoid frying the board.
CRITICAL WARNING: Never connect a 9V battery directly to the '5V' pin on the Arduino header. The 5V pin bypasses the voltage regulator entirely and feeds straight into the ATmega328P chip. Applying 9V here will cause immediate, catastrophic thermal failure of the microcontroller.
The '9V Problem': Voltage Regulator Heat & Dropout
Why do experienced engineers avoid standard 9V alkaline batteries for high-current Arduino projects? The answer lies in the physics of linear voltage regulators and battery discharge curves.
The Thermal Bottleneck
The Arduino Uno R3 typically uses an NCP1117ST50T3G (or a clone equivalent) linear dropout (LDO) regulator in a SOT-223 package. Linear regulators work by burning off excess voltage as heat. The power dissipated as heat is calculated as:
Power (Watts) = (Input Voltage - Output Voltage) × Current (Amps)
If your Arduino and attached sensors draw 150mA (0.15A) from a fresh 9V battery:
Heat = (9V - 5V) × 0.15A = 0.6 Watts
The SOT-223 package has a thermal resistance of roughly 100°C/W to ambient air. Dissipating 0.6W will cause the regulator's internal junction temperature to rise by 60°C above room temperature. Add a motor shield or a WiFi module drawing 300mA, and the regulator will hit its 150°C thermal shutdown limit, causing your Arduino to randomly reboot.
The Dropout Threshold
According to the official Arduino Uno Rev3 documentation, the recommended input voltage is 7-12V. The LDO requires a 'dropout voltage' of at least 1.1V to 2.0V to maintain a stable 5V output. This means if your battery sags below 6.5V to 7.0V, the Arduino will brown out and reset, even if the battery still holds chemical energy.
Runtime Mathematics: Why Alkaline 9V Batteries Die Early
A standard Energizer 522 alkaline 9V battery is rated for roughly 550mAh. If your Arduino draws a steady 50mA, basic math suggests 11 hours of runtime (550 / 50 = 11). In reality, you will likely experience a brownout in 3 to 4 hours.
Alkaline batteries suffer from significant voltage sag under continuous load. As the internal resistance rises, the terminal voltage drops below the 7V LDO threshold long before the 550mAh capacity is depleted. For a deeper understanding of how internal resistance affects microcontroller power delivery, refer to the SparkFun Battery Technologies Guide, which details the discharge curves of primary vs. secondary cells.
How to Test Your 9V Battery Accurately
Measuring a 9V battery with a multimeter while it is disconnected (open-circuit) is highly misleading. A 'dead' battery might show 8.2V on a multimeter but drop to 5.5V the moment it is connected to the Arduino.
- Step 1: Set your multimeter to DC Voltage.
- Step 2: Connect the battery to the Arduino.
- Step 3: Measure the voltage directly at the battery snap terminals while the circuit is powered and running.
- Step 4: If the loaded voltage reads below 7.0V, the battery is effectively dead for Arduino purposes, regardless of the open-circuit reading.
Superior Alternatives for Portable MCU Projects
If you are moving past the breadboard prototype phase and need reliable portable power, consider these modern alternatives that solve the heat and runtime issues inherent to 9V alkaline cells.
| Power Source | Voltage Output | Connection Method | Pros | Cons |
|---|---|---|---|---|
| 2S LiPo Pack (7.4V) | 7.4V - 8.4V | Vin or Barrel Jack | High current, low voltage drop, lightweight | Requires specialized LiPo charger |
| 4x AA NiMH Pack | 4.8V - 5.2V | 5V Pin (with caution) or USB | Cheap, high capacity, safe chemistry | Bulky, voltage fluctuates near 5V threshold |
| 18650 Li-Ion Cell | 3.7V (Nominal) | Boost Converter to 5V Pin | Massive capacity (3000mAh+), industry standard | Requires external boost converter module |
| 5V USB Power Bank | 5.0V | Micro-USB / USB-C Port | Plug-and-play, built-in protection, high capacity | Some banks auto-shutoff on low draw |
Troubleshooting Quick Fixes
If your 9V-powered Arduino is misbehaving, use this diagnostic checklist:
- Symptom: The board resets when a servo motor activates.
Fix: The servo is pulling too much current, causing the 9V battery voltage to sag below the LDO dropout threshold. Power the servo from a separate battery pack and share a common ground. - Symptom: The voltage regulator is too hot to touch.
Fix: You are drawing too much current through the 5V rail. Use a switching buck converter (like an LM2596 module) to step the 9V down to 5V before feeding it into the '5V' pin, bypassing the inefficient onboard LDO. - Symptom: The 'ON' LED is dim or flickering.
Fix: Your 9V battery is depleted. Replace it or switch to a Lithium Primary 9V for a longer lifespan.
Final Verdict
A 9V battery for Arduino is perfectly adequate for quick weekend prototypes, low-power data loggers, or classroom demonstrations where convenience outweighs efficiency. However, for robotics, motor-driven projects, or remote IoT sensors, the thermal limitations of the linear regulator and the poor discharge curve of alkaline cells make it a liability. Upgrade to a 2S LiPo or a USB power bank as soon as your design leaves the workbench.