
To download the Arduino Integrated Development Environment on Linux, visit the official Arduino Software Page, select the Linux 64-bit AppImage package, make it executable via terminal, and run it. This guide is specifically written for embedded systems students, robotics hobbyists, and firmware engineers setting up a development environment on Ubuntu Linux or Debian-based distributions.
- Download the 64-bit AppImage from the official website.
- Run
chmod +xon the downloaded file to grant execution permissions. - Add your user to the
dialoutgroup to fix USB serial port access.
Installation Methods Compared
Linux users have multiple pathways to install the Arduino Integrated Development Environment. Choosing the right method depends on your system architecture and preference for automatic updates. Below is a decision framework to help you select the optimal installation route.
| Method | Pros | Cons | Best For |
|---|---|---|---|
| AppImage | Portable, no root required, always latest version | Manual updates, requires libfuse2 on newer Ubuntu | Most users, developers needing specific versions |
| Snap Store | Auto-updates, sandboxed, easy GUI install | Slower startup, occasional permission bugs | Casual hobbyists, strict security environments |
| ZIP Archive | Full control over directory structure | Manual desktop shortcut creation required | Advanced users, custom deployment scripts |
Step-by-Step AppImage Installation
The AppImage format provides the most reliable experience for modern distributions. Unlike package managers that might serve outdated versions, the official AppImage guarantees you receive the latest feature updates directly from the developers. This method avoids dependency conflicts common in community-maintained repositories.
Downloading the Package
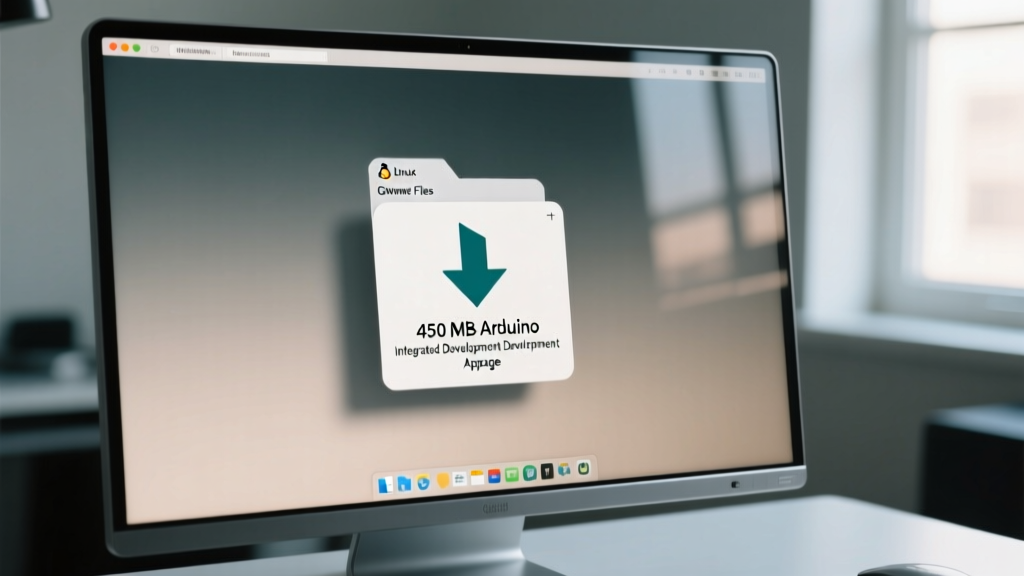
Navigate to the download page and select the Linux 64-bit AppImage option. The current stable release (version 2.3.4) has a download size of approximately 450 megabytes. Save this file to your default Downloads directory.
Granting Execution Permissions
Linux security models prevent downloaded files from executing by default. Open your terminal and navigate to the Downloads folder. Apply the executable permission using the following command:
chmod +x arduino-ide_2.3.4_Linux_64bit.AppImage
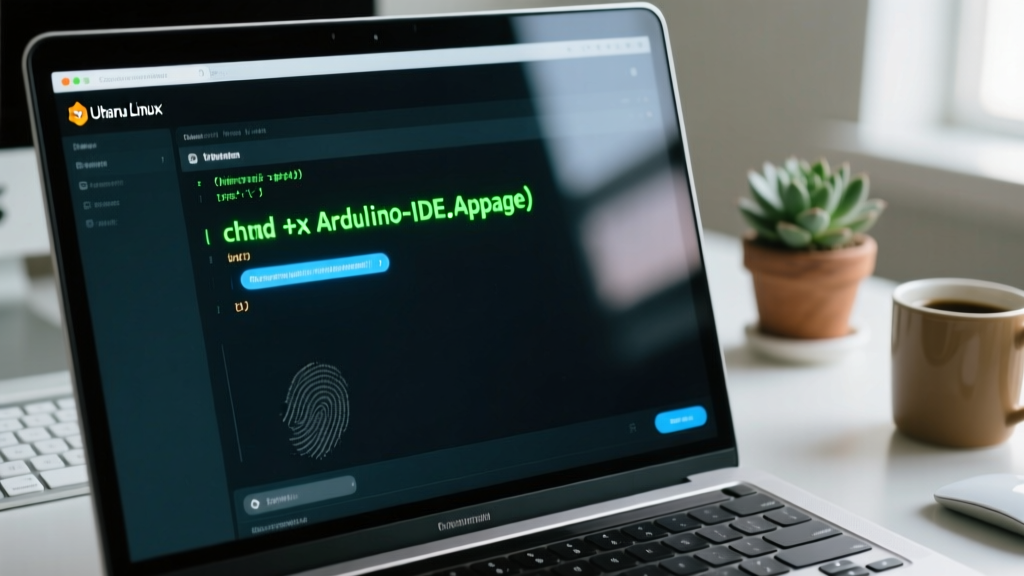
Once the permission is set, launch the software by executing the file directly. The initial compilation of the background language server may take up to 5 seconds on older hardware.
Configuring USB Serial Port Permissions
Ubuntu Linux requires explicit permission to access hardware serial ports. By default, standard users lack the rights to read or write to the /dev/ttyACM0 or /dev/ttyUSB0 device nodes. You must assign your user account to the dialout group to resolve this security restriction.
Execute the following command in your terminal to add your current user to the correct group:
sudo usermod -a -G dialout $USER
After running this command, you must log out and log back in for the group changes to take effect. You can verify the configuration by running the groups command and checking for the dialout output. For deeper technical context, refer to the Arduino Linux Guide.
Troubleshooting Linux Errors
Even with proper installation, hardware interactions on Linux can present unique challenges. Below are solutions to the most frequent errors encountered when attempting to install Arduino IDE on Ubuntu or upload code to microcontrollers.
Serial Port Greyed Out
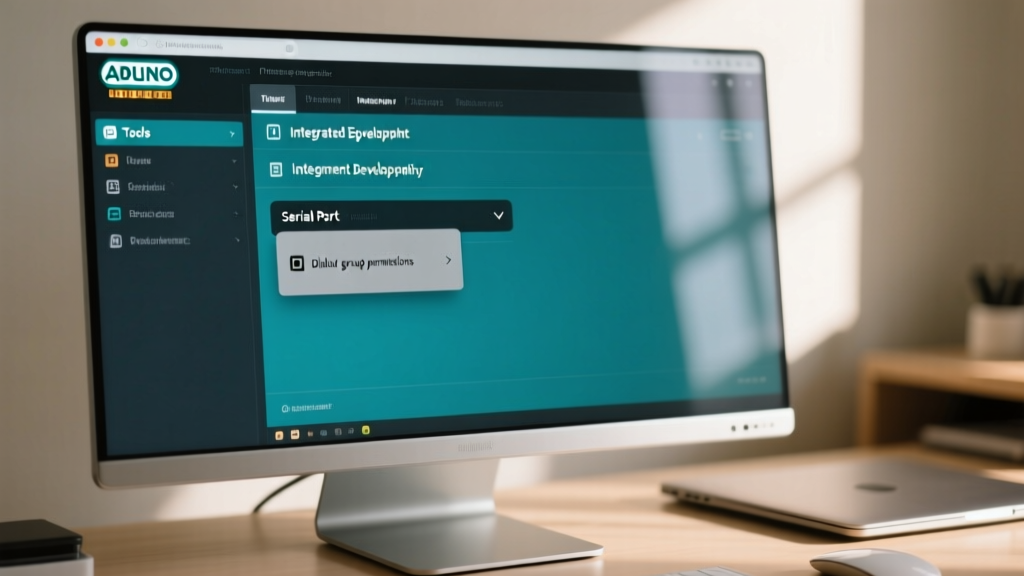
If the serial port dropdown menu is disabled, the software cannot detect connected hardware. Ensure your USB cable supports data transfer, not just power. If the cable is verified, confirm that the udev rules have reloaded and your user is actively in the dialout group.
AppImage Fails to Launch on Ubuntu 22.04+
Modern Ubuntu Linux versions disabled the FUSE 2 library by default, which AppImages require to mount their virtual filesystems. To fix this, install the legacy library via the terminal:
sudo apt install libfuse2
This resolves the silent failure issue without compromising the security posture of your operating system. Further troubleshooting steps are available in the Arduino IDE Documentation.
Key Terminology
AppImage: A universal software package format for Linux that bundles an application and all its dependencies into a single, portable file that runs without installation or root privileges.
udev rules: A device manager for the Linux kernel that dynamically manages device nodes in the /dev directory and handles user-space events when hardware like microcontrollers are connected.
Conclusion
You now have a fully configured development environment ready for microcontroller programming on your Linux machine. The next step is to connect an Arduino Uno R4 via USB, open the default Blink sketch from the examples menu, and upload it to verify your toolchain operates correctly at the standard 115200 baud serial rate.