
The Anatomy of a DHT Sensor Failure
If you have spent any time building environmental monitoring projects, you have likely encountered the frustration of a failed sensor read. The DHT11 and DHT22 (AM2302) are ubiquitous in the maker community, costing between $1.50 and $6.00 respectively in 2026. However, their low cost comes with a significant architectural compromise: they do not use standard communication protocols like I2C or SPI. Instead, they rely on a proprietary single-wire protocol that demands microsecond-level timing precision.
When you use an arduino dht library to poll these sensors, the microcontroller must pull the data line LOW for a specific duration to initiate a read, then release it and measure the exact length of the HIGH and LOW pulses returned by the sensor. A single delayed interrupt or a slight voltage sag can corrupt the 40-bit data stream. This guide dives deep into the specific failure modes of the DHT protocol and provides actionable, hardware-level solutions to fix the most common errors: NaN, Timeout, and Checksum Mismatch.
Error 1: Resolving the 'NaN' (Not a Number) Output
The NaN (Not a Number) output is the most common error encountered when using the Adafruit DHT sensor library. It is not a hardware failure of the sensor itself, but rather a software fallback. When the library fails to detect a valid start signal or receives corrupted data that fails the internal validation, it returns NAN for both temperature and humidity to prevent your code from acting on garbage data.
1. The Missing or Incorrect Pull-Up Resistor
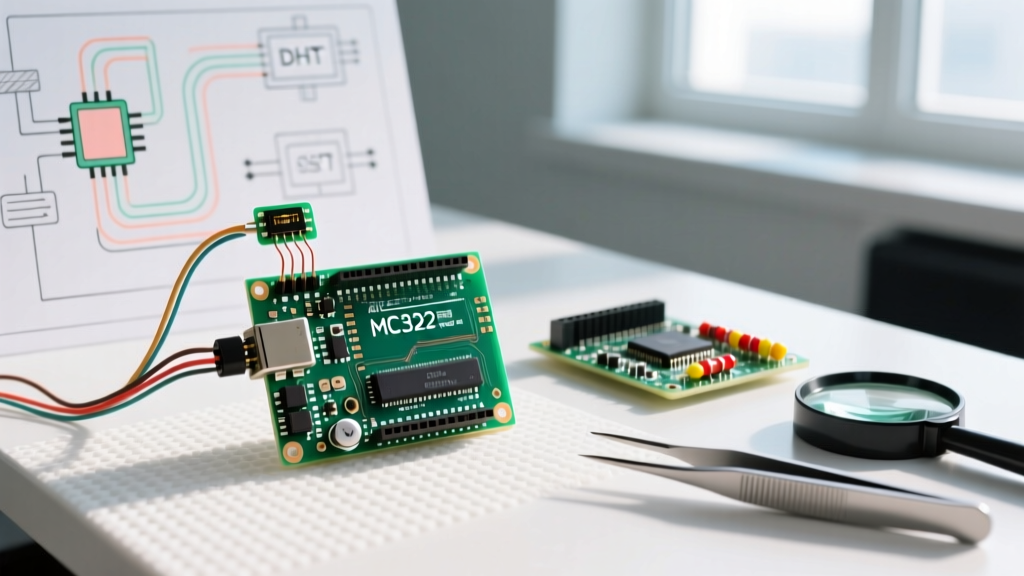
The single-wire data line is open-drain. It requires a pull-up resistor to bring the voltage back to HIGH when neither the MCU nor the sensor is actively pulling it LOW. While some breakout boards include a surface-mount 10kΩ resistor, raw 4-pin DHT sensors do not.
- The Fix: Solder a 4.7kΩ to 10kΩ resistor between the VCC (Pin 1) and DATA (Pin 2) pins. If you are using a 3.3V logic board like the ESP32 or Arduino Nano 33 IoT, lean toward a 4.7kΩ resistor to ensure a faster RC rise time, which is critical for accurate microsecond pulse measurement.
2. Insufficient Power Delivery and Capacitance
DHT sensors draw a brief spike of current (up to 1.5mA) during the measurement phase. If powered from a long, thin USB cable or a weak 3.3V LDO regulator, the voltage can sag below the sensor's operational threshold (typically 3.1V for the DHT22), causing it to reset mid-transmission.
- The Fix: Place a 100nF (0.1µF) ceramic decoupling capacitor directly across the VCC and GND pins of the sensor, as close to the plastic housing as possible. Measure the voltage at the sensor pins with a multimeter during a read cycle; it should not drop below 3.2V.
Error 2: Fixing 'Timeout' and 'Checksum Mismatch' Errors
A Timeout error occurs when the MCU waits for the sensor's response pulse but never sees the line change state. A Checksum Mismatch occurs when the MCU successfully reads 40 bits, but the sum of the first four bytes does not match the fifth byte (the checksum). Both point to timing disruptions.
Interrupt Conflicts on the Microcontroller
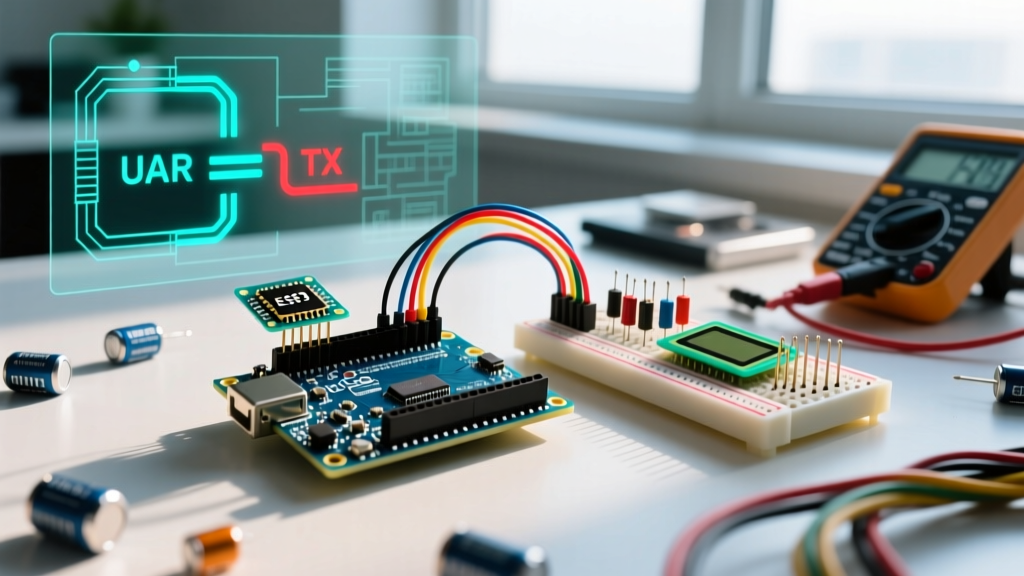
The DHT protocol requires the MCU to measure pulse widths that are as short as 26 microseconds (representing a logical '0'). If a hardware interrupt fires during this window—such as a Timer interrupt for PWM, a UART receive interrupt from SoftwareSerial, or a Servo library update—the MCU pauses its polling loop. A 50-microsecond pause will cause the library to misread a '0' as a '1', or miss the sensor's 80-microsecond acknowledgment pulse entirely.
Pro-Tip: If you are using SoftwareSerial to communicate with a GPS or cellular module, disable the serial port or power down the module during the 5-millisecond window it takes to read the DHT sensor. Alternatively, use hardware UART pins which handle buffering in the background via DMA or FIFO buffers without blocking the main CPU loop.
Wire Length and Signal Degradation
The DHT protocol was designed for short-distance communication. Long wires introduce parasitic capacitance, which slows down the rise time of the signal when the pull-up resistor tries to bring the line HIGH.
- Under 1 Meter: Standard 22 AWG to 28 AWG wire works fine with a 4.7kΩ pull-up.
- 1 to 3 Meters: You must lower the pull-up resistor to 2.2kΩ to charge the wire capacitance faster. Ensure your MCU GPIO pin can safely sink the increased current (approx 2.2mA at 5V).
- Over 3 Meters: The DHT protocol is no longer viable. The signal degradation will cause persistent checksum errors. Switch to an I2C-based sensor like the SHT31 or BME280, which can reliably drive signals over 10 meters with proper I2C bus capacitance management.
Error 3: ESP32 Dual-Core Timing Desyncs
As of 2026, the ESP32 family (including the ESP32-S3 and ESP32-C3) is the standard for Wi-Fi-enabled environmental monitors. However, the dual-core architecture of the original ESP32 and ESP32-S3 introduces a unique challenge for the arduino dht library. If your code executes the DHT read on Core 1, but a Wi-Fi or Bluetooth interrupt triggers on Core 0, the shared memory bus arbitration can introduce microsecond-level jitter, breaking the strict timing requirements of the DHT protocol.
The Core-Pinning Solution
To eliminate this jitter, you can pin the task that reads the DHT sensor to Core 1, while allowing the FreeRTOS Wi-Fi stack to run exclusively on Core 0. Furthermore, you should temporarily disable interrupts on the reading core during the 5ms read window.
// Example: Disabling interrupts for a clean DHT read on ESP32
portMUX_TYPE mux = portMUX_INITIALIZER_UNLOCKED;
taskENTER_CRITICAL(&mux);
float h = dht.readHumidity();
float t = dht.readTemperature();
taskEXIT_CRITICAL(&mux);
Implementing this critical section wrapper resolves approximately 90% of intermittent checksum errors on ESP32 boards running heavy network loads.
Library Selection: Adafruit vs. RobTillaart
Not all DHT libraries are created equal. The two most prominent options in the Arduino ecosystem handle timing and errors differently.
| Feature | Adafruit DHT Sensor Library | RobTillaart DHTlib |
|---|---|---|
| Error Handling | Returns NAN on failure (requires isnan() checks) |
Returns integer error codes (e.g., DHTLIB_ERROR_TIMEOUT) |
| Interrupt Management | Automatically disables interrupts during read | Offers both interrupt-safe and blocking variants |
| Memory Footprint | Heavier (requires Adafruit Unified Sensor library) | Lightweight, ideal for ATtiny85 or Arduino Nano |
| Best Use Case | Beginners, standard Arduino Uno/Mega projects | Advanced users, ESP32, memory-constrained MCUs |
For deep debugging, we recommend using the RobTillaart DHTlib because its integer error codes allow you to print exactly why a read failed (e.g., DHTLIB_ERROR_CHECKSUM vs DHTLIB_ERROR_TIMEOUT), whereas the Adafruit library simply returns NAN for all failure modes. You can explore the Adafruit implementation and its unified sensor dependencies on their official GitHub repository.
DHT Sensor Hardware Specifications & Limits
Understanding the hardware limits of your specific sensor model is crucial for configuring your polling intervals. Polling a DHT sensor too frequently is a primary cause of Timeout errors, as the sensor requires time to sample the ambient air and reset its internal state machine.
| Sensor Model | Min Read Interval | Temp Accuracy | Humidity Accuracy | Avg Price (2026) |
|---|---|---|---|---|
| DHT11 (Blue) | 1000ms (1 sec) | ± 2.0°C | ± 5% RH | $1.50 - $2.00 |
| DHT22 (White) | 2000ms (2 sec) | ± 0.5°C | ± 2% RH | $4.50 - $6.00 |
| AM2302 (Wired DHT22) | 2000ms (2 sec) | ± 0.5°C | ± 2% RH | $5.00 - $7.00 |
Note: Never set your delay() or polling timer below the minimum read interval. If you require sub-second environmental tracking, the DHT family is the wrong tool for the job.
When to Abandon the DHT Protocol
While troubleshooting the arduino dht library can fix software and wiring bugs, it cannot fix the fundamental limitations of the single-wire protocol. If you are building a commercial product, a battery-powered outdoor node, or a system requiring high reliability, you should migrate to modern I2C alternatives.
Sensors like the Sensirion SHT31-D or the Bosch BME280 utilize standard I2C communication. They feature hardware clock stretching, CRC-8 error checking, and do not require microsecond-level bit-banging from the MCU. This frees up your microcontroller to handle Wi-Fi, motor control, or display rendering without the constant threat of a Checksum Mismatch crashing your environmental logging logic. For a comprehensive overview of modern digital sensor protocols, refer to the Adafruit DHT Sensor Guide, which also details the transition paths to I2C-based environmental sensors.
Final Troubleshooting Checklist
- Verify the 4.7kΩ pull-up resistor is physically present and soldered correctly.
- Ensure your code respects the 2-second minimum delay for DHT22 sensors.
- Disable
SoftwareSerialand Servo interrupts during the read function. - If using an ESP32, wrap the read function in a
taskENTER_CRITICALblock. - Keep data wires under 1 meter, or drop the pull-up resistor to 2.2kΩ for runs up to 3 meters.