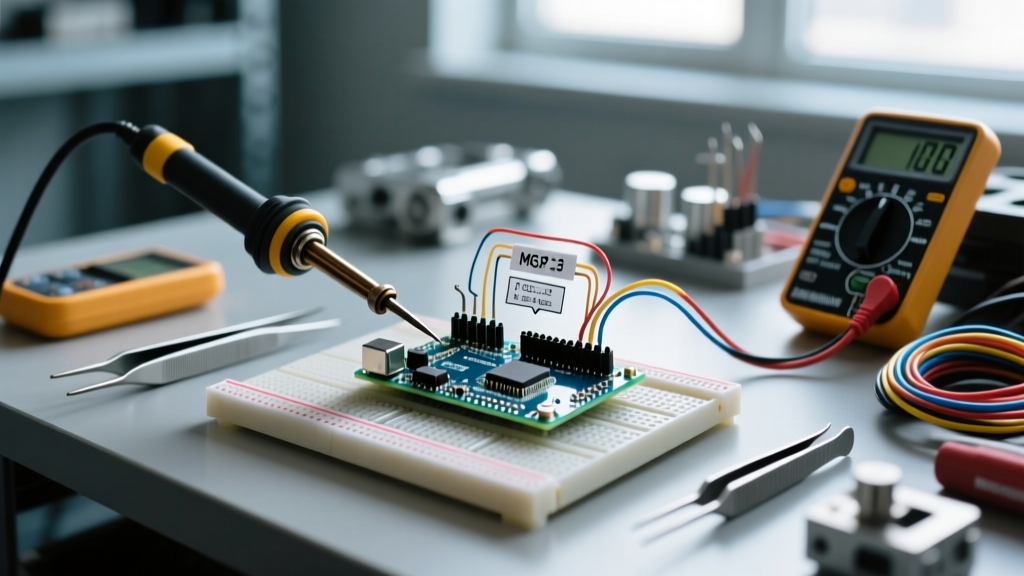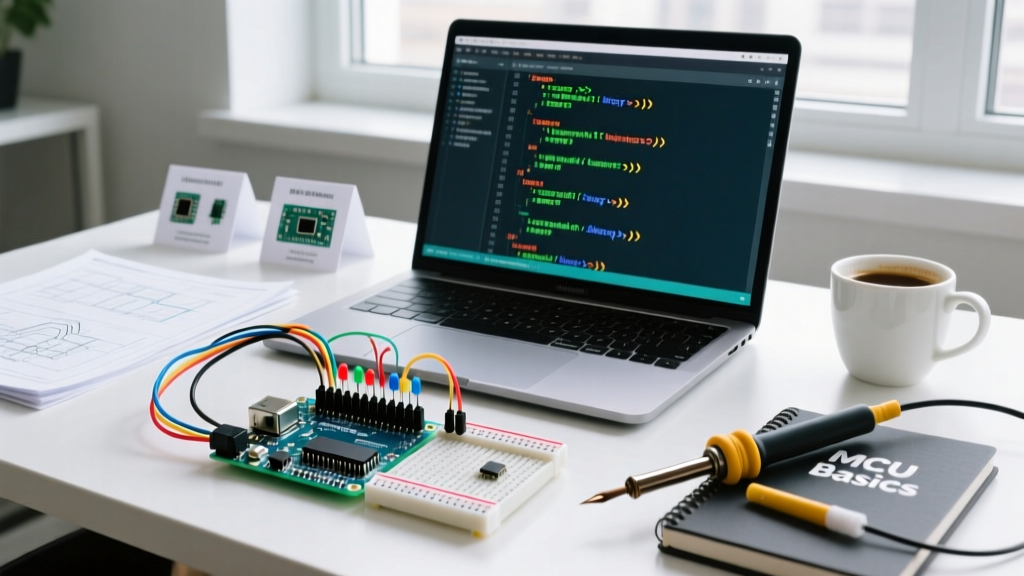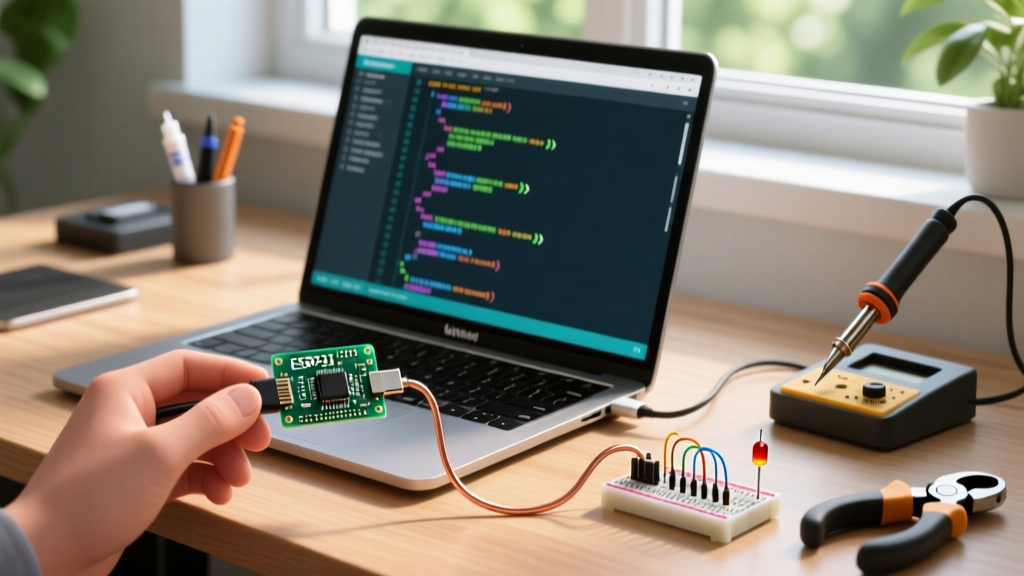

The Architecture of Arduino IDE Ubuntu Install
Executing a flawless arduino ide ubuntu install requires more than just downloading an executable and clicking 'Next'. As an embedded systems engineer, you must understand that installing the IDE on a Linux environment is fundamentally about establishing a reliable USB-Serial protocol bridge between the Ubuntu kernel and your microcontroller's bootloader. In 2026, with Ubuntu 24.04 LTS (Noble Numbat) as the standard for development workstations, the Linux kernel's handling of TTY devices and USB Communication Device Class (CDC) protocols dictates whether your code compiles and uploads successfully or fails with a 'Permission Denied' error.
This guide transcends basic installation steps. We will dissect the underlying serial protocols, configure persistent hardware mapping via udev rules, and troubleshoot the DTR/RTS handshake mechanisms that govern AVR and ARM bootloader activation.
Step 1: Package Selection and Protocol Access
When sourcing the IDE from the official Arduino Software repository, Ubuntu users are typically presented with three package formats: AppImage, Snap, and DEB. For serious protocol-level development and direct hardware access, the AppImage is the superior choice.
- AppImage: Runs in user space with direct, un-sandboxed access to
/dev/ttyUSB*and/dev/ttyACM*endpoints. Ideal for custom udev rule mapping. - Snap: Canonical's containerized package format. Snaps operate in a strict confinement sandbox, which frequently intercepts and blocks low-level serial protocol handshakes, leading to upload timeouts.
- DEB: Traditional Debian package. Reliable, but often lags behind the latest 2.3.x IDE releases and requires manual dependency resolution for
libnss3andlibxss1.
Expert Tip: Always download the 64-bit AppImage, make it executable viachmod +x arduino-ide_2.3.2_Linux_64bit.AppImage, and move it to/opt/arduino-ide/to keep your system directories clean while retaining raw serial port access.
Step 2: Establishing the Linux TTY Protocol Bridge
The most common failure point during an Arduino IDE Ubuntu install is the 'Serial port not found' or 'Permission denied' error. This is not a software bug; it is a Linux security feature. By default, Ubuntu restricts raw access to hardware serial protocols to the root user and the dialout group.
To allow the IDE to assert voltage on the DTR (Data Terminal Ready) line and initiate the UART protocol handshake, your user account must be added to the dialout group.
Configuring Group Permissions
sudo usermod -a -G dialout $USER
sudo usermod -a -G plugdev $USER
After executing these commands, a complete system reboot (or logging out and back in) is mandatory to refresh the kernel's user-group session tokens. You can verify your active protocol permissions by running groups in the terminal.
Step 3: USB-UART Protocol Controllers Demystified
Not all Arduinos communicate over the same physical protocol layer. Understanding the silicon bridge between your PC's USB bus and the MCU's UART pins is critical for selecting the right baud rates and drivers. The Linux kernel handles these via distinct device nodes.
| Bridge Silicon | Protocol Standard | Linux Device Node | Common Boards | Driver Status (Ubuntu 24.04) |
|---|---|---|---|---|
| ATmega16U2 | CDC-ACM (Native USB) | /dev/ttyACM0 | Uno R3, Mega 2560 | Native (cdc_acm.ko) |
| CH340G / CH341 | USB-UART Bridge | /dev/ttyUSB0 | Nano Clones, Uno R3 Clones | Native (ch341.ko) |
| CP2102 / CP2104 | USB-UART Bridge | /dev/ttyUSB0 | NodeMCU, ESP32 DevKit | Native (cp210x.ko) |
| FT232RL | USB-UART Bridge | /dev/ttyUSB0 | Arduino Nano (Original), Pro Mini | Native (ftdi_sio.ko) |
As detailed in the Linux Kernel TTY Documentation, the ttyACM class is reserved for devices that implement the USB CDC-ACM protocol, meaning the microcontroller itself handles the USB enumeration. Conversely, ttyUSB nodes are created when a dedicated bridge chip translates USB packets into asynchronous serial UART frames.
Step 4: Advanced Protocol Mapping with udev Rules
When working with multiple microcontrollers simultaneously (e.g., an ESP32 on /dev/ttyUSB0 and an Arduino Nano on /dev/ttyUSB1), the Linux kernel assigns device nodes dynamically based on insertion order. This breaks automated CI/CD flashing scripts and causes the IDE to target the wrong protocol endpoint.
To solve this, we create persistent symlinks using udev rules based on the USB Vendor ID (VID) and Product ID (PID).
Creating Persistent Serial Endpoints
First, identify your device's protocol signatures using lsusb. A CH340 chip typically reports as ID 1a86:7523.
Create a new rules file:
sudo nano /etc/udev/rules.d/99-arduino-protocols.rulesInsert the following mapping logic:
# Arduino Nano (CH340)
SUBSYSTEM=='tty', ATTRS{idVendor}=='1a86', ATTRS{idProduct}=='7523', SYMLINK+='arduino_nano', MODE='0666'

# ESP32 DevKit (CP2102)
SUBSYSTEM=='tty', ATTRS{idVendor}=='10c4', ATTRS{idProduct}=='ea60', SYMLINK+='esp32_dev', MODE='0666'
Reload the kernel rules:
sudo udevadm control --reload-rules
sudo udevadm trigger
Now, within the Arduino IDE's port selection menu, you will see /dev/arduino_nano and /dev/esp32_dev, ensuring your serial protocol traffic is always routed to the correct silicon.
Step 5: The DTR/RTS Auto-Reset Handshake
A deep understanding of serial communication protocols reveals why the Arduino IDE doesn't require you to manually press the reset button before uploading. The IDE utilizes the RS-232 flow control lines—specifically DTR (Data Terminal Ready) and RTS (Request to Send)—to trigger the bootloader.
How the Handshake Works
- Port Opening: The IDE opens the serial port at 1200 bps (for CDC-ACM native USB boards) or asserts the DTR line low (for UART bridge boards).
- Capacitor Coupling: On the Arduino Uno, the DTR line is routed through a 0.1µF capacitor to the ATmega328P's RESET pin.
- Bootloader Activation: The sudden voltage drop generates a negative edge pulse on the RESET pin, restarting the MCU and launching the Optiboot bootloader.
- Protocol Handshake: The bootloader listens for the 'STK500' protocol sync bytes. If received within 500ms, it halts the application sketch and begins writing to flash memory.
Troubleshooting Protocol Failures
Even with a perfect Arduino IDE Ubuntu install, hardware anomalies can disrupt the protocol layer. Use this diagnostic matrix to isolate the failure.
Diagnostic Matrix
| Symptom in IDE | Underlying Protocol Failure | Resolution Strategy |
|---|---|---|
| Upload hangs at 0% | DTR line not asserting; bootloader never triggers. | Check for missing 0.1µF reset capacitor on clone boards; manually press reset when 'Uploading' appears. |
| Programmer not responding | Wrong baud rate or STK500 sync timeout. | Verify board selection; ensure no other service (like OctoPrint or Cura) is polling the serial port. |
| Port greyed out | Kernel module crash or USB hub power limit exceeded. | Run dmesg | grep tty to check for USB disconnects; use a powered USB 3.0 hub. |
Frequently Asked Questions
Why does my ESP32 fail to enter download mode on Ubuntu?
Some ESP32 DevKit V1 boards have a flawed circuit design where the RTS/DTR protocol lines conflict, preventing the automatic bootloader entry. To bypass this, hold the 'BOOT' button on the PCB, click 'Upload' in the IDE, and release the 'BOOT' button when the console reads 'Connecting...'.
Can I use the Arduino IDE via WSL2 instead of native Ubuntu?
While WSL2 supports USBIPD for passing serial devices to the Linux kernel, the latency introduced by the Hyper-V virtual switch often breaks the strict timing requirements of the STK500 and AVRDUDE protocol handshakes. A native Ubuntu installation or a dedicated bare-metal machine is highly recommended for reliable firmware flashing.
How do I monitor raw hex serial data in Ubuntu?
The Arduino IDE's built-in serial monitor only parses ASCII. For raw protocol debugging (e.g., viewing Modbus RTU or CAN bus hex frames), bypass the IDE and use minicom or screen. For example: screen /dev/ttyUSB0 115200 provides a direct, unbuffered window into the UART protocol stream.