
The Anatomy of a Code LED Arduino Failure
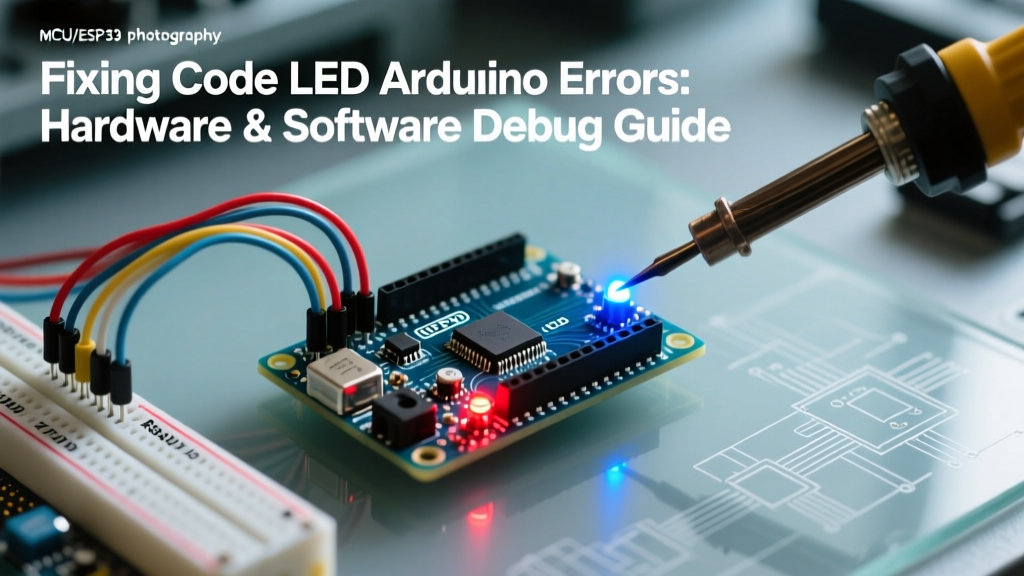
The classic 'Blink' sketch is universally recognized as the 'Hello World' of microcontrollers. However, when you first attempt to code LED Arduino circuits and the light refuses to illuminate, it exposes a complex intersection of software logic, IDE configuration, and physical hardware realities. Debugging a code LED Arduino project requires a systematic approach to isolate whether the failure lies in the compilation phase, the serial upload pipeline, or the physical breadboard wiring.
In 2026, with the widespread adoption of the Arduino Uno R4 Minima and various ESP32 clones, the traditional assumptions about Pin 13 and 5V logic levels no longer universally apply. This guide provides an advanced, actionable framework for diagnosing and resolving the most stubborn LED failures, moving beyond basic tutorials into real-world edge cases and non-blocking state machine debugging.
Phase 1: Software & IDE Upload Diagnostics
Before blaming a burnt-out diode, you must verify that the microcontroller is actually receiving and executing your code LED Arduino instructions. The Arduino IDE's output console is your first diagnostic tool.
Compilation vs. Upload Errors
- Compilation Errors (Orange Text): These indicate syntax flaws in your C++ code. A common culprit in LED sketches is missing semicolons after
digitalWrite()or failing to declare the LED pin variable in the global scope. Ensure yourpinMode()is strictly placed inside thesetup()function. - Upload Errors (Red Text): If the code compiles but fails to upload, the IDE cannot establish a serial handshake with the board's bootloader.
The Serial Bridge Chip Trap
Authentic Arduino Uno R3 boards use the ATmega16U2 chip as a USB-to-Serial bridge. However, budget clones frequently utilize the CH340G or CP2102 chips. If you are on Windows 11 or macOS Sonoma and the port is greyed out in the IDE, you are likely missing the specific WCH or Silicon Labs VCP (Virtual COM Port) drivers. Always verify your device manager or system report to identify the bridge chip before troubleshooting the LED hardware.
Expert Insight: If the onboard 'L' LED blinks rapidly three times upon pressing the physical reset button, the bootloader is active and functioning. If it remains completely dark during a manual reset, the bootloader may be corrupted, requiring an ISP programmer (like a USBasp) to re-flash the ATmega328P.
Phase 2: Hardware & Wiring Troubleshooting Matrix
When the IDE confirms a successful upload but your external LED remains dark, the issue is physical. Use this diagnostic matrix to systematically eliminate hardware faults. According to the SparkFun LED Guide, understanding forward voltage (Vf) and current limiting is critical to preventing both dim outputs and damaged GPIO pins.
| Symptom | Probable Cause | Multimeter Test | Actionable Fix |
|---|---|---|---|
| LED completely dark | Reversed polarity or dead component | Diode test mode (expect 1.8V-3.3V drop) | Swap anode/cathode; replace LED if no voltage drop registers. |
| LED glows very dimly | Incorrect current-limiting resistor or high Vf mismatch | Measure voltage across LED while HIGH | Use a 220Ω resistor for Red (2.0Vf); use 100Ω for Blue/White (3.2Vf) on 5V logic. |
| LED flickers randomly | Floating pin, EMI, or SPI shield conflict | AC voltage check on Pin 13 | Remove SPI shields; enable INPUT_PULLUP if reading a sensor on the same bus. |
| Solid ON, no blink | Code logic stuck in while(1) or missing delay() |
N/A (Logic error) | Review loop state machine; ensure digitalWrite toggles inside the main loop. |
| LED works on 5V, fails on 3.3V | Forward voltage exceeds 3.3V logic rail | Measure GPIO output voltage | Blue/White LEDs require ~3.2V. Use a logic-level MOSFET or NPN transistor to switch 5V power. |
Phase 3: The 'Pin 13' Trap and Modern Board Quirks
Historically, developers hardcoded Pin 13 for external LEDs because it conveniently mirrored the onboard status LED. However, this practice is a frequent source of bugs in complex projects.
SPI Bus Collisions
On standard AVR-based boards, Pin 13 is hardwired to the SPI SCK (Clock) line. If your code LED Arduino setup includes an Ethernet shield, an SD card module, or an RFID reader (like the RC522), the SPI bus will rapidly toggle Pin 13 during data transmission. This will cause your LED to flicker erratically or appear dimly lit due to the high-frequency PWM-like behavior of the clock signal. Fix: Always move external indicator LEDs to unused digital pins (e.g., Pin 7 or 8) when utilizing SPI peripherals.
Arduino Uno R4 Minima Differences
If you have upgraded to the Uno R4 Minima, be aware that the onboard LED is no longer driven directly by the microcontroller's GPIO pin. It is routed through an op-amp buffer circuit to prevent loading the pin. While this protects the Renesas RA4M1 ARM Cortex-M4 chip, it means the electrical characteristics of Pin 13 on the R4 differ slightly from the R3. External LEDs wired to Pin 13 on the R4 may exhibit different rise times, which can cause issues if you are attempting high-speed software PWM or IR transmission using the LED.
Phase 4: Advanced Code Debugging (Ditching delay)
The most common architectural flaw in beginner LED code is the reliance on the delay() function. Because delay() is a blocking function, it halts the microcontroller's CPU, preventing it from reading buttons, polling sensors, or maintaining serial communication. When your LED blinks, but the rest of your project becomes unresponsive, you have a blocking code issue.
To properly debug and write robust code LED Arduino routines, you must implement a non-blocking state machine using millis(). The official BlinkWithoutDelay tutorial outlines this concept, but here is a modernized, easily debuggable implementation using structured states:
// Non-Blocking LED State Machine
const int LED_PIN = 8; // Moved off Pin 13 to avoid SPI conflicts
unsigned long previousMillis = 0;
const long blinkInterval = 500;
bool ledState = LOW;

void setup() {
  pinMode(LED_PIN, OUTPUT);
  Serial.begin(115200); // High baud for rapid debug logging
}

void loop() {
  unsigned long currentMillis = millis();

  // State machine for LED
  if (currentMillis - previousMillis >= blinkInterval) {
    previousMillis = currentMillis;
    ledState = !ledState; // Toggle state
    digitalWrite(LED_PIN, ledState);

    // Debug output to verify timing accuracy
    Serial.print("LED Toggled at: ");
    Serial.println(currentMillis);
  }

  // The CPU is now free to handle other tasks concurrently
  // readSensors();
  // checkSerialCommands();
}
Debugging Tip: If your LED timing drifts over hours of operation, ensure you are using unsigned long for all time variables. Using standard int variables will cause an integer overflow after roughly 32 seconds (on 16-bit AVR architectures) or 24 days (on 32-bit ARM architectures), resulting in the LED freezing in one state.
Summary and Further Resources
Troubleshooting a code LED Arduino project is rarely just about replacing a lightbulb. It requires verifying the serial bridge drivers, respecting the forward voltage limits of modern high-brightness diodes, avoiding SPI bus collisions on Pin 13, and writing non-blocking millis() logic. By applying the multimeter tests and state-machine architectures outlined above, you can isolate and resolve 99% of LED-related failures in your embedded systems.
For deeper diagnostics on IDE port conflicts and bootloader recovery, consult the Arduino Official Troubleshooting Guide. Always keep a digital multimeter and a known-good 220Ω resistor on your bench to rapidly validate physical layer faults before rewriting your C++ logic.