
The Modern Arduino Ecosystem: Moving to the Uno R4
If you are learning how to code with Arduino in 2026, you are entering the ecosystem at an exciting time. While older tutorials still reference the classic Uno R3 (based on the 8-bit ATmega328P chip), the current standard for beginners is the Arduino Uno R4 Minima. Powered by the Renesas RA4M1 ARM Cortex-M4 microcontroller, the R4 operates at 48 MHz and features a native USB-C interface, 256KB of Flash memory, and 32KB of SRAM.
This architectural leap means code written for older boards behaves slightly differently on modern hardware. This guide will teach you the fundamentals of Arduino C++ programming while highlighting the critical hardware-specific nuances you need to know to avoid common beginner traps.
Hardware Checklist & Budget
Before writing your first line of code, ensure you have the correct hardware. Beware of 'charge-only' USB-C cables, which are the number one cause of connection failures for beginners.
| Component | Specific Model / Requirement | Approx. Cost (USD) |
|---|---|---|
| Microcontroller | Arduino Uno R4 Minima (SKU: ABX00080) | $27.60 |
| Connection Cable | USB-C to USB-A Data + Power Cable | $8.00 |
| Prototyping Base | Standard 830-point Solderless Breadboard | $6.50 |
| Wiring | Male-to-Male Jumper Wires (20-pack) | $4.00 |
Step 1: Configuring the Arduino IDE 2.3+
The Arduino Integrated Development Environment (IDE) is where you will write, compile, and upload your code. Download the latest stable release of the Arduino IDE from the official website.
- Install the IDE: Run the installer and allow it to install the necessary USB drivers.
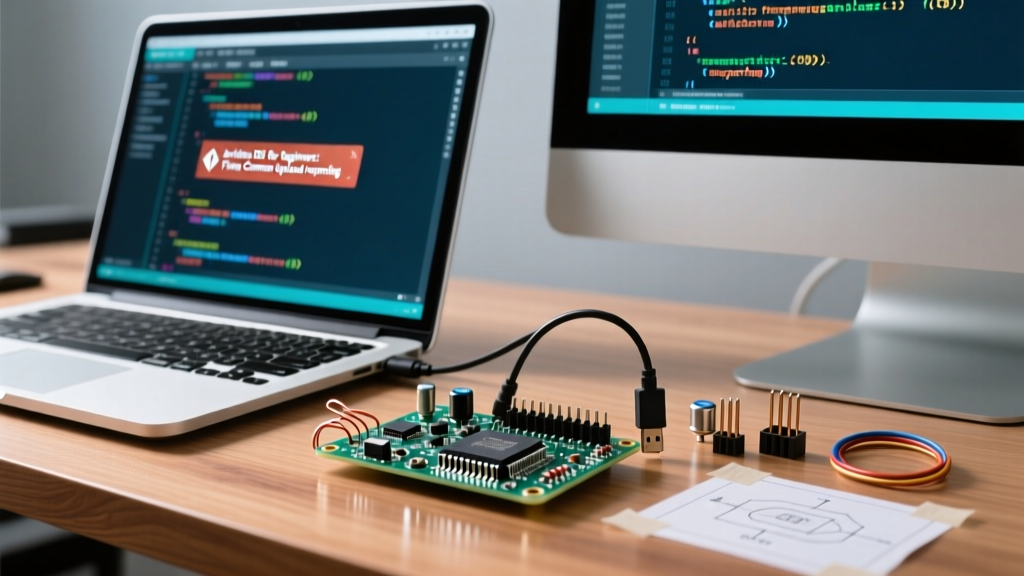
- Connect the Board: Plug your Uno R4 Minima into your computer using the data-capable USB-C cable.
- Install the Core: Navigate to Tools > Board > Boards Manager. Search for 'Arduino UNO R4 Boards' and click Install. This downloads the Renesas ARM compiler toolchain.
- Select Board and Port: Go to Tools > Board and select Arduino UNO R4 Minima. Then, under Tools > Port, select the COM port (Windows) or
/dev/cu.usbmodem...(macOS) that appeared when you plugged in the board.
Step 2: Anatomy of an Arduino Sketch
In the Arduino ecosystem, a program is called a 'sketch'. Every sketch requires two core functions to compile successfully. Let us look at the classic 'Blink' sketch, modernized with best practices for memory management and type safety.
// Define the pin using a constant integer
const int ledPin = LED_BUILTIN;

void setup() {
  // Initialize the digital pin as an output
  pinMode(ledPin, OUTPUT);
}

void loop() {
  digitalWrite(ledPin, HIGH);  // Turn the LED on (HIGH voltage)
  delay(1000);                 // Wait for 1000 milliseconds (1 second)
  digitalWrite(ledPin, LOW);   // Turn the LED off (LOW voltage)
  delay(1000);                 // Wait for 1 second
}
Dissecting the Code: E-E-A-T Insights
const intvs#define: Many outdated tutorials use#define ledPin 13. In modern C++, usingconst intis preferred because it enforces strict type checking and respects variable scope, preventing silent bugs in larger projects.LED_BUILTIN: This is a macro automatically mapped to the correct hardware pin (Pin 13 on the Uno R4) by the board definition file. Using macros instead of hardcoding '13' ensures your code remains portable across different Arduino models.- The 32-Bit Integer Trap: On the old 8-bit Uno R3, an
intwas 16 bits (max value 32,767). On the 32-bit Uno R4, anintis 32 bits (max value 2,147,483,647). If you are porting legacy code that relies on 16-bit integer overflow for timing or math, it will break on the R4. Useint16_texplicitly if you need strict 16-bit boundaries.
Step 3: Uploading and Real-World Troubleshooting
Click the Upload button (the right-facing arrow in the top left of the IDE). The IDE will compile your C++ code into machine code (a .hex/.bin file) and push it to the Renesas chip via the native USB interface.
Expert Troubleshooting Tip: Unlike cheap clone boards that use a secondary CH340 USB-to-Serial chip, the Uno R4 Minima uses the microcontroller's native USB peripheral. If your port is grayed out, 95% of the time you are using a 'charge-only' USB-C cable that lacks the internal D+ and D- data wires. Swap the cable before reinstalling drivers.
Common Compilation Errors
| Error Message | Cause | Solution |
|---|---|---|
expected ';' before... |
Missing semicolon at the end of a statement. | Check the line number indicated and add the missing semicolon. |
'ledPin' was not declared |
Variable used outside its scope or misspelled. | Ensure variables are declared at the top of the file or before use. |
Port not found / Upload timeout |
Wrong board selected or data-cable issue. | Verify Board Manager core is installed and use a verified data cable. |
Step 4: Core Concepts for Interactive Projects
Once you have mastered the blinking LED, you will move on to reading sensors and controlling motors. Here are the foundational concepts you must understand.
Digital vs. Analog I/O
Digital pins operate in binary: HIGH (approx. 5V on the Uno R4's 5V header) or LOW (0V). You configure them using pinMode() and read/write them using digitalRead() and digitalWrite().
Analog pins read varying voltage levels (0V to 5V). The Uno R4 features a 12-bit Analog-to-Digital Converter (ADC), meaning analogRead() returns a value between 0 and 4095.
Critical Note for Beginners: If you are following an older tutorial written for the Uno R3 (which had a 10-bit ADC returning 0-1023), your sensor math will be off by a factor of 4. To force the R4 to behave like the older 10-bit boards, add analogReadResolution(10); inside your setup() function.
Non-Blocking Code: Ditching the delay()
The delay() function halts the microcontroller entirely. During a delay, the Arduino cannot read buttons, update displays, or monitor sensors. As you advance, you must learn to use the millis() function to track time without blocking the main loop. This is the hallmark of intermediate Arduino programming and is essential for multitasking.
Next Steps and Authoritative Resources
Learning how to code with Arduino is a journey of continuous iteration. Start by modifying the delay times in your Blink sketch, then move on to wiring a pushbutton using internal pull-up resistors via INPUT_PULLUP.
To deepen your understanding of the C++ syntax and hardware capabilities, bookmark these authoritative resources:
- Arduino IDE Documentation: Official guides on navigating the IDE, managing libraries, and using the Serial Monitor for debugging.
- Arduino Uno R4 Minima Hardware Page: Full schematics, pinout diagrams, and the Renesas RA4M1 datasheet for deep-dive electrical specifications.
- Arduino Language Reference: The definitive encyclopedia for every C++ function, data type, and macro supported by the Arduino core.
By understanding the underlying architecture of your board and writing clean, type-safe C++, you will bypass the most common beginner frustrations and build robust, reliable electronics projects.