
The Problem with Default Arduino Stepper Code
When makers and engineers first approach motion control, they typically rely on the built-in official Arduino Stepper library. While sufficient for basic, single-task demonstrations, the default library harbors a fatal flaw for real-world applications: it is entirely blocking. When you call the step() function, the microcontroller halts all other operations, utilizing delayMicroseconds() under the hood to time the coil energization. During this window, your Arduino cannot read sensors, process serial data, or maintain WiFi connections.
To build responsive, multi-tasking systems in 2026, you must transition to non-blocking Arduino stepper code architectures. This tutorial provides a deep-dive walkthrough of implementing the industry-standard AccelStepper library by Mike McCauley, paired with precise hardware tuning for the ubiquitous A4988 driver and NEMA 17 stepper motors.
Hardware Requirements and Wiring the A4988
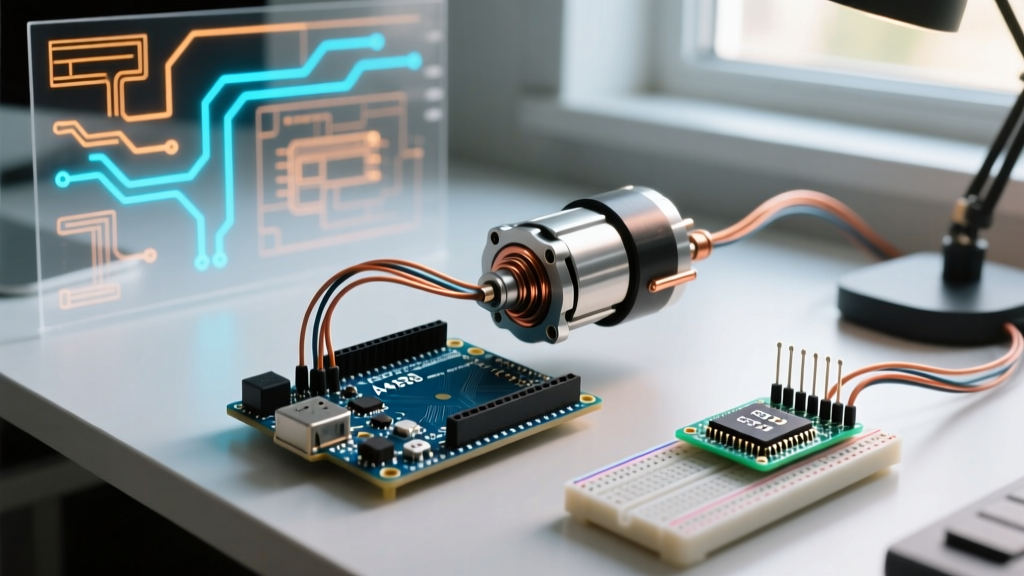
Before writing code, we must establish a robust hardware foundation. Stepper motors are current-driven devices, and attempting to drive them directly from microcontroller GPIO pins will instantly destroy your Arduino. We will use the following components:
- Microcontroller: Arduino Uno R3, Nano, or ESP32 (3.3V logic requires a logic level shifter for the A4988).
- Stepper Motor: NEMA 17 (Model 17HS4401S, rated at 1.5A/phase, 42Ncm holding torque). Current retail pricing hovers around $12 to $15 USD per unit.
- Motor Driver: Pololu A4988 Stepper Motor Driver Carrier ($3 to $5 USD). The DRV8825 is a pin-compatible alternative that supports up to 1/32 microstepping and handles slightly higher currents.
- Power Supply: 12V DC, minimum 3A switching power supply.
Critical Hardware Warning: You must place a 100µF electrolytic decoupling capacitor across the VMOT and GND pins on the A4988 carrier board, physically as close to the board as possible. Inductive voltage spikes from the stepper coils can exceed the 35V absolute maximum rating of the driver IC, causing catastrophic and permanent failure. This is the number one cause of dead drivers in DIY CNC and 3D printer builds.
A4988 Microstepping Resolution Matrix
Microstepping divides a full step (typically 1.8°, or 200 steps per revolution) into smaller increments, resulting in smoother motion and reduced mechanical resonance. Configure the MS1, MS2, and MS3 pins on the A4988 according to this truth table before powering the system:
| MS1 | MS2 | MS3 | Microstep Resolution | Steps per Revolution (1.8° Motor) |
|---|---|---|---|---|
| Low | Low | Low | Full Step | 200 |
| High | Low | Low | Half Step | 400 |
| Low | High | Low | 1/8 Step | 1600 |
| High | High | Low | 1/16 Step | 3200 |
Writing Non-Blocking Arduino Stepper Code
Install the AccelStepper library via the Arduino Library Manager. Unlike the default library, AccelStepper calculates trapezoidal speed profiles and manages step timing in the background. Your loop() function simply acts as a state machine, calling the run() method on every iteration.
Step 1: Initialization and Acceleration Profiles
We define the interface as AccelStepper::DRIVER, which tells the library we are using a dedicated step/dir driver rather than raw H-bridge transistors. Pin 3 is assigned to STEP, and Pin 4 to DIR.
#include <AccelStepper.h>

// Define the stepper and the pins it will use
// Interface type 1 = Step/Dir driver
AccelStepper stepper(AccelStepper::DRIVER, 3, 4);

const long TARGET_POSITION = 6400; // 2 full revolutions at 1/16 microstepping

void setup() {
  Serial.begin(115200);

  // Configure maximum speed and acceleration
  // Units are in steps per second, and steps per second^2
  stepper.setMaxSpeed(1600);
  stepper.setAcceleration(800);

  // Set the target position
  stepper.moveTo(TARGET_POSITION);
}
Step 2: The Non-Blocking Loop
The magic happens in the loop(). The stepper.run() function checks the current time, calculates if a step is due based on the acceleration profile, and pulses the STEP pin if necessary. It returns immediately, allowing you to interleave other tasks.
void loop() {
  // Run the stepper state machine
  stepper.run();

  // Interleave non-blocking sensor reads or serial communication here
  readSensors();
  handleSerialCommands();

  // Optional: Check if the motor has reached its target
  if (stepper.distanceToGo() == 0) {
    // Motor has stopped. You can assign a new moveTo() target here.
    // Example: Reverse direction after a 2-second non-blocking delay
  }
}

void readSensors() {
  // Example: Read a limit switch without delaying the stepper
  if (digitalRead(2) == LOW) {
    stepper.stop(); // Decelerates to a halt safely
  }
}
Tuning Current Limits (Vref) to Prevent Missed Steps
Perfect Arduino stepper code cannot compensate for poorly tuned hardware. If your motor stalls, whines, or misses steps under load, your driver's current limit is likely misconfigured. The A4988 uses a reference voltage (Vref) to dictate the maximum current delivered to the coils.
To measure and adjust Vref, you need a digital multimeter and a small ceramic flathead screwdriver. Measure the voltage between the Vref test point and the logic GND while the board is powered (but the motor is disconnected).
Use the following formula provided by Pololu:
Current Limit = Vref / (8 × Rs)
For the standard Pololu A4988 board, the sense resistor (Rs) is 0.1Ω. Therefore, the formula simplifies to:
Current Limit = Vref / 0.8
If your NEMA 17 (17HS4401S) is rated for 1.5A per phase, you should target a Vref of 1.2V. Turn the potentiometer clockwise to increase voltage, and counter-clockwise to decrease it. Never exceed the motor's rated current, or you risk demagnetizing the rotor over time.
Troubleshooting Common Edge Cases and Failure Modes
Even with optimized code and correct wiring, real-world electromechanical systems present unique edge cases. Here is how to diagnose the most frequent issues encountered in 2026 motion control projects:
1. Motor Stalls and Vibrates at High Speeds
Cause: Acceleration is set too high for the mechanical inertia of your load, or you are hitting a mid-band resonance frequency.
Fix: Lower the setAcceleration() value in your code. If moving a heavy lead-screw carriage, an acceleration of 4000 steps/s² might be fine, but for a direct-drive arm with high rotational inertia, you may need to drop it to 500 steps/s². Implementing 1/16 microstepping also significantly dampens resonance.
2. The Motor Moves, But Position Drifts Over Time
Cause: Missed steps due to insufficient torque or electrical noise on the STEP pin.
Fix: Stepper motors operate in open-loop; the Arduino has no feedback if a step is missed. First, increase the driver current slightly via the Vref potentiometer. Second, ensure your STEP and DIR wires are kept away from the high-current motor coil wires to prevent inductive crosstalk. Using twisted-pair cables for signal lines is highly recommended.
3. The A4988 Driver Overheats and Shuts Down
Cause: The A4988 can only deliver about 1A per phase continuously without active cooling, despite its 2A absolute peak rating. Thermal shutdown triggers at 165°C.
Fix: Attach the included adhesive aluminum heatsink. If you are driving a 1.5A motor in an enclosed chassis, you must add a 5V 40mm cooling fan blowing directly across the driver array, or upgrade to a DRV8825 or external TB6600 driver which handles thermal dissipation much more efficiently.
Conclusion
Transitioning from blocking functions to non-blocking Arduino stepper code using the AccelStepper library is a mandatory milestone for any embedded systems developer. By combining background trapezoidal motion profiling with precise hardware tuning—specifically microstepping configuration and exact Vref current limiting—you transform a jittery, single-task prototype into a robust, multi-threaded motion platform capable of handling complex sensor integration and real-time communications.