
IoT Arduino programming is the process of writing C++ firmware that enables microcontrollers to transmit sensor telemetry to cloud platforms using internet protocols like Message Queuing Telemetry Transport (MQTT). This guide is specifically written for engineering students, hobbyist makers, and junior embedded developers transitioning from offline electronics to connected systems. By integrating wireless modules, developers transform standalone boards into distributed edge nodes.
Key Takeaways
- IoT Arduino programming requires boards with native wireless capabilities, such as the Arduino Nano ESP32.
- MQTT is the preferred protocol over HTTP for low-power telemetry.
- Secure TLS encryption is mandatory for production IoT deployments.
Core Concepts of IoT Arduino Programming
IoT Arduino programming refers to the development of embedded C++ applications that connect physical microcontrollers to internet networks. It encompasses sensor data acquisition, network stack management, and cloud API integration to enable remote monitoring and automated control of physical environments.
Hardware Selection for 2026 IoT Projects
Selecting the correct microcontroller dictates the power envelope and connectivity range of your deployment. The Arduino Nano ESP32 operates at a 240 MHz clock speed and supports 2.4 GHz Wi-Fi networks. According to the Arduino Nano ESP32 Official Documentation, power consumption drops to 10 microamperes in deep sleep mode.
Industrial environments require hardware rated for extreme conditions. The ESP32 silicon supports operating temperatures up to 85 degrees Celsius. Furthermore, the board requires a stable 5 volts input via the USB-C connector for reliable flashing and operation.
Microcontroller Comparison Matrix
| Board Model | Wireless Standard | Flash Memory | Deep Sleep Current |
|---|---|---|---|
| Arduino Nano ESP32 | Wi-Fi 4 / Bluetooth 5.0 | 16 Megabytes | 10 microamperes |
| Arduino Portenta H7 | Wi-Fi 5 / Bluetooth 5.1 | 2 Megabytes | 2.5 milliamperes |
| Arduino MKR WAN 1310 | LoRaWAN 1.0.2 | 256 Kilobytes | 1.2 milliamperes |
For deep technical specifications on the underlying silicon, refer to the Espressif Systems ESP32 Series Datasheet.
Setting Up IoT Communication Protocols
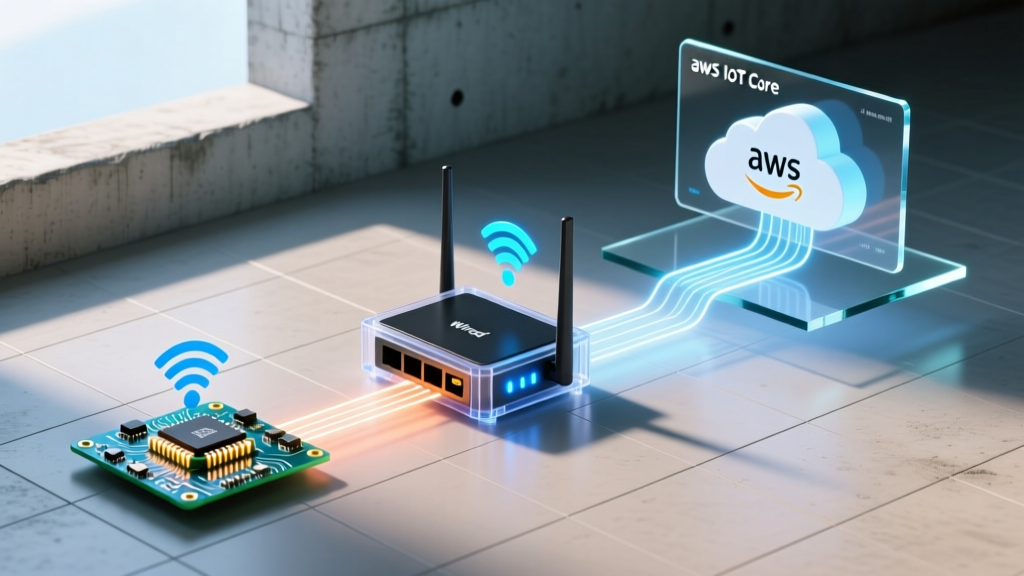
Message Queuing Telemetry Transport (MQTT) is a lightweight, publish-subscribe network protocol that transports messages between remote devices. It is designed for constrained devices and low-bandwidth, high-latency networks, making it the standard for IoT Arduino programming telemetry.
Unlike HTTP, which requires a new connection for every request, MQTT maintains a persistent TCP connection. This reduces overhead and preserves battery life on edge devices. The OASIS MQTT Version 5.0 Specification outlines the exact packet structures used to minimize payload size.
Implementing MQTT in C++
Developers use the ArduinoMqttClient library to handle broker connections. The firmware must define a client ID, subscribe to specific topics, and publish sensor readings at predefined intervals. Quality of Service (QoS) levels dictate whether the broker acknowledges message receipt.
Step-by-Step Arduino IoT Cloud Setup
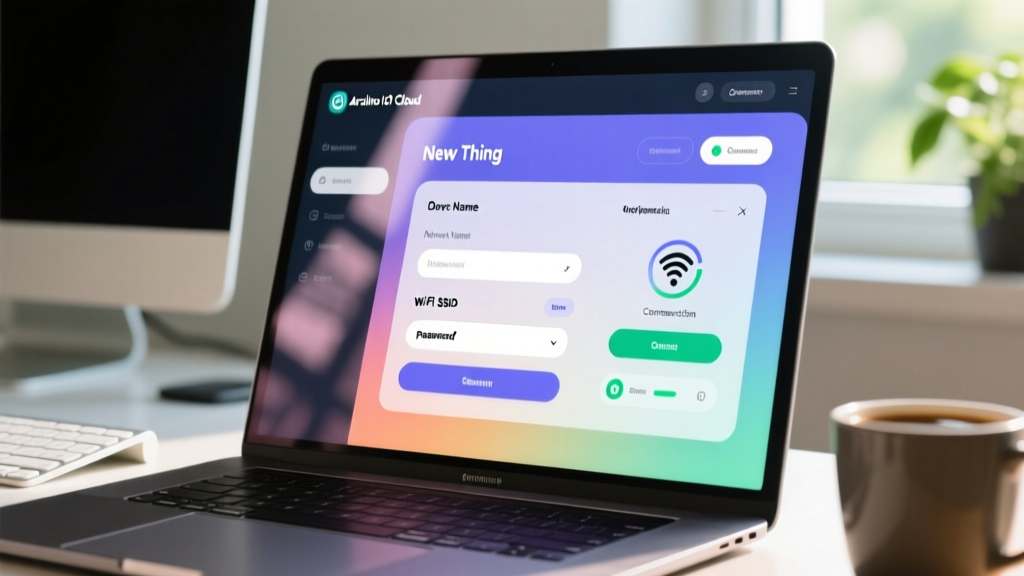
Cloud integration abstracts the backend infrastructure, allowing developers to focus on firmware logic. The Arduino IoT Cloud provides a managed environment for device provisioning and dashboard creation.
Provisioning the Device
First, install the Arduino Create Agent on your host machine to enable browser-based serial communication. Next, register a new 'Thing' in the cloud portal and link your physical board using its unique hardware ID.
Configuring Variables and Dashboards
Define cloud variables that map directly to your C++ code. A temperature variable can be set to update every 60 seconds. Finally, drag and drop visual widgets onto the dashboard to render the incoming telemetry data in real-time.
Frequently Asked Questions
How do I connect my Arduino to the internet for IoT?
You must use an Arduino board with integrated wireless capabilities, such as the Nano ESP32 or MKR WiFi 1010. Connect the board to your local router using the WiFiNINA or ESP32 WiFi libraries, providing your network SSID and password in the firmware credentials file.
What is the best coding language for Arduino IoT projects?
C++ is the native and most efficient language for Arduino IoT projects. The Arduino framework wraps standard C++ with hardware-abstraction libraries, allowing developers to manage memory and network stacks directly without the overhead of interpreted languages like MicroPython.
How to program Arduino for MQTT communication?
Install the ArduinoMqttClient library via the Library Manager. Initialize the WiFi client, pass it to the MQTT client object, and connect to your broker's IP address on port 1883. Use the beginMessage() and endMessage() functions to publish payloads.
Moving Forward with Connected Devices
IoT Arduino programming bridges the gap between physical sensors and digital cloud infrastructure through efficient C++ firmware and lightweight protocols. You now understand the hardware requirements, protocol advantages, and cloud provisioning steps necessary for a successful deployment. Your next step is to download the Arduino IDE 2.3, install the ESP32 board package, and flash a basic MQTT publish sketch to your local Mosquitto broker to test your first telemetry stream.