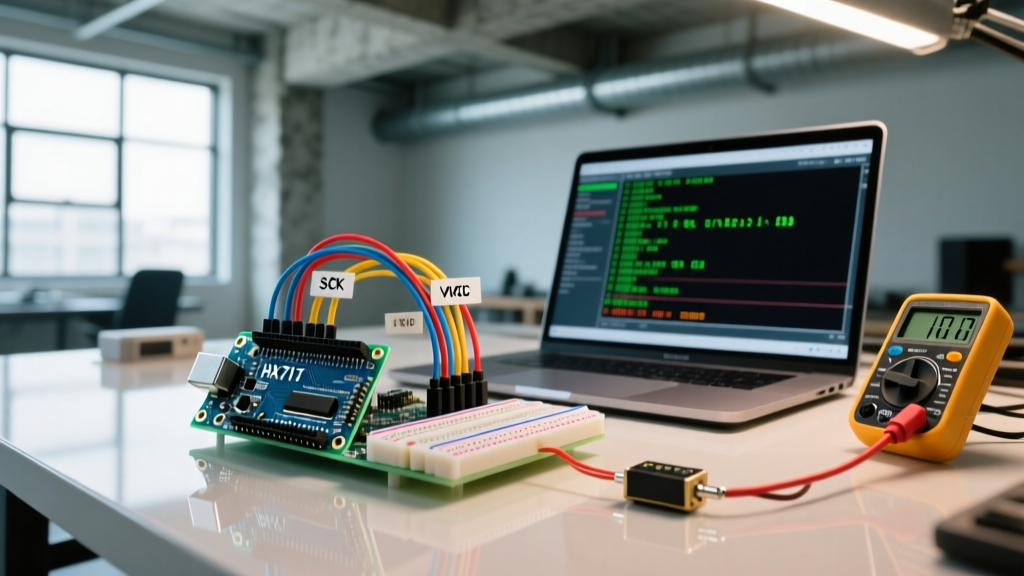

Mastering Hardware Communication in Arduino IDE 2.3.3
As we navigate the complex IoT and embedded ecosystems of 2026, reliable microcontroller communication remains the backbone of any successful electronics project. While early iterations of the Arduino IDE 2.x branch struggled with serial buffer overflows and port-mapping bugs, Arduino IDE 2.3.3 has solidified itself as a robust, production-ready environment for hardware debugging. Built on the Eclipse Theia framework, version 2.3.3 introduces critical stability improvements to the Serial Monitor, enhanced handling of native USB protocols, and seamless integration with multi-port architectures like the ESP32-S3 and Teensy 4.1.
This guide bypasses basic "Hello World" tutorials and dives deep into advanced communication setup, protocol debugging, and edge-case troubleshooting specifically tailored for the Arduino IDE 2.3.3 environment.
Upgrading and Verifying Your 2.3.3 Environment
Before initiating complex I2C, SPI, or UART debugging, ensure your IDE and board cores are correctly synchronized. A common failure mode in communication setup occurs when the IDE version and the installed board package (e.g., esp32 by Espressif or Teensyduino) rely on mismatched serial backend libraries.
- Verify the Build: Navigate to Help > About to confirm you are running exactly Version: 2.3.3. If you are on an older 2.2.x build, download the latest binary from the Arduino IDE GitHub Releases page.
- Update Board Cores: Open the Boards Manager (
Ctrl+Shift+BorCmd+Shift+B). Update the Arduino SAMD Boards and esp32 cores to their latest 2026 releases to ensure compatibility with the 2.3.3 serial backend. - Driver Verification: For clone boards utilizing the CH340G or CH341A USB-to-UART bridges, ensure you have installed the official WCH drivers (version 3.8+). Windows 11 and macOS Sonoma/Sequoia often default to generic CDC drivers which can drop packets at baud rates above 115200.
Serial Communication: Beyond the Basic Monitor
The Serial Monitor in Arduino IDE 2.3.3 is no longer just a text dump; it is a vital telemetry tool. According to the Arduino Official Serial Monitor Documentation, the 2.x series allows for persistent log saving and advanced line-ending manipulation, which is critical when communicating with AT-command-based modules like the SIM800L or ESP-01.
Optimizing Baud Rates and Buffer Limits
Choosing the right baud rate is a trade-off between speed and signal integrity over physical copper. In IDE 2.3.3, the Serial Monitor dropdown supports custom baud rates. You can type directly into the baud rate field to input non-standard values like 250000 (common for 3D printer Marlin firmware) or 2000000 (for Teensy 4.1 native USB).
| Baud Rate | Max Reliable Distance (Unshielded UART) | Hardware Bridge / Use Case | IDE 2.3.3 Buffer Behavior |
|---|---|---|---|
| 9600 | ~15 meters | Standard RS-232 / Long-range RS-485 | Zero drop; legacy compatibility |
| 115200 | ~2 meters | CH340G / CP2102 USB-UART Bridges | Stable; may require hardware flow control |
| 921600 | < 0.5 meters | High-speed ESP32 telemetry logging | Stable in 2.3.3; early 2.0.x dropped packets |
| 2000000 | N/A (Direct USB) | Teensy 4.1 / Native USB CDC | Requires native USB; bypasses UART hardware |
Pro-Tip for ESP32-S3 Users: The ESP32-S3 features a built-in USB-JTAG/Serial interface. In Arduino IDE 2.3.3, this often enumerates as two separate COM ports (e.g.,COM4andCOM5on Windows). Always select the higher-numbered COM port for the Serial Monitor, as the lower-numbered port is reserved for the JTAG debugging interface and will output garbage data if used for standardSerial.println().
Configuring I2C and SPI Debugging via Serial Plotter
While UART is native to the Serial Monitor, debugging I2C and SPI buses requires bridging the data through the microcontroller's primary serial line. Arduino IDE 2.3.3’s Serial Plotter (Tools > Serial Plotter) is invaluable for visualizing analog sensor data or bus states in real-time without writing external Python scripts.
Formatting Data for the 2.3.3 Plotter
To utilize the plotter for communication debugging (e.g., monitoring I2C bus voltage drops or SPI clock jitter via a logic analyzer bridge), your firmware must output data in a specific format. The 2.3.3 plotter supports multiple variables simultaneously using tab or space delimiters, and assigns colors automatically.
// Example: I2C Bus Health Monitor Output
void printBusHealth(float voltage, int errors) {
  Serial.print("VCC:");
  Serial.print(voltage);
  Serial.print("\t"); // Tab delimiter for multi-line plotting
  Serial.print("Errors:");
  Serial.println(errors);
}
By formatting your output with Label:Value pairs separated by \t, the IDE 2.3.3 Plotter will generate a live, color-coded legend. This is exceptionally useful when tuning PID controllers or analyzing LoRa RSSI/SNR signal degradation over time.
Troubleshooting Common 2.3.3 Communication Failures
Even with a mature IDE, hardware communication is prone to physical and software-level edge cases. As detailed in advanced embedded engineering resources like the SparkFun Serial Communication Tutorial, understanding the DTR/RTS handshake is crucial for resolving upload and monitor conflicts.
Failure Mode 1: The "Port Greyed Out" or "Access Denied" Error
Symptom: You open the Serial Monitor, but it immediately closes or fails to open, throwing a SerialException: could not open port in the IDE output console.
Root Cause: Another application has locked the COM port. In 2026, the most common culprits are 3D printing slicers (like Cura or PrusaSlicer) running in the background, or a previous instance of the Arduino IDE's serial backend failing to terminate gracefully.
Actionable Fix: On Windows, open Device Manager, locate the hidden COM port, and disable/enable it. On Linux/macOS, use lsof | grep /dev/ttyACM0 to find and kill the zombie process holding the file descriptor.
Failure Mode 2: Gibberish Output and Clock Drift
Symptom: The Serial Monitor displays random unicode characters instead of your debug strings.
Root Cause: Baud rate mismatch. However, if both the code and IDE are set to 115200, the issue is likely clock drift on cheap CH340G clones. The internal oscillator of counterfeit USB-UART bridges can drift by up to 3%, causing framing errors at high speeds.
Actionable Fix: Drop the baud rate to 57600 or 38400. Alternatively, replace the clone board with an official Arduino Uno R4 Minima or a board featuring a genuine FTDI FT232RL or Silicon Labs CP2102 chip, which maintain strict timing tolerances.
Failure Mode 3: Auto-Reset Looping During Serial Connection
Symptom: Every time you open the Serial Monitor in IDE 2.3.3, the microcontroller reboots, wiping your RAM state and restarting the setup() function.
Root Cause: The IDE asserts the DTR (Data Terminal Ready) line when opening the serial connection. On boards like the Uno R3 or Nano, the DTR line is tied to the RESET pin via a 0.1µF capacitor to facilitate automatic bootloader entry.
Actionable Fix: If you need to monitor a running system without resetting it, you have two options:
1. Use an external USB-to-UART adapter (like an Adafruit FT232H breakout) connected directly to the MCU's RX/TX pins, bypassing the onboard DTR-reset circuit.
2. In your code, implement non-volatile memory (EEPROM or Flash) to persist state across the unavoidable DTR reset.
Network and Wireless Debugging Integration
For IoT projects utilizing WiFi or BLE, physical serial cables are often impractical post-deployment. Arduino IDE 2.3.3 supports Network Ports natively. If your ESP32 or Arduino Nano RP2040 Connect is running a telnet-based serial bridge or mDNS broadcast, it will appear under the Select Board dropdown with a network icon.
Setup Steps for Network Debugging:
- Ensure your PC and the MCU are on the exact same VLAN/Subnet.
- Flash the firmware using a physical USB connection first to provision the WiFi credentials.
- Disconnect USB. Wait for the MCU to connect to your router and broadcast its mDNS name (e.g.,
esp-sensor.local). - In IDE 2.3.3, select the Network Port. The Serial Monitor will now route TCP packets to the IDE, allowing you to debug remote sensors without touching the hardware.
Frequently Asked Questions (FAQ)
Can I use Arduino IDE 2.3.3 to debug I2C addresses directly?
No, the IDE does not have a native I2C bus scanner built into the UI. You must upload an I2C Scanner sketch (available via the File > Examples > Wire menu) which will sweep addresses 0x01 through 0x7F and print the discovered devices to the Serial Monitor.
Why does the Serial Plotter in 2.3.3 crash when I send too much data?
The Serial Plotter renders data using a web-based graphical engine. If you push data faster than the rendering pipeline can process (e.g., sending 10,000 data points per second at 2Mbaud), the UI thread will bottleneck. Throttle your Serial.print() statements using a millis() based timer to output plotter data at a maximum of 60-100 Hz for smooth rendering.
Does IDE 2.3.3 support hardware flow control (RTS/CTS)?
The standard Serial Monitor UI does not expose hardware flow control toggles. If your external peripheral (like a cellular modem) requires RTS/CTS handshaking to prevent buffer overruns, you must handle the GPIO toggling manually within your Arduino sketch, or use a third-party terminal like PuTTY or TeraTerm for the initial handshake configuration before switching back to the IDE.