
Understanding the Arduino MIDI Library Ecosystem
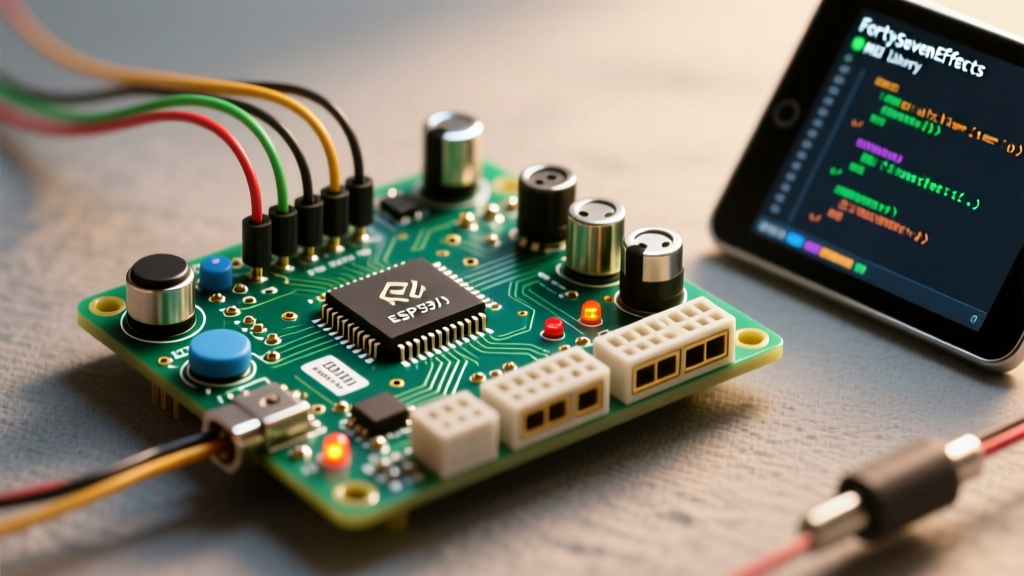
When makers and musicians search for an Arduino MIDI library, they are almost always looking for the industry-standard FortySevenEffects Arduino MIDI Library. Unlike USB-MIDI libraries (such as MIDIUSB or TinyUSB) which rely on native USB HID protocols, the FortySevenEffects library is explicitly designed for Hardware Serial MIDI over 5-pin DIN connections. This distinction is critical: hardware DIN MIDI operates at a strict, non-negotiable baud rate of 31,250 bps and requires specific opto-isolated circuitry to prevent ground loops and protect your microcontroller.
In this comprehensive walkthrough, we will build a 4-knob MIDI Continuous Controller (CC) using an ATmega328P-based board (like the Arduino Uno or Nano), wire the 5-pin DIN output, and write optimized C++ code to transmit MIDI data reliably. As of 2026, genuine Arduino Uno R4 Minima boards retail for around $27.50, while reliable third-party ATmega328P clones remain a budget-friendly $4.50 to $6.00.
Hardware Requirements and DIN Wiring
Before writing code, we must establish the physical layer. The official MIDI Association specifications dictate that MIDI OUT requires a current-loop interface. You cannot simply wire an Arduino TX pin directly to a DIN cable; doing so will result in signal degradation and potential damage to receiving synthesizers.
Component List & Pricing (2026 Estimates)
- Microcontroller: Arduino Nano (ATmega328P) - $5.00 (clone)
- Connectors: 5-Pin DIN Female Chassis Mount (e.g., CUI Devices SD-50) - $1.20
- Resistors: 220Ω (1/4W) for current limiting - $0.10
- Potentiometers: 10kΩ Audio Taper (Logarithmic) Alpha RV09 - $1.20 each
- Enclosure: Hammond 1590B Diecast Aluminum - $8.50
MIDI OUT Wiring Matrix
| DIN Pin | Function | Arduino Connection | Notes |
|---|---|---|---|
| Pin 5 | Current Source (+) | Arduino TX (Pin 1) via 220Ω Resistor | Must use hardware TX pin for 31250 baud |
| Pin 2 | Shield / Ground | Arduino GND | Connect to cable shield, not signal ground |
| Pin 4 | Current Sink (-) | Arduino 5V via 220Ω Resistor | Completes the current loop |
| Pins 1 & 3 | Not Used | None | Leave unconnected |
SoftwareSerial for MIDI OUT on standard AVRs. The software-based timing interrupts cannot reliably sustain the 31,250 baud rate, resulting in dropped notes and corrupted SysEx messages. Always use the hardware UART pins (TX/RX) or the AltSoftSerial library if hardware pins are unavailable.
Step 1: Library Installation and Initialization
Install the library via the Arduino IDE Library Manager by searching for MIDI Library by Forty Seven Effects. Once installed, the initialization requires creating an instance of the MIDI class and binding it to your hardware serial port.
#include <MIDI.h>

// Create a default MIDI instance bound to Hardware Serial
MIDI_CREATE_DEFAULT_INSTANCE();

// Define potentiometer pins and CC numbers
const int POT_PINS[4] = {A0, A1, A2, A3};
const int CC_NUMBERS[4] = {10, 11, 12, 13}; // Pan, Expression, FX1, FX2
int lastCCValues[4] = {-1, -1, -1, -1};

void setup() {
    // Initialize MIDI on all channels (OMNI) or a specific channel (e.g., 1)
    MIDI.begin(MIDI_CHANNEL_OMNI);

    // For pure MIDI OUT, we don't strictly need Thru turned on
    MIDI.turnThruOff();

    // Optional: Set analog read resolution and smoothing
    analogReadResolution(10); // 10-bit for standard AVRs
}
Step 2: Reading Potentiometers and Sending CC Messages
A common failure mode in DIY MIDI controllers is "parameter jitter." Standard 10kΩ potentiometers introduce electrical noise, which causes the Arduino to send a barrage of identical or fluctuating MIDI CC messages, overwhelming the receiving DAW. To solve this, we implement a deadband threshold and map the 10-bit ADC value (0-1023) to the 7-bit MIDI standard (0-127).
void loop() {
    // Process any incoming MIDI data (good practice even for OUT-only devices)
    MIDI.read();

    for (int i = 0; i < 4; i++) {
        int rawValue = analogRead(POT_PINS[i]);

        // Map 10-bit ADC to 7-bit MIDI CC
        int ccValue = map(rawValue, 0, 1023, 0, 127);

        // Implement a deadband threshold of 2 to eliminate jitter
        if (abs(ccValue - lastCCValues[i]) > 1) {
            // Send Control Change: Channel 1, CC Number, Value
            MIDI.sendControlChange(CC_NUMBERS[i], ccValue, 1);
            lastCCValues[i] = ccValue;

            // Debounce delay to prevent flooding the serial buffer
            delay(10);
        }
    }
}
Standard MIDI Message Hex Reference
Under the hood, the sendControlChange function constructs a 3-byte serial packet. Understanding this hex structure is vital when debugging with a logic analyzer or oscilloscope.
| Message Type | Status Byte (Hex) | Data Byte 1 | Data Byte 2 |
|---|---|---|---|
| Note On | 0x90 (Ch 1) | Pitch (0-127) | Velocity (1-127) |
| Note Off | 0x80 (Ch 1) | Pitch (0-127) | Velocity (0-127) |
| Control Change | 0xB0 (Ch 1) | CC Number | CC Value |
Step 3: Handling Incoming MIDI Data (Callbacks)
If you are building a MIDI-to-CV converter or an LED visualizer, your Arduino needs to receive data. The FortySevenEffects library excels here by using hardware interrupts and callback functions, ensuring your loop() isn't blocked by serial polling.
void setup() {
    MIDI.setHandleNoteOn(HandleNoteOn);
    MIDI.setHandleNoteOff(HandleNoteOff);
    MIDI.begin(MIDI_CHANNEL_OMNI);
}

void HandleNoteOn(byte channel, byte pitch, byte velocity) {
    if (velocity == 0) {
        HandleNoteOff(channel, pitch, velocity);
        return;
    }
    // Trigger LED or DAC output based on pitch
    digitalWrite(LED_BUILTIN, HIGH);
}

void HandleNoteOff(byte channel, byte pitch, byte velocity) {
    digitalWrite(LED_BUILTIN, LOW);
}
Advanced Debugging & Edge Cases
Even with perfect code, hardware MIDI introduces unique physical layer challenges. Here is how to troubleshoot the most common edge cases encountered in professional and hobbyist builds.
1. The "Stuck Note" Phenomenon
Symptom: A synthesizer holds a note indefinitely after the Arduino sends a Note Off message, or notes trigger randomly.
Root Cause: This is almost always a hardware issue related to the MIDI IN optocoupler on the receiving device, or a missing pull-up resistor on the MIDI OUT line. If you are designing a custom PCB with a MIDI IN port, using a generic PC817 optocoupler without a base-pin pull-up resistor causes slow fall times, corrupting the 31,250 baud square wave.
Solution: Use a high-speed logic gate optocoupler like the H11L1 or 6N138. For the 6N138, tie pin 7 (Base) to pin 5 (Emitter) via a 100kΩ resistor to drastically improve switching speed. Refer to the SparkFun MIDI Tutorial for exact schematic layouts.
2. Ground Loop Hum in Audio Chains
Symptom: A loud 50/60Hz hum is introduced into the audio signal chain when the Arduino is connected via USB to a laptop and MIDI DIN to a mixer.
Root Cause: The USB ground and the DIN ground are creating a loop.
Solution: The MIDI specification requires galvanic isolation. Ensure your MIDI IN circuit uses an optocoupler. If you are only using MIDI OUT, ensure the DIN Pin 2 (Shield) is connected to the Arduino ground, but never connect the Arduino 5V ground directly to the audio mixer's chassis ground through the cable shield.
3. Serial Buffer Overflow on SysEx
Symptom: The Arduino freezes or drops data when receiving long System Exclusive (SysEx) dumps from a vintage synthesizer.
Root Cause: The default hardware serial buffer on the ATmega328P is only 64 bytes. SysEx dumps can easily exceed this.
Solution: In the library's midi_Defs.h file, increase the SysExMaxSize definition, or better yet, process SysEx data byte-by-byte using the setHandleSystemExclusiveChunk callback to stream data directly to an SD card or external EEPROM without buffering it in RAM.
Conclusion
Mastering the Arduino MIDI Library requires looking beyond the C++ syntax and understanding the 31,250 baud physical layer. By utilizing hardware serial, implementing deadband thresholds for analog inputs, and respecting the current-loop nature of 5-pin DIN, you can build studio-grade MIDI controllers that rival commercial units costing upwards of $150. Whether you are mapping motorized faders or building a custom sequencer, the FortySevenEffects library remains the most robust foundation for hardware MIDI communication in the embedded ecosystem.