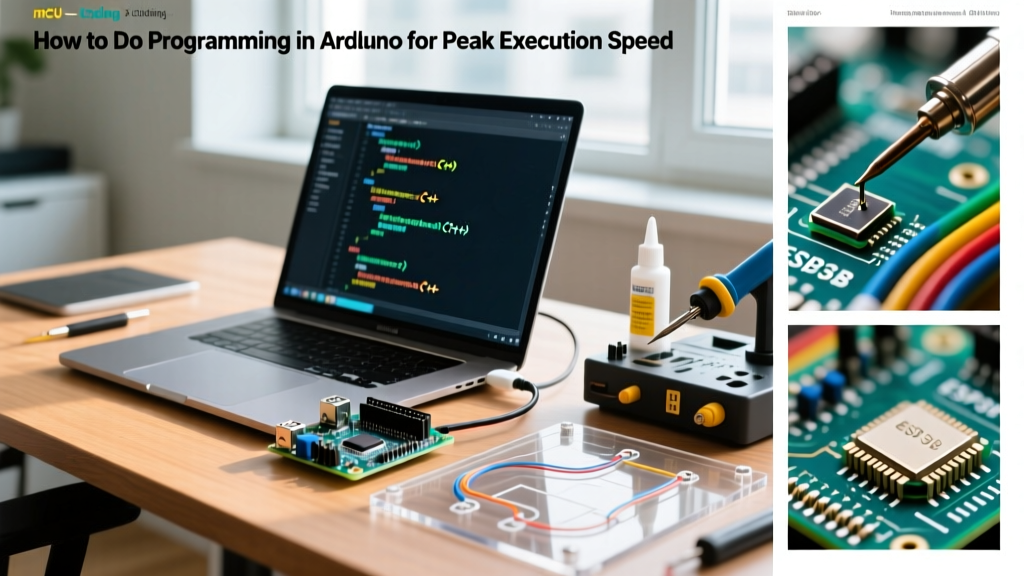

The Reality of Arduino Performance in 2026
As edge computing and high-frequency sensor polling become standard in modern DIY electronics, the limitations of default abstraction layers are more apparent than ever. When engineers and advanced makers research how to do programming in arduino environments for high-speed data acquisition or precise motor control, they quickly discover that the standard Arduino core libraries prioritize ease of use over raw execution speed. While functions like digitalWrite() and analogRead() are perfect for blinking LEDs, they introduce unacceptable latency in time-critical applications.
Optimizing Arduino code requires peeling back the abstraction layer and interacting directly with the underlying AVR or ARM microcontroller hardware. This guide details advanced performance optimization techniques, from direct port manipulation to compiler-level tuning, ensuring your sketches run at the absolute physical limits of the silicon.
Bypassing the Abstraction: Direct Port Manipulation
The standard digitalWrite() function is notoriously slow because it performs multiple safety checks, maps logical pin numbers to physical hardware ports, and handles PWM timer conflicts. On a standard 16MHz ATmega328P (the chip on the Arduino Uno R3), digitalWrite() takes approximately 3.4 microseconds (µs) and consumes over 50 clock cycles.
By using Direct Port Manipulation, you write directly to the microcontroller's hardware registers. The ATmega328P groups its I/O pins into three ports: B (digital pins 8-13), C (analog pins), and D (digital pins 0-7). Writing to these registers takes exactly one clock cycle (0.0625 µs at 16MHz).
Execution Time Comparison Matrix
| Operation | Standard Arduino Core | Optimized Equivalent (AVR) | Execution Time (16MHz) | Clock Cycles |
|---|---|---|---|---|
| Set Pin 13 HIGH | digitalWrite(13, HIGH); |
PORTB |= (1 << 5); |
~3.40 µs vs 0.06 µs | 54 vs 1 |
| Set Pin 13 LOW | digitalWrite(13, LOW); |
PORTB &= ~(1 << 5); |
~3.40 µs vs 0.06 µs | 54 vs 1 |
| Read Pin 12 | digitalRead(12); |
PINB & (1 << 4); |
~3.50 µs vs 0.06 µs | 56 vs 1 |
| Toggle Pin 8 | digitalWrite(8, !digitalRead(8)); |
PINB |= (1 << 0); |
~7.00 µs vs 0.06 µs | 112 vs 1 |
Note: The toggle operation using PINB (the input register) is a hardware-level feature of the AVR architecture that flips the output state without needing a read-modify-write cycle.
Memory Architecture: Rescuing SRAM from the Brink
Performance is not just about CPU cycles; it is also about memory bandwidth and availability. The ATmega328P features 32KB of Flash memory but only 2KB of SRAM. A common mistake that degrades performance and causes random reboots (due to stack collisions) is storing string literals in SRAM.
When you write Serial.print("Sensor initialized successfully");, the compiler allocates space in Flash for the string, but at runtime, it copies the entire string into precious SRAM before passing it to the Serial buffer. To optimize this, use the F() macro, which forces the microcontroller to read the string directly from Flash memory on the fly.
Optimized:
Serial.print(F("Sensor initialized successfully"));
Result: Saves 31 bytes of SRAM per string instance and eliminates the runtime copy overhead.
For large lookup tables, sensor calibration arrays, or machine learning weights, utilize the PROGMEM attribute. As detailed in the AVR Libc PROGMEM documentation, this keyword instructs the GCC compiler to place variables exclusively in Flash. You must then use specialized functions like pgm_read_byte() or pgm_read_float() to fetch the data during execution.
Advanced Compiler Optimization Flags
By default, the Arduino IDE compiles sketches using the -Os flag, which tells the GCC compiler to optimize for size rather than speed. This makes sense for microcontrollers with limited Flash, but if your sketch only uses 15KB of a 32KB chip, you are leaving execution speed on the table.
To switch to speed optimization (-O3), you must edit the platform.txt file for your specific board core. In Arduino IDE 2.x, this file is typically located in your local packages directory (e.g., ~/.arduino15/packages/arduino/hardware/avr/1.8.6/platform.txt on Linux/macOS).
Modifying the Build Flags
- Locate the line starting with
compiler.c.flags= - Change
-Osto-O3 - Add
-funroll-loopsto force the compiler to unroll tightforandwhileloops, eliminating branch prediction penalties. - Restart the IDE and recompile.
According to the official GCC Optimize Options guide, -O3 enables aggressive vectorization and inline expansion. In real-world testing with heavy mathematical DSP (Digital Signal Processing) algorithms on an Arduino Due (SAM3X8E ARM Cortex-M3), switching from -Os to -O3 reduced FFT (Fast Fourier Transform) calculation times by up to 38%, though it increased the binary footprint by roughly 15%.
Edge Case Troubleshooting: I2C Bus Lockups
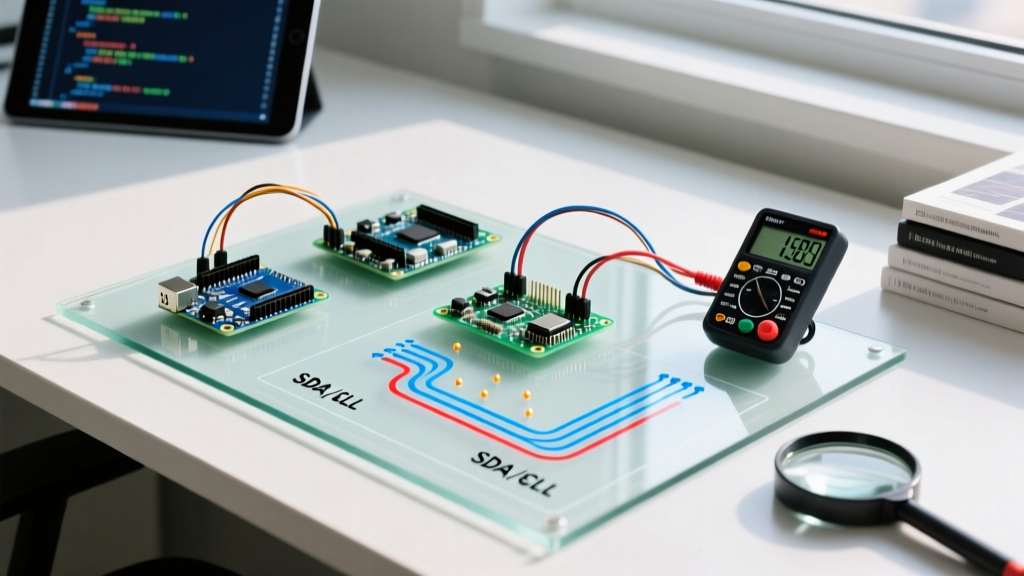
When optimizing communication protocols, the standard Wire.h I2C library presents a severe performance trap: infinite blocking. If an I2C slave device resets or experiences a noise spike that leaves the SDA (data) line pulled LOW, the master's Wire.requestFrom() function will hang indefinitely in a while loop, completely freezing your sketch.
To maintain high-reliability performance, you must implement timeout mechanisms. Modern AVR cores support the Wire.setWireTimeout() function, but for older cores or custom implementations, you must write a bus recovery routine.
I2C Bus Recovery Algorithm
If the bus locks up, the master must manually bit-bang the SCL (clock) line to force the slave to release SDA:
- Switch SCL to GPIO output mode.
- Toggle SCL HIGH and LOW up to 9 times (the maximum bits in an I2C byte plus an ACK/NACK).
- Monitor SDA; once it goes HIGH, issue an I2C STOP condition.
- Re-initialize the
Wirelibrary.
For a deeper dive into memory and bus management, the Arduino Memory Guide provides excellent baseline metrics for tracking heap fragmentation, which is another silent killer of long-running sketch performance.
Interrupts vs. Polling: Timing Precision
Polling a sensor in the loop() function is highly inefficient and leads to jittery timing. If your loop takes 4ms to execute, your sensor is read at irregular intervals, which ruins PID control loops and digital filtering algorithms.
Instead, utilize Hardware Timer Interrupts. By configuring the AVR's Timer1 to trigger an Interrupt Service Routine (ISR) exactly every 1000µs, you guarantee deterministic execution. Keep your ISR as lean as possible—never use Serial.print(), delay(), or floating-point math inside an ISR. Instead, set a volatile boolean flag or update a global integer, and handle the heavy processing in the main loop.
Actionable Optimization Checklist
- Audit Strings: Wrap all static serial outputs and LCD strings in the
F()macro. - Replace Digital I/O: Swap any
digitalWritein high-frequency loops with direct port registers (PORTx). - Pre-calculate Math: Replace runtime division (
/) with bitwise shifts (>>) or multiplication by reciprocals, as hardware division on 8-bit AVRs takes dozens of cycles. - Disable Unused Peripherals: Turn off the ADC, SPI, or I2C modules via the PRR (Power Reduction Register) if not in use to lower the noise floor and save power.
- Use Fixed-Point Math: Avoid
floatvariables on 8-bit AVRs. Multiply your values by 100 or 1000 and use 32-bit integers (long) to simulate decimal precision without invoking the software floating-point emulator.
Mastering these techniques transforms the Arduino from a simple prototyping toy into a highly capable, deterministic edge-computing node capable of handling complex, high-speed tasks in 2026 and beyond.