
The Core Mechanism: UART to Bluetooth Bridging
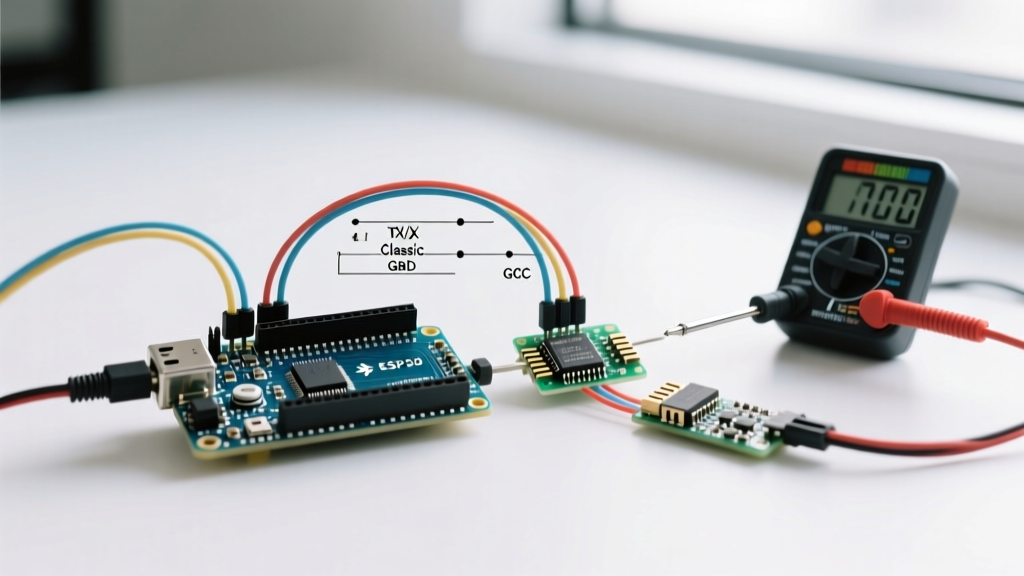
When you interface an Arduino with Bluetooth, you are not simply attaching a wireless antenna; you are bridging two fundamentally different protocol stacks. The microcontroller speaks in synchronous or asynchronous serial logic (UART), while the Bluetooth module manages complex RF modulation, frequency hopping, and packet assembly. Understanding this bridge is the difference between a reliable wireless telemetry link and a frustrating experience plagued by dropped packets and bricked modules.
At the hardware level, 90% of standalone Bluetooth modules (like the HC-05, HC-06, and HM-10) act as transparent UART bridges. They listen for serial data on their RX pin, buffer it, and transmit it over the 2.4 GHz ISM band. Conversely, incoming RF packets are demodulated and pushed out of the module's TX pin. According to SparkFun's Serial Communication Guide, UART relies on agreed-upon baud rates and start/stop bits, meaning your Arduino's Serial.begin() must perfectly match the module's configured air-to-baud translation rate.
Classic BR/EDR vs. BLE: Choosing Your Protocol Stack
The Bluetooth Special Interest Group (SIG) maintains two distinct architectures: Basic Rate/Enhanced Data Rate (BR/EDR), commonly known as Classic Bluetooth, and Bluetooth Low Energy (BLE). The Bluetooth SIG Low Energy Overview highlights that BLE was engineered for burst transmissions and coin-cell operation, fundamentally changing how data is structured via the Generic Attribute Profile (GATT).
| Feature | Classic (e.g., HC-05, JDY-31) | BLE (e.g., HM-10, Nano 33 BLE) |
|---|---|---|
| Primary Use Case | Continuous high-throughput data streams (audio, raw sensor logs) | Intermittent telemetry, IoT state changes, battery-powered nodes |
| Data Structure | Virtual Serial Port (SPP) | GATT Services & Characteristics (UUIDs) |
| Power Consumption | 30mA - 50mA (Active) | < 1mA (Sleep), 10mA (TX Burst) |
| Mobile OS Support | Android native, iOS restricted (requires MFi) | Native support on iOS, Android, Windows, macOS |
| Typical Module Cost (2026) | $4.50 - $7.00 | $6.50 (HM-10) to $29.00 (Nano 33 BLE) |
Hardware Wiring: The 3.3V vs 5V Logic Trap
The most common catastrophic failure when connecting an Arduino with Bluetooth is ignoring logic level thresholds. Standard Arduino Uno and Mega boards operate at 5V logic. However, almost all modern Bluetooth modules (especially BLE variants like the HM-10 or ESP32-based breakouts) operate strictly at 3.3V.
Feeding 5V from an Arduino TX pin into a 3.3V module RX pin will degrade the module's internal silicon over time, leading to erratic baud rate shifts or permanent failure. To mitigate this, you must implement a voltage divider on the Arduino TX to Module RX line.
- Resistor 1 (R1): 1kΩ between Arduino TX and Module RX.
- Resistor 2 (R2): 2kΩ between Module RX and GND.
This configuration yields approximately 3.33V at the module's RX pin. The Arduino's RX pin can safely read the 3.3V output from the module's TX pin, as the ATmega328P recognizes anything above 2.0V as a logical HIGH.
AT Command State Machines and Configuration
Out of the box, modules like the HC-05 default to a specific data baud rate (usually 9600 bps). To change the device name, pairing PIN, or master/slave role, you must enter the AT Command state machine. This is where many developers hit a wall due to timing and baud rate mismatches.
Expert Insight: The HC-05 requires the KEY/EN pin to be pulled HIGH before power is applied to enter full AT mode. In this mode, the module's internal UART shifts to 38400 bps, and AT commands must be terminated with both a Carriage Return and Line Feed (\r\n). Sending commands at 9600 bps while the module expects 38400 bps will result in silent failures.
For BLE modules like the HM-10, the AT command set does not require a physical pin toggle. You simply send AT at the default baud rate (9600), and the module replies with OK. However, HM-10 modules lack flow control, meaning if your Arduino floods the serial buffer with AT commands faster than the module's internal 10ms processing delay, the module will lock up and require a hard power cycle.
Data Framing: Preventing RF Packet Loss
When using the Arduino Serial Reference functions like Serial.readString() over Bluetooth, you will inevitably encounter data corruption. RF environments are noisy, and Bluetooth protocols handle interference by dropping packets or fragmenting payloads. If your Arduino expects a 20-byte string but receives 18 bytes due to a dropped RF packet, the parser will desync, reading the next packet's header as the previous packet's payload.
To solve this, implement Consistent Overhead Byte Stuffing (COBS) or a simple Start/End marker protocol with a checksum.
Robust Framing Example:
// Define packet structure
struct TelemetryPacket {
  uint8_t startMarker; // 0xAA
  uint16_t sensorVal;
  uint8_t checksum;
  uint8_t endMarker;   // 0x55
};

void sendPacket(uint16_t val) {
  TelemetryPacket pkt;
  pkt.startMarker = 0xAA;
  pkt.sensorVal = val;
  // Simple XOR checksum
  pkt.checksum = (uint8_t)(val ^ (val >> 8) ^ 0xAA);
  pkt.endMarker = 0x55;
  Serial.write((uint8_t*)&pkt, sizeof(pkt));
}
By enforcing a strict start marker (0xAA) and validating the checksum on the receiving end (whether a Python script or a secondary microcontroller), you can safely discard corrupted fragments and re-sync to the next valid 0xAA byte.
Real-World Troubleshooting and Edge Cases
Even with perfect wiring and framing, wireless protocols introduce unique edge cases. Here are specific failure modes encountered in 2026 field deployments:
- BLE Supervision Timeout Drops: If your Arduino with Bluetooth (BLE) enters a deep sleep state without properly closing the GATT connection, the central device (e.g., an iPhone) will keep the socket open until the Supervision Timeout expires (typically 4 to 6 seconds). During this window, the central device will reject new connection attempts from the Arduino. Always send a deliberate disconnect command (
AT+DISCon HM-10) before triggering MCU sleep. - HC-05 "Bricked" Baud Rate: If you accidentally set an HC-05 to an unsupported baud rate via
AT+UART, the module will boot into a state where neither data nor AT commands work. To recover, hold the reset button on the module, power it up, and blindly send the factory reset commandAT+ORGLat 38400 bps using a USB-to-Serial FTDI adapter. - Current Spikes on Reset: When an Arduino Uno resets (via the DTR line from the USB-Serial chip), it momentarily floats its TX/RX pins. If the Bluetooth module is transmitting during this 500ms bootloader window, the floating RX pin on the Arduino can cause the bootloader to interpret RF noise as an incoming sketch upload, resulting in an
avrdude: stk500_getsync() attempt 1 of 10: not in syncerror. Place a 10kΩ pull-down resistor on the Arduino RX pin to keep it LOW during boot.
Conclusion
Successfully deploying an Arduino with Bluetooth requires moving beyond basic serial print statements. By respecting logic level thresholds, understanding the divergence between Classic SPP and BLE GATT architectures, and implementing rigid data framing, you transform a fragile prototype into a resilient wireless node. Whether you are building a $5 RC car with an HC-05 or a $30 environmental sensor with a Nano 33 BLE, the underlying protocol rules remain absolute.