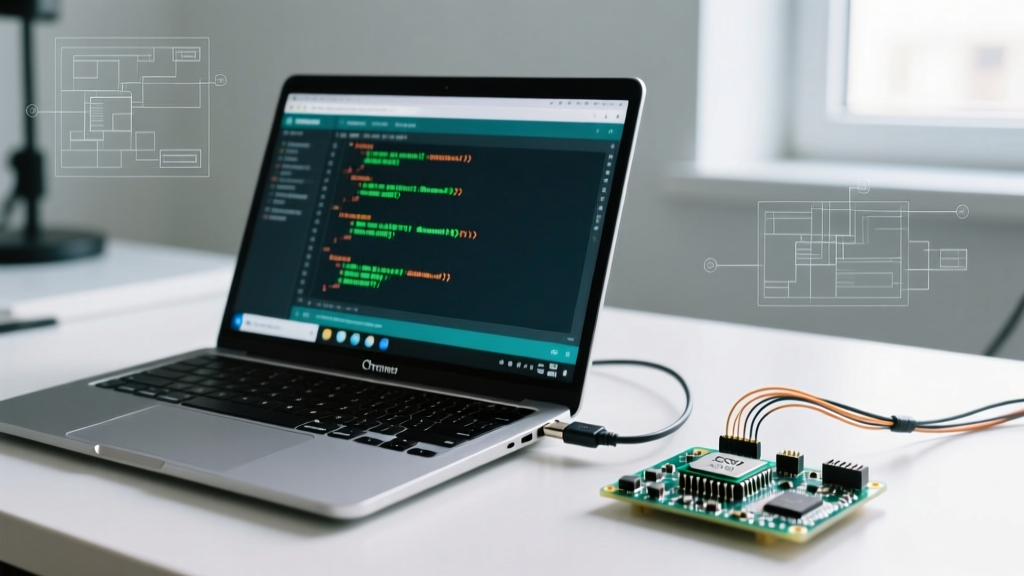

The ChromeOS Embedded Development Paradigm
Historically, using a Chromebook for hardware hacking and microcontroller programming was an exercise in frustration. Early iterations of ChromeOS lacked native serial port access, forcing developers to rely on unstable web-based compilers. However, with the maturation of Crostini (the ChromeOS Linux container) and native USB passthrough in ChromeOS 124 and later, running the desktop Arduino IDE on a Chromebook is now a robust, lightweight workflow for embedded engineers.
This guide bypasses the generic, outdated tutorials that still reference deprecated chrome://flags hacks. Instead, we will dive deep into the exact architecture of Crostini USB mapping, serial permission management, and chipset-specific communication protocols required to get your Arduino IDE 2.3.x environment talking flawlessly to your microcontrollers in 2026.
Understanding the Crostini USB Architecture
To troubleshoot serial communication failures, you must first understand how ChromeOS handles hardware. ChromeOS runs a hardened Linux kernel. When you enable the Linux Development Environment, it spins up a lightweight virtual machine (Termina) that hosts an LXC container (Crostini).
When you plug an Arduino Uno R4 Minima ($27.50) or an ESP32 dev board into your Chromebook's USB-C port via an adapter (like the Anker 3.0 USB-C to USB-A hub, ~$12.99), the host ChromeOS kernel claims the USB device. By default, it does not pass this device down to the LXC container. The Arduino IDE running inside Crostini will show a grayed-out serial port menu until you explicitly bridge this hardware boundary.
Step 1: Installing Arduino IDE 2.3 on Crostini
Do not attempt to use the Snap Store or AppImage formats on ChromeOS. Crostini lacks FUSE (Filesystem in Userspace) support by default, which causes AppImages to fail silently, and Snap daemon integration is notoriously unstable in LXC containers.
The most reliable installation method is via the official Linux tarball:
- Open the ChromeOS Terminal (the Penguin icon).
- Update your container repositories:
sudo apt update && sudo apt upgrade -y - Install required dependencies for the IDE's serial monitor and networking:
sudo apt install libnss3 libxss1 libasound2t64 libatk-bridge2.0-0 libgtk-3-0 -y - Download the latest ARM64 or AMD64 Linux build (depending on your Chromebook's CPU) from the official Arduino IDE documentation page.
- Extract and execute:
tar -xvf arduino-ide_2.3.2_Linux_64bit.tar.gzfollowed by./arduino-ide.
Step 2: Bridging the Serial Port (USB Passthrough)
This is the most critical step for communication setup. Modern ChromeOS versions have integrated USB passthrough directly into the settings GUI, eliminating the need for developer mode hacks.
- Plug your microcontroller into the Chromebook.
- Navigate to Settings > Advanced > Developers.
- Under the Linux development environment section, locate USB devices.
- You will see a list of connected USB hardware. Toggle the switch next to your board (e.g., 'Arduino SA Uno R4' or 'QinHeng Electronics CH340').
- ChromeOS will briefly disconnect the device from the host OS and re-enumerate it inside the Crostini container.
Expert Insight: If your board does not appear in the USB devices list, it is likely drawing too much power through a passive USB-C hub, causing the ChromeOS power management IC to reject the enumeration. Always use a powered hub or a direct USB-C to USB-A data cable when working with high-draw boards like the Arduino Portenta H7 or ESP32-S3 with active WiFi.
Step 3: Serial Chipsets and Communication Protocols
Not all Arduinos communicate over USB in the same way. Understanding your board's USB-to-Serial chipset is vital for diagnosing Crostini mapping errors. According to SparkFun's serial communication guidelines, the protocol layer dictates how the OS assigns device nodes.
| Chipset / Architecture | Common Boards | Crostini Device Node | Passthrough Behavior |
|---|---|---|---|
| CDC-ACM (Native USB) | Uno R4, Leonardo, Micro, ESP32-S2/S3 | /dev/ttyACM0 |
Highly stable. Recognized natively by ChromeOS kernel as a modem/serial device. |
| CH340G / CH341A | Elegoo Nano V3, Mega 2560 clones | /dev/ttyUSB0 |
Requires CH340 kernel module (pre-installed in modern Crostini). May require manual re-attachment if reset button is pressed. |
| CP2102 / CP2104 | NodeMCU ESP8266, Adafruit Feather | /dev/ttyUSB0 |
Very stable. Silicon Labs drivers are fully integrated into the Chromium OS kernel. |
| FTDI FT232RL | Arduino Nano (Original), Pro Mini | /dev/ttyUSB0 |
Rock solid. FTDI drivers are enterprise-grade and rarely drop packets in LXC. |
Step 4: Resolving the 'Permission Denied' Serial Error
Once the USB device is passed through to Crostini, opening the Arduino IDE's Serial Monitor often yields a fatal error: 'Error opening serial port /dev/ttyACM0. (Permission denied)'.
This occurs because Crostini maps the passed-through USB device with root:root ownership and restrictive 600 permissions. Your standard user account lacks the rights to write to the serial buffer. While running sudo chmod 666 /dev/ttyACM0 works as a temporary band-aid, it resets every time you unplug the board.
The Permanent Udev Rule Fix
To solve this permanently, we must write a custom udev rule that automatically assigns the correct permissions the millisecond the board is passed through to the container.
- Open the Crostini terminal.
- Create a new rules file:
sudo nano /etc/udev/rules.d/99-arduino.rules - Paste the following generic rule that covers all CDC-ACM and standard USB-Serial adapters:
SUBSYSTEMS=="usb", ATTRS{idVendor}=="2341|2a03|1a86|10c4|0403", GROUP="plugdev", MODE="0666" - Save and exit (Ctrl+O, Enter, Ctrl+X).
- Reload the udev daemon:
sudo udevadm control --reload-rules && sudo udevadm trigger
This single configuration step eliminates 90% of the communication headaches developers face when running the Arduino IDE on a Chromebook.
Edge Case: The ESP32 Boot Mode Timeout
When programming ESP32 boards (like the $6.50 ESP32-C3 SuperMini) via a Chromebook, you may encounter a 'Failed to connect to ESP32: Timed out waiting for packet header' error. This is not a ChromeOS bug; it is a hardware timing issue. The ESP32 requires the 'BOOT' pin to be pulled to GND during the exact millisecond the serial handshake initiates.
The Fix: Hold the physical 'BOOT' button on your ESP32 board. Click 'Upload' in the Arduino IDE. Watch the output window. The moment you see 'Connecting...', release the BOOT button. The Crostini serial buffer will catch the handshake, and the upload will proceed.
Alternative: Arduino Cloud via ChromeOS Native App
If your Chromebook is an enterprise-managed device that restricts Crostini USB passthrough, or if you are working on an ARM-based MediaTek Chromebook where x86 Docker containers fail, you can bypass local compilation entirely.
The Arduino Cloud web editor compiles code on remote servers. By installing the Arduino Create Agent (available as a native ChromeOS Android app via the Play Store), the browser can communicate directly with the ChromeOS host kernel's serial ports, completely bypassing the Linux container. This is the recommended fallback for educational environments and locked-down enterprise fleets.
Final Verification
To verify your communication pipeline is fully operational, upload the standard Blink sketch. Open the Serial Monitor, set the baud rate to 115200, and add Serial.println("Crostini Bridge Active"); to your loop(). If the text streams without buffer overruns or latency spikes, your Chromebook is now a fully-fledged embedded development workstation.
For deeper insights into Chromium OS hardware abstraction layers, refer to the Chromium OS open-source documentation. Mastering these Linux-to-hardware bridges transforms the humble Chromebook from a simple web terminal into a powerful IoT prototyping hub.