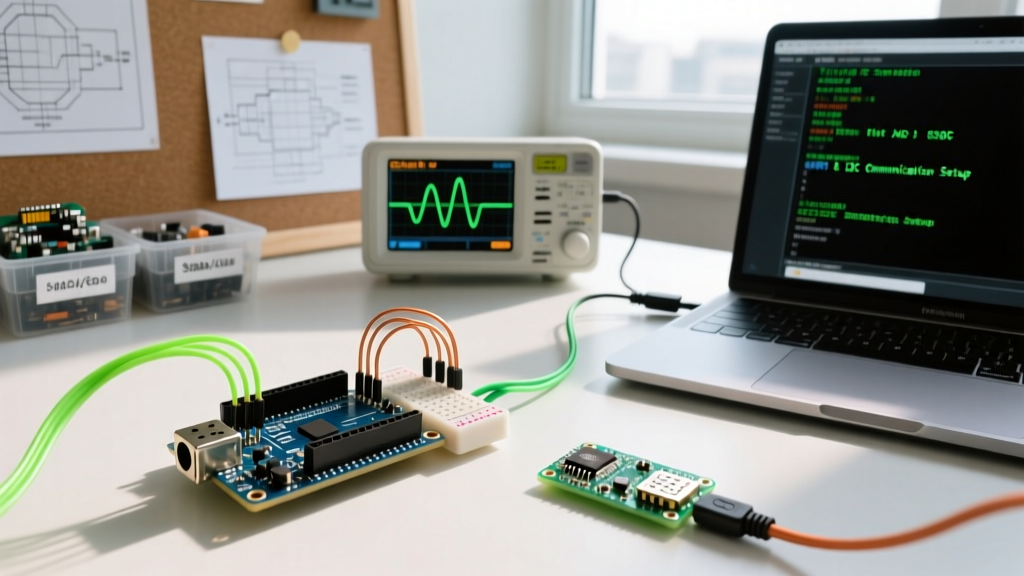

Introduction to ADC and Potentiometer Communication
Reading a basic analog voltage is only the first step in embedded systems design. When developing control interfaces, audio mixers, or robotic joints, the true engineering challenge lies in reliably transmitting that analog data to other systems. Writing robust Arduino code for potentiometer integration requires more than just calling analogRead(); it demands hardware-aware noise filtering, precise data mapping, and structured protocol framing.
As of 2026, with the widespread adoption of the Arduino Uno R4 Minima (featuring a 14-bit ADC) alongside classic 8-bit AVR boards, understanding how to condition and communicate potentiometer data via UART and I2C is a critical skill. This guide moves beyond basic blinking LEDs and dives into the electrical realities of analog-to-digital conversion, oversampling techniques, and protocol-specific data framing.
Hardware Prerequisites & Wiring Matrix
Before writing code, we must select the right components. Using a high-resistance potentiometer (e.g., 100kΩ) will severely degrade your ADC accuracy due to internal sample-and-hold capacitor charging times. For professional prototypes, we recommend the Bourns PTV09A-4015F-B103 (10kΩ linear, ~$1.45 on Mouser) or the Alps RK09K1130C0N (10kΩ audio taper, ~$3.10) for audio applications.
| Component / Pin | UART Setup (PC/Python) | I2C Setup (Slave MCU/DAC) |
|---|---|---|
| Potentiometer VCC | 5V (or 3.3V for R4) | 5V (or 3.3V for R4) |
| Potentiometer GND | Shared System GND | Shared System GND (Critical) |
| Wiper (Signal) | Pin A0 + 0.1µF Cap to GND | Pin A0 + 0.1µF Cap to GND |
| Communication Lines | TX (Pin 1) via USB-C | SDA (A4), SCL (A5) + 4.7kΩ Pull-ups |
The Impedance Problem: Why Raw ADC Reads Fail
The ATmega328P and RA4M1 microcontrollers utilize a multiplexed ADC with an internal sample-and-hold (S/H) capacitor of approximately 14pF. When the ADC multiplexer switches to your potentiometer's wiper pin, this 14pF capacitor must charge to the wiper's voltage level within a few microseconds.
Engineering Rule of Thumb: The Thevenin equivalent resistance of your voltage divider (the potentiometer) must be 10kΩ or less. If you use a 100kΩ pot, the RC time constant will prevent the S/H capacitor from fully charging, resulting in non-linear, sluggish, and inaccurate readings. Always pair a 10kΩ potentiometer with a 0.1µF ceramic capacitor between the wiper and GND to create a hardware low-pass filter (cutoff ~160Hz) and provide instantaneous charge injection.
Step 1: Optimizing the Analog Read (Oversampling)
Electromagnetic interference (EMI) from nearby digital traces or switching power supplies will induce high-frequency noise on your ADC line. Instead of relying solely on software delays, we use 16x oversampling. By taking 16 rapid readings and averaging them, we effectively increase the signal-to-noise ratio (SNR) and smooth out transient spikes without introducing the phase lag associated with Exponential Moving Average (EMA) filters.
// Optimized 16x Oversampling Function
int readPotentiometerFiltered() {
  long sum = 0;
  for (int i = 0; i < 16; i++) {
    sum += analogRead(A0);
    delayMicroseconds(50); // Allow S/H cap to settle between MUX switches
  }
  return (int)(sum / 16);
}
For deeper insights into ADC timing and settling requirements, refer to the official Arduino analogRead Reference, which details the underlying hardware abstraction layer.
Step 2: UART Communication Setup (Serial Transmission)
When communicating potentiometer data to a PC running Python, MATLAB, or Processing, sending raw integers is a recipe for parsing errors. Serial buffers can desynchronize, causing your PC to read half of one integer and half of the next. To prevent this, we must implement framing.
We will format the data as a Comma-Separated Value (CSV) string terminated by a newline character (\n). This allows Python's serial.readline() function to reliably capture complete data packets.
UART Master Code Implementation
void setup() {
  Serial.begin(115200); // High baud rate to minimize blocking time
  analogReference(DEFAULT); // 5V on Uno, 3.3V on R4
}

void loop() {
  int rawValue = readPotentiometerFiltered();

  // Map 10-bit ADC (0-1023) to a standard 8-bit MIDI/PWM range (0-127)
  int mappedValue = map(rawValue, 0, 1023, 0, 127);

  // CSV Framing: "sensor_id,raw,mapped\n"
  Serial.print("POT1,");
  Serial.print(rawValue);
  Serial.print(",");
  Serial.println(mappedValue); // println appends the \r\n terminator

  delay(20); // 50Hz update rate (ideal for human-interface inputs)
}
Step 3: I2C Master Communication Setup
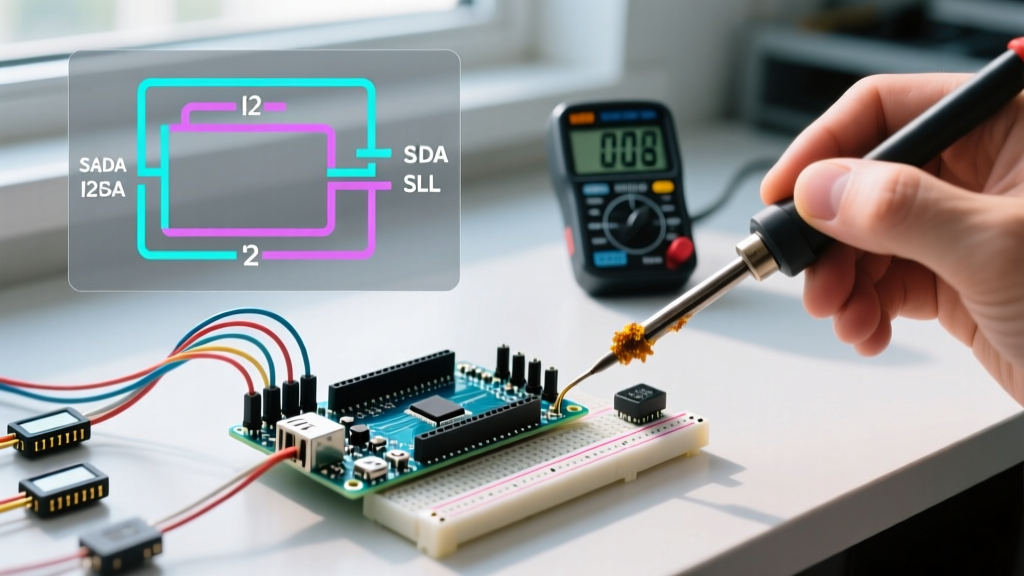
UART is excellent for PC communication, but when networking multiple microcontrollers or sending control voltages to an I2C DAC (like the MCP4725), the I2C protocol is superior. I2C requires structured byte-level transmission.
Because the I2C Wire.write() function only accepts 8-bit bytes (0-255), we cannot simply send a 10-bit or 14-bit integer. We must split the 16-bit integer into a High Byte and a Low Byte, transmit them sequentially, and reassemble them on the slave device. For a comprehensive breakdown of I2C bus capacitance and pull-up requirements, review the SparkFun I2C Tutorial.
I2C Master Transmission Code
#include <Wire.h>

#define SLAVE_ADDRESS 0x08 // 7-bit I2C address of the receiving MCU

void setup() {
  Wire.begin(); // Join I2C bus as Master
}

void loop() {
  int rawValue = readPotentiometerFiltered();

  Wire.beginTransmission(SLAVE_ADDRESS);

  // Split 16-bit integer into two 8-bit bytes
  Wire.write(highByte(rawValue)); // Send MSB first
  Wire.write(lowByte(rawValue));  // Send LSB second

  uint8_t error = Wire.endTransmission();

  if (error != 0) {
    // Handle NACK or bus errors (e.g., disconnected slave)
    // Implement a retry counter or fallback state here
  }

  delay(20);
}
For detailed documentation on managing I2C buffers and handling transmission errors, consult the Arduino Wire Library Reference.
Troubleshooting Common ADC & Communication Edge Cases
Even with perfect code, physical layer issues can corrupt your potentiometer data. Here are the most common failure modes encountered in professional deployments:
- Ground Loop Hum (50/60Hz Noise): If your potentiometer is mounted in a metal chassis powered by a different DC supply than your Arduino, a ground loop will introduce massive ADC jitter. Solution: Use a single-point star grounding topology, or implement a digital notch filter in software targeting 50Hz/60Hz if isolation is impossible.
- Wiper Track Wear (Infinite Resistance Spikes): As carbon-track potentiometers age, the wiper can momentarily lose contact, causing the ADC pin to float and read random noise. Solution: In your code, implement a rate-of-change limiter. If the difference between
current_readandprevious_readexceeds 300 in a single 20ms cycle, reject the sample as a physical glitch. - I2C Bus Lockups: Long I2C wires act as antennas, picking up EMI and causing SDA/SCL lines to get stuck LOW. Solution: Keep I2C traces under 30cm, use 4.7kΩ pull-up resistors to 3.3V, and implement a software I2C bus recovery routine that toggles the SCL pin manually to release stuck slaves.
Frequently Asked Questions
Can I use a 100kΩ potentiometer with an Arduino?
While the Arduino will technically read a voltage, the internal ADC impedance will load the circuit, causing severe non-linearity, especially in the upper and lower quartiles of the rotation. If you must use a 100kΩ pot, buffer the wiper signal using an op-amp voltage follower (like the LM358 or MCP6001) before feeding it to the Arduino's analog pin.
Why is my mapped value jittering by 1 or 2 bits?
This is inherent thermal noise in the ADC and the carbon track. The 16x oversampling function provided above will reduce this to less than 1 LSB (Least Significant Bit). If you require absolute zero jitter for a motorized fader, switch to an optical encoder or a Hall-effect rotary sensor (like the AS5600) which provides noiseless digital I2C output directly.