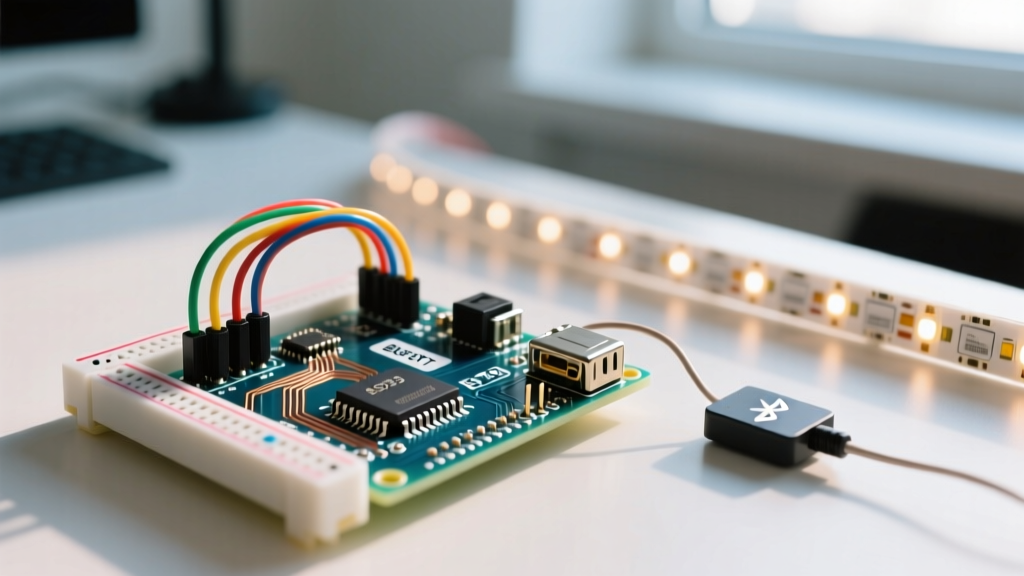

Beyond Basic Serial: Why Upgrade to BLE GATT?
Most entry-level tutorials teaching makers how to control LED with Arduino Bluetooth modules rely on the classic HC-05 transceiver and basic Serial.read() polling loops. While sufficient for toggling a single 5mm indicator light, this approach fundamentally fails in modern IoT and commercial applications. Polling blocks the main thread, serial buffers overflow during high-speed PWM dimming, and classic Bluetooth (BR/EDR) draws excessive current, destroying battery life in portable deployments.
To achieve true, production-grade wireless illumination control in 2026, engineers must transition to Bluetooth Low Energy (BLE) utilizing the Generic Attribute Profile (GATT). By leveraging GATT characteristics, we can establish non-blocking, event-driven LED control with sub-10ms latency, enabling buttery-smooth PWM fading, addressable RGB strip synchronization, and bi-directional telemetry without starving the microcontroller's main loop.
Hardware Economics: Selecting the Right BLE Silicon
Choosing the right microcontroller dictates your BLE stack capabilities, memory constraints, and overall Bill of Materials (BOM). Below is a comparison of the top-tier boards for advanced BLE LED control in the current market.
| Microcontroller Board | SoC / Architecture | Approx. Price (2026) | Best Use Case |
|---|---|---|---|
| Arduino Nano 33 BLE Sense Rev2 | nRF52840 (ARM Cortex-M4) | $62.00 | Rapid prototyping with native ArduinoBLE library support and onboard sensors for environmental-reactive lighting. |
| ESP32-C3 SuperMini | ESP32-C3 (RISC-V) | $4.50 | High-volume commercial production. Requires NimBLE or ESP-BLE libraries. Excellent WiFi+BLE5 combo. |
| Adafruit Feather nRF52840 Express | nRF52840 (ARM Cortex-M4) | $24.95 | Custom PCB integration, LiPo battery management, and CircuitPython/Arduino dual-stack flexibility. |
For this advanced guide, we will architect our solution around the nRF52840 ecosystem (via the Arduino Nano 33 BLE), as its hardware-accelerated AES encryption and native support for the official ArduinoBLE Library provide the most robust foundation for GATT manipulation.
Designing the GATT Architecture for PWM Control
When you control LED with Arduino Bluetooth setups using BLE, you are no longer sending raw ASCII characters like '1' or '0' over a virtual serial port. Instead, you define a custom GATT Service containing specific Characteristics.
UUID Selection and Characteristic Properties
Every BLE service and characteristic requires a Universally Unique Identifier (UUID). While you can use standard 16-bit SIG-adopted UUIDs for generic devices, custom lighting rigs require 128-bit custom UUIDs to prevent collisions with standard mobile OS background scanning filters.
- Service UUID:
19B10000-E8F2-537E-4F6C-D104768A1214 - LED State Characteristic (Bool): Read/Write properties. Handles simple ON/OFF toggling.
- PWM Intensity Characteristic (Uint8): Write Without Response. Allows high-frequency dimming packets (0-255) without the overhead of BLE acknowledgments.
- Telemetry Characteristic (String): Notify property. Pushes thermal data or LED strip voltage back to the central device (smartphone/hub).
Expert Insight: Never use 'Write With Response' for high-speed PWM fading. The mandatory acknowledgment packet for every single intensity step will saturate the BLE bandwidth, causing visible stepping and latency. Always use 'Write Without Response' for continuous analog-style control streams.
Advanced Non-Blocking Implementation Logic
The hallmark of advanced firmware is the absence of delay(). When a BLE central device writes a new PWM value to the Arduino, the hardware interrupt triggers a callback. However, executing complex math or driving WS2812B addressable LED strips directly inside a BLE callback can cause stack overflows or watchdog resets.
The State-Machine Approach
Instead of acting on the data immediately, the BLE callback merely updates a volatile variable and sets a state flag. The main loop() handles the actual hardware manipulation using a millis()-based state machine.
Consider the following architectural flow for a smooth-fading LED:
- Event Trigger: Central device writes
255to the PWM Characteristic. - Callback Execution:
onPWMWrite()fires. It updatestargetBrightness = 255and setsfadeActive = true. Execution time: <5 microseconds. - Main Loop Processing: The loop checks
fadeActive. If true, it calculates the delta betweencurrentBrightnessandtargetBrightness. - Interpolation: Using a non-blocking easing function (e.g., cubic ease-out), the firmware increments the actual hardware PWM register every 2 milliseconds until the target is reached.
This decoupling ensures that even if the BLE stack experiences a momentary RF interference spike, the LED fading animation remains mathematically smooth and uninterrupted.
Critical Edge Cases: MTU Limits and Connection Intervals
Working with the Bluetooth Core Specification v5.4 introduces strict radio-layer constraints that catch many intermediate developers off guard. To ensure reliable operation, you must manually tune the following parameters:
1. Negotiating the Connection Interval
By default, many BLE centrals (especially iOS devices) negotiate a connection interval of 30ms to 50ms to save battery. For lighting applications requiring tight synchronization (like audio-reactive LEDs), 30ms is far too slow. You must explicitly request a tighter interval in your firmware setup:
BLE.setConnectionInterval(0x0006, 0x0006); // Requests exactly 7.5ms
Setting both the minimum and maximum to 6 (which equals 7.5ms) forces the central to prioritize your lighting data, drastically reducing input lag.
2. Handling MTU Fragmentation
The default Maximum Transmission Unit (MTU) in BLE is 23 bytes (3 bytes overhead, 20 bytes payload). If your application requires sending complex JSON arrays to control a matrix of 64 RGB LEDs simultaneously, a 20-byte limit will cause packet truncation. Advanced implementations must implement an MTU exchange request upon connection, negotiating the payload up to 247 bytes, or implement a software-level chunking protocol with sequence numbering to reassemble fragmented LED data on the Arduino side.
Real-World Troubleshooting Matrix
Hardware integration in the field rarely matches the breadboard prototype. Below is a diagnostic matrix for common failure modes when deploying BLE-controlled LED systems.
| Symptom | Root Cause Analysis | Engineer's Fix |
|---|---|---|
| LED stutters or 'steps' during smooth fades. | Connection interval is defaulting to 30ms+; main loop is blocking. | Enforce 7.5ms interval via code; move PWM math out of BLE callbacks. |
| Arduino randomly reboots when LED strip turns pure white. | WS2812B strips pull ~60mA per LED. A 1-meter strip pulls 3.6A, collapsing the onboard 3.3V LDO regulator (Brownout). | Isolate LED power. Use a dedicated 5V 10A buck converter. Tie GNDs together, but keep 5V rail separate from the MCU VIN. |
| App connects but drops immediately upon sending a command. | Watchdog Timer (WDT) reset triggered by a blocking FastLED.show() function inside a BLE write event. |
Never call LED update functions inside setEventHandler. Use boolean flags and update LEDs strictly in the loop(). |
| Severe latency when controlling multiple devices simultaneously. | BLE Advertising interval is too long, or Central is scanning passively. | Reduce advertising interval to 20ms during pairing mode; utilize BLE Mesh or Broadcast (Auracast) for 1-to-many control. |
Summary
Moving beyond simple serial commands to control LED with Arduino Bluetooth setups requires a paradigm shift toward event-driven GATT architectures. By selecting capable silicon like the nRF52840, enforcing strict non-blocking state machines, and manually tuning BLE connection intervals and MTU limits, you transform a hobbyist blinking project into a robust, low-latency commercial lighting system. Always respect the physical power constraints of high-draw LED arrays, and keep your RF stack isolated from your hardware-rendering loops for flawless performance.


