
The Shift to RISC-V: Why the ESP32-C3?
When learning how to program a core ESP32-C3 board in Arduino, you are stepping into the modern era of IoT silicon. Unlike the older Xtensa-based ESP8266 or the original dual-core ESP32, the ESP32-C3 utilizes a 32-bit RISC-V single-core microcontroller clocked at 160 MHz. It delivers Wi-Fi 4 and Bluetooth 5 (LE) at a fraction of the cost and power draw, making it the undisputed king of low-cost, battery-operated smart home sensors in 2026.
However, the transition from standard ESP32 boards to the C3 variant introduces unique hardware quirks—particularly regarding native USB CDC, strapping pins, and bootloader behaviors on budget "SuperMini" clones. This deep dive bypasses the generic tutorials and gives you the exact, field-tested configurations required to flash, debug, and optimize your ESP32-C3 projects.
Hardware Deep Dive: DevKitM-1 vs. SuperMini
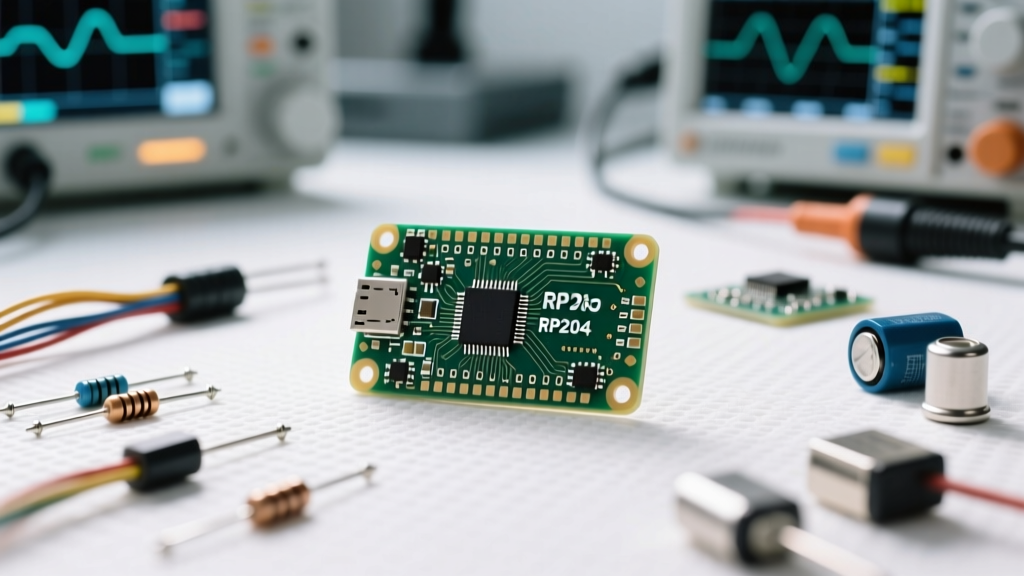
Before opening the Arduino IDE, you must identify your exact hardware. The market is currently dominated by two primary form factors. Understanding the differences is critical for mapping pins and avoiding upload failures.
| Feature | ESP32-C3-DevKitM-1 (Official) | ESP32-C3 "SuperMini" (Budget Clone) |
|---|---|---|
| Typical Price | $4.50 - $6.00 | $2.00 - $3.00 |
| USB Interface | Native USB-C (CDC/JTAG) | Native USB-C (CDC/JTAG) |
| Antenna | Onboard PCB Trace | Onboard PCB Trace (or IPEX connector) |
| Bootloader Circuit | Auto-reset via DTR/RTS | Often missing; requires manual BOOT button |
| Onboard LED | GPIO8 (Addressable RGB on some) | GPIO8 (Standard Blue or RGB) |
Expert Insight: The "SuperMini" boards are incredibly popular due to their tiny footprint (0.9 x 0.7 inches), but they frequently omit the auto-reset circuitry found on the official DevKit boards. This means the Arduino IDE cannot automatically pulse the reset pin during compilation. You will learn the manual workaround for this in the troubleshooting section below.
Step-by-Step Arduino IDE Configuration
To program the RISC-V architecture, you need the official Espressif board package. The standard Arduino AVR core will not work. Follow these exact steps for Arduino IDE 2.3.x (or newer):
- Add the Board Manager URL: Navigate to File > Preferences. In the "Additional boards manager URLs" field, paste the official Espressif JSON link:
https://raw.githubusercontent.com/espressif/arduino-esp32/gh-pages/package_esp32_index.json - Install the Core: Open the Boards Manager (Tools > Board > Boards Manager), search for
esp32, and install the latest v3.x package by Espressif Systems. (Note: v3.x includes critical RISC-V compiler optimizations and BLE 5.0 stability fixes over the older v2.x branches). - Select Your Board: Go to Tools > Board > esp32 and select ESP32C3 Dev Module. Do not select the specific "DevKitM-1" unless you are using the exact official hardware; the generic Dev Module gives you access to the necessary low-level menu overrides.
Critical Tools Menu Settings
With the ESP32C3 Dev Module selected, you must configure the Tools menu to match the hardware's native USB capabilities. If you skip this, your serial monitor will remain blank.
- USB CDC On Boot: Set to Enabled. The ESP32-C3 routes its primary UART over the native USB D+/D- lines (GPIO18/GPIO19). If disabled,
Serial.println()will output to hardware UART0 pins, not your USB cable. - USB Mode: Hardware CDC and JTAG.
- Flash Mode: QIO (Quad I/O) for maximum read speed.
- Flash Size: 4MB (Standard for 99% of C3 modules).
- Partition Scheme: Default 4MB with spiffs (1.2MB APP/1.5MB SPIFFS). If your code includes heavy web servers or large TLS certificates, switch to Huge APP (3MB No OTA/1MB SPIFFS).
The Strapping Pin Trap: Avoiding Boot Failures
The most common point of failure when figuring out how to program a core ESP32-C3 board in Arduino is misunderstanding the strapping pins. According to the Espressif ESP32-C3 Technical Reference Manual, the silicon samples specific GPIOs during the reset sequence to determine the boot mode.
On the ESP32-C3, the critical strapping pins are GPIO2, GPIO8, and GPIO9.
- GPIO9 (BOOT Button): Must be pulled LOW during reset to enter the serial bootloader. If it is HIGH, the chip attempts to boot from SPI Flash.
- GPIO8: Controls the log print output during boot. On many SuperMini boards, the onboard LED is wired to GPIO8. If you wire an external relay or sensor to GPIO8 that pulls it HIGH on startup, the board may enter an undefined boot state or fail to flash.
The SuperMini Manual Flash Procedure:
Because cheap clones lack the DTR/RTS auto-reset transistors, you must manually force the C3 into download mode when the Arduino IDE reaches the "Connecting..." stage:
- Click Upload in the Arduino IDE.
- Wait for the console to say
Connecting... - Press and hold the BOOT button (GPIO9).
- Press and release the RESET button (or unplug/replug the USB-C cable).
- Release the BOOT button.
- The IDE will immediately catch the bootloader handshake and begin flashing.
Code Deployment: Verifying Native USB CDC
Let's deploy a foundational script to verify that the native USB CDC is functioning and that the Wi-Fi radio can initialize. This code scans for local networks and outputs the RSSI (signal strength) to the serial monitor.
#include <WiFi.h>

// On ESP32-C3 SuperMini, the onboard LED is typically GPIO8
const int LED_PIN = 8;

void setup() {
  // Initialize Native USB CDC Serial
  Serial.begin(115200);

  // Delay is critical for C3 native USB to enumerate on the host OS
  delay(2000);

  pinMode(LED_PIN, OUTPUT);
  digitalWrite(LED_PIN, HIGH); // Turn LED ON to indicate boot

  Serial.println("\nESP32-C3 Boot Successful. Scanning Wi-Fi...");

  // Set WiFi to station mode and disconnect from an AP if it was previously connected
  WiFi.mode(WIFI_STA);
  WiFi.disconnect();
  delay(100);
}

void loop() {
  Serial.println("Scan start");
  int n = WiFi.scanNetworks();

  if (n == 0) {
    Serial.println("No networks found");
  } else {
    Serial.print(n);
    Serial.println(" networks found:");
    for (int i = 0; i < n; ++i) {
      // Print SSID and RSSI for each network found
      Serial.printf("%d: %s (%d)\n", i + 1, WiFi.SSID(i).c_str(), WiFi.RSSI(i));
      delay(10);
    }
  }

  // Blink LED to show loop activity
  digitalWrite(LED_PIN, !digitalRead(LED_PIN));
  delay(5000);
}
Troubleshooting Matrix: Common ESP32-C3 Errors
When working with the Arduino ESP32 Core, RISC-V compilation errors and serial handshake failures are common. Use this matrix to resolve edge cases quickly.
| Error Message / Symptom | Root Cause | Exact Solution |
|---|---|---|
| A fatal error occurred: Failed to connect to ESP32-C3: No serial data received. | Auto-reset circuit missing or strapping pin conflict. | Use the manual BOOT + RESET button sequence detailed above. Ensure no external components are pulling GPIO2 or GPIO9 HIGH. |
| Serial Monitor outputs gibberish or remains blank. | USB CDC disabled in Tools menu, or baud rate mismatch. | Set USB CDC On Boot: Enabled. Set Serial Monitor baud rate to 115200. Add delay(2000); in setup() to allow USB enumeration. |
| Sketch too big; won't compile or upload. | Default partition scheme reserves too much space for SPIFFS/OTA. | Change Partition Scheme to Minimal SPIFFS (1.9MB APP with OTA/190KB SPIFFS) or Huge APP. |
| Board gets extremely hot to the touch (>60°C). | Short circuit on 3.3V rail or Wi-Fi radio stuck in continuous TX. | Check for solder bridges on the SuperMini castellation pads. Ensure WiFi.setTxPower() is configured if running on battery. |
Advanced Optimization: Deep Sleep and Power Profiling
One of the primary reasons engineers migrate from the ESP8266 to the ESP32-C3 is power efficiency. While the ESP8266 leaks roughly 20 µA in deep sleep, the ESP32-C3 can achieve ~5 µA in deep sleep mode, provided you configure the GPIO states correctly before calling esp_deep_sleep_start().
To minimize leakage current on a core ESP32-C3 board:
- Set all unused GPIOs to
INPUT_PULLDOWNoranalogSetPinAttenuation()to prevent floating pin leakage. - Disable the native USB CDC before sleeping if you are relying on a hardware UART wake-up, as the USB PHY consumes roughly 1.5 mA even when idle.
- Use the RTC memory (a small 8KB block) to persist variables across sleep cycles without writing to the SPI Flash, which degrades the chip over time and spikes current draw.
Final Verdict on the C3 Platform
Mastering how to program a core ESP32-C3 board in Arduino requires moving past legacy ESP8266 habits. By respecting the RISC-V bootloader strapping pins, properly leveraging the native USB-CDC interface, and optimizing your partition tables, the ESP32-C3 transforms from a frustrating budget clone into a highly reliable, ultra-low-power IoT workhorse. Whether you are building a $3 BLE temperature beacon or a Wi-Fi enabled relay, the C3 architecture provides the exact feature set required for modern embedded deployments.