
The Honeymoon Phase: Why the Uno Starter Kit Hits a Wall
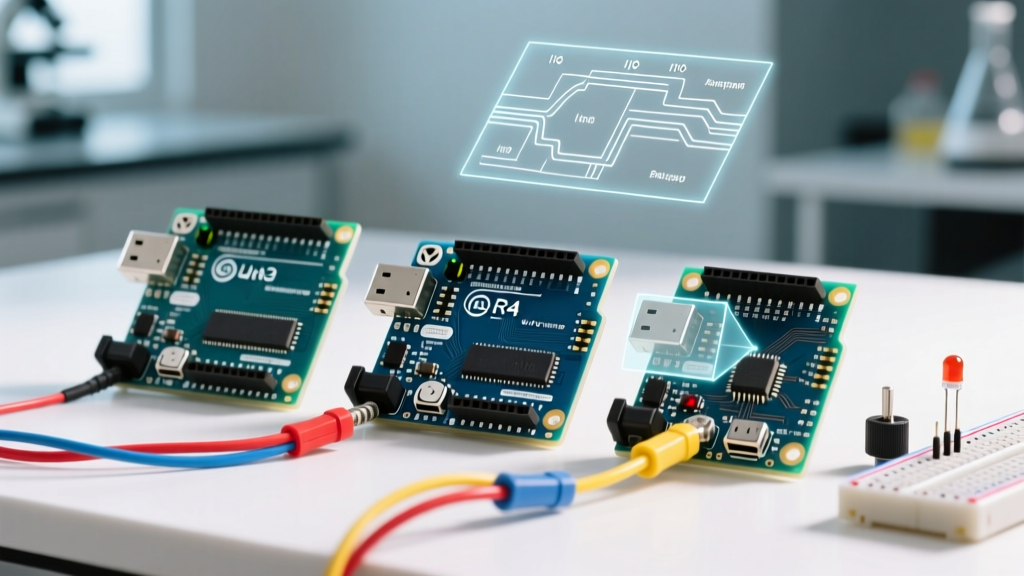
For millions of makers and engineers, the journey into embedded systems begins with a familiar orange and blue box: the kit starter Arduino Uno. Whether you purchased the official Arduino Uno R4 Minima kit or a third-party staple like the Elegoo Super Starter Kit (typically priced around $35 to $45), these bundles are unmatched for learning basic circuitry, reading a DHT11 sensor, or blinking an LED. However, as your projects evolve from simple classroom exercises to complex IoT nodes, robotic controllers, or audio processors, the hardware limitations of the classic ATmega328P microcontroller become a hard bottleneck.
The classic Uno R3 operates at a mere 16 MHz and possesses only 2 KB of SRAM. This means you cannot buffer more than a few strings of text, you cannot drive high-density LED matrices without severe flickering, and you completely lack native wireless connectivity. Even the newer Uno R4 WiFi, while a massive upgrade with a Renesas RA4M1 core, often costs around $27.50 for the board alone and still lacks the sheer peripheral depth of modern alternatives. If you are reading this, you have likely hit the SRAM wall or realized you need native Wi-Fi/BLE. This guide provides a rigorous, step-by-step platform migration path from your starter kit to the modern heavyweights of 2026: the ESP32-S3 and the Raspberry Pi Pico W.
Hardware Teardown: Uno R3 vs. Modern Alternatives
Before rewriting a single line of code, you must understand the silicon you are migrating to. Below is a comparative matrix of the classic Uno starter kit brain versus the two most logical upgrade paths.
| Specification | Uno R3 (ATmega328P) | ESP32-S3-DevKitC-1 | Raspberry Pi Pico W |
|---|---|---|---|
| Architecture | 8-bit AVR | 32-bit Dual-core Xtensa LX7 | 32-bit Dual-core Cortex-M0+ |
| Clock Speed | 16 MHz | 240 MHz | 133 MHz |
| SRAM | 2 KB | 512 KB (+ 8 MB PSRAM) | 264 KB |
| Flash Memory | 32 KB | 8 MB (Typical) | 2 MB |
| Logic Level | 5V Tolerant | 3.3V (Strict) | 3.3V (Strict) |
| Native Wireless | None | Wi-Fi 4 + BLE 5.0 | Wi-Fi 4 (Infineon CYW43439) |
| Typical Price (2026) | $27.00 (Board Only) | $7.50 - $9.00 | $6.00 |
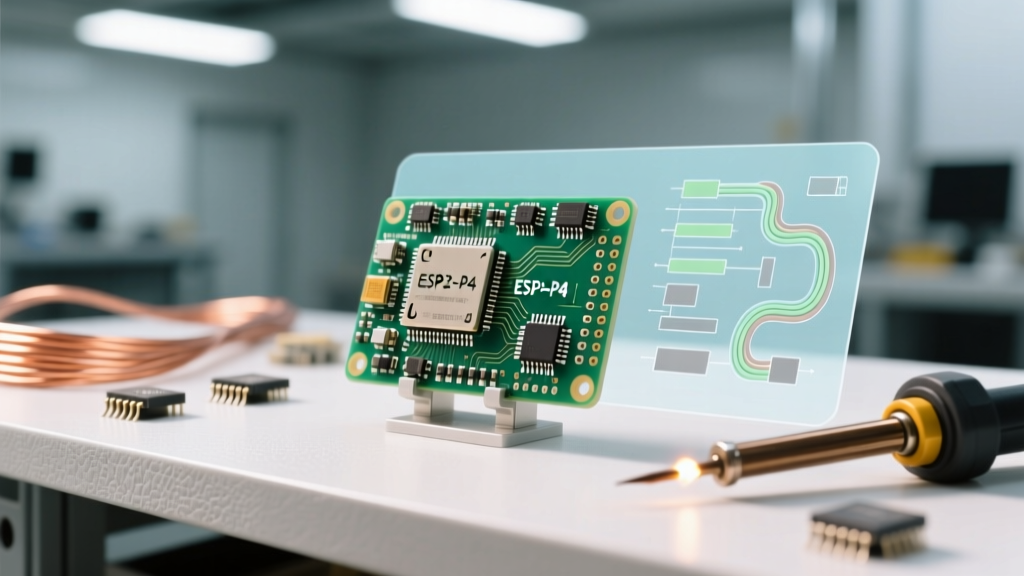
As highlighted in the official Espressif ESP32-S3 documentation, the S3 variant specifically adds vector instructions for accelerating neural network computing, making it the undisputed king for edge-AI and IoT applications. Conversely, the Raspberry Pi Pico series shines in deterministic timing via its Programmable I/O (PIO) state machines.
The 5V to 3.3V Hardware Trap (Critical Migration Step)
This is where 90% of makers migrating from a kit starter Arduino Uno fail. The Uno operates at 5V logic. Every module in your starter kit—the HC-SR04 ultrasonic sensor, the LCD 1602 display, the standard SG90 servos, and the RFID-RC522 reader—is designed to output and accept 5V signals.
Warning: Connecting a 5V output pin directly to a 3.3V GPIO pin on an ESP32-S3 or Pico W will permanently damage the microcontroller's silicon. The absolute maximum voltage on an ESP32-S3 GPIO is 3.6V.
How to Migrate Your Starter Kit Modules Safely
- For Unidirectional Signals (e.g., HC-SR04 Echo Pin to ESP32): Use a voltage divider (a 1kΩ and 2kΩ resistor network) or a dedicated level-shifting IC like the SN74AHCT125. The SN74AHCT125 is powered by 3.3V but accepts 5V TTL inputs safely, making it perfect for sensor data lines.
- For Bidirectional Buses (e.g., I2C for LCD1602 or OLEDs): You must use a MOSFET-based bidirectional logic level converter (commonly sold as a $2 breakout board using BSS138 N-channel MOSFETs). Connect the 'HV' side to 5V, the 'LV' side to 3.3V, and route your SDA/SCL lines through it.
- Powering 5V Modules: The ESP32-S3 DevKit boards usually have a '5V' or 'VIN' pin tied directly to the USB VBUS. You can use this to power your 5V starter kit sensors, provided your total current draw does not exceed your USB port's limit (typically 500mA).
Code Translation: AVR-GCC to FreeRTOS and MicroPython
Moving away from the Arduino IDE's simplified AVR-GCC environment requires adjustments to how you handle timing, memory, and interrupts.
1. Timing and Concurrency
On the Uno, delay(1000) halts the entire processor. On the ESP32-S3, which runs FreeRTOS under the hood in the Arduino framework, blocking the main thread can starve the Wi-Fi and Bluetooth radio tasks, leading to disconnects or watchdog timer (WDT) resets. You must migrate to non-blocking delays:
Uno Code: delay(1000);
ESP32 Code: vTaskDelay(1000 / portTICK_PERIOD_MS);
2. The ADC Non-Linearity Problem
Your starter kit's ATmega328P has a 10-bit ADC (0-1023) that is reasonably linear. The ESP32-S3 features a 12-bit ADC (0-4095), but it is notoriously non-linear at the extremes (values compress near 0 and 4095). If you are migrating an analog sensor (like a soil moisture probe or a potentiometer), do not use raw analogRead(). Instead, use the ESP32's built-in calibration function analogReadMilliVolts() to get accurate, hardware-calibrated voltage readings, bypassing the non-linear digital count curve entirely.
3. Interrupt Service Routines (ISRs)
When migrating rotary encoders or flow sensors that rely on attachInterrupt(), the ESP32 requires the ISR function to reside in the ultra-fast instruction RAM. If you forget this, the board will crash when the interrupt fires.
Add the IRAM attribute:
void IRAM_ATTR handleEncoder() { // ISR code here }
Path A vs. Path B: Choosing Your Destination
Which board should you buy to replace your Uno?
Choose the ESP32-S3 if:
- Your project requires MQTT, HTTP requests, or cloud telemetry.
- You want to interface with camera modules (e.g., OV2640) utilizing the dedicated LCD/Camera peripheral bus.
- You need massive memory buffers (8MB PSRAM) for audio sampling or machine learning inference.
Choose the Raspberry Pi Pico W if:
- You are building custom communication protocols (like WS2812B LED matrices or custom RF decoding) using PIO, which handles bit-banging without CPU intervention.
- You prefer the MicroPython ecosystem over C++.
- You need true, simultaneous dual-core processing where Core 0 handles USB/Serial and Core 1 handles strict real-time sensor polling.
Cost-Benefit Analysis of Upgrading Your Workbench
Transitioning away from your initial kit starter Arduino Uno is incredibly cost-effective. While the original kit cost upwards of $35, you already own the sensors, breadboards, and jumper wires. Purchasing an ESP32-S3-DevKitC-1 ($8.00), a pack of BSS138 logic level shifters ($3.00), and a set of 1kΩ/2kΩ resistors ($2.00) brings your total migration cost to under $15.00. This minimal investment unlocks a 15x increase in clock speed, 250x more SRAM, and native internet connectivity, effectively bridging the gap between hobbyist tinkering and professional IoT prototyping.
Frequently Asked Questions
Can I just use the Arduino IDE for the ESP32-S3?
Yes. In 2026, the Espressif Arduino Core is highly mature. You simply add the Espressif board manager URL in the Arduino IDE preferences, install the 'esp32' package, and select your specific DevKitC-1 board. Most standard libraries from your Uno days (like Wire, SPI, and Servo) have been ported and work identically.
What happens to my 5V relays from the starter kit?
Most 5V relay modules have an optocoupler or a transistor base driven by the logic pin. They often require a solid 5V logic HIGH to trigger reliably. If your ESP32's 3.3V output fails to trigger the relay, you will need to use an SN74AHCT125 level shifter to boost the 3.3V GPIO signal to a 5V trigger signal.