
The Hardware Reality: Flash Memory vs. True EEPROM
When transitioning from classic 8-bit microcontrollers to modern 32-bit platforms, data persistence is a common hurdle. If you are researching esp32 eeprom preferences arduino, you are likely encountering conflicting tutorials. To understand the best approach, we must first look at the silicon.
The classic Arduino Uno (ATmega328P) features 1KB of true, dedicated EEPROM silicon, designed for byte-level rewriting. The ESP32 (including modern variants like the ESP32-S3 and ESP32-C6 popular in 2026) does not have dedicated EEPROM. Instead, it relies on external SPI Flash memory (typically 4MB to 16MB). Because flash memory operates on pages and blocks rather than individual bytes, storing persistent data requires a specialized software layer.
Why the Legacy EEPROM Library is a Trap
Early ESP32 Arduino core versions included an EEPROM.h library to comfort beginners migrating from AVR boards. However, this library is essentially a hack. It allocates a chunk of RAM equal to your defined EEPROM size, and when you call EEPROM.commit(), it erases an entire flash block and rewrites the whole blob.
As of the ESP32 Arduino Core v3.x releases, the legacy EEPROM library is officially deprecated. Espressif strongly recommends migrating to the Preferences library for all new projects.
Using the legacy method leads to excessive flash wear, higher RAM consumption, and a lack of structural organization. For a deeper understanding of traditional AVR storage, you can review the Arduino Official EEPROM Reference, but leave those techniques behind when working with Xtensa or RISC-V ESP32 chips.
Enter Preferences: The NVS Advantage
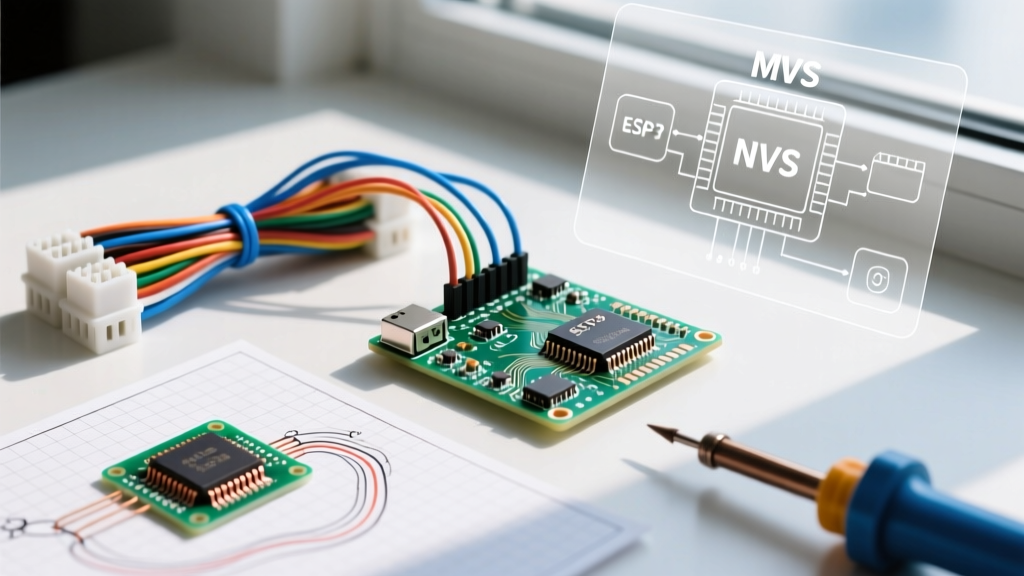
The Preferences library is an Arduino-friendly wrapper around Espressif's Non-Volatile Storage (NVS) API. NVS is a robust, key-value pair storage system designed specifically for flash memory architecture. It handles wear-leveling, page management, and data integrity checks automatically. You can explore the underlying architecture in the Espressif NVS Flash API Documentation.
Feature Comparison Matrix
| Feature | Legacy EEPROM.h | Preferences.h (NVS) |
|---|---|---|
| Underlying Tech | RAM Blob mapped to Flash | Key-Value Flash Pages |
| Wear Leveling | Poor (Rewrites entire block) | Excellent (Page-level management) |
| Data Types | Byte array only | Native (Int, Float, String, Bool) |
| RAM Overhead | High (1:1 RAM allocation) | Low (Reads directly from flash) |
| Status in 2026 | Deprecated | Recommended Standard |
Step-by-Step Guide: Using the Preferences Library
Implementing NVS via the Preferences library is straightforward. The source code is maintained in the Official ESP32 Arduino Preferences Library Repository. The core concept revolves around Namespaces and Keys.
- Namespace: A logical container for your keys (maximum 15 characters). Think of it like a folder.
- Key: The specific variable name (maximum 15 characters).
1. Initialization and Writing Data
Always initialize your serial monitor and the Preferences object in your setup function. Use false as the second parameter in begin() to open the namespace in Read/Write mode.
#include <Preferences.h>

Preferences prefs;

void setup() {
  Serial.begin(115200);

  // Open namespace "sensor-cal" in Read/Write mode
  prefs.begin("sensor-cal", false);

  // Write native data types directly
  prefs.putFloat("offset", 1.045);
  prefs.putInt("boot-count", 0);
  prefs.putString("device-id", "ESP32-S3-001");

  Serial.println("Data saved to NVS.");
}
2. Reading Data and Defaults
When reading data, you must provide a default fallback value. If the key does not exist in the NVS partition (e.g., on the very first boot), the library returns this default value instead of crashing or returning garbage memory.
void loop() {
  // Read data with fallback defaults
  float calOffset = prefs.getFloat("offset", 0.0);
  int boots = prefs.getInt("boot-count", 0);

  // Increment and save boot count
  boots++;
  prefs.putInt("boot-count", boots);

  Serial.printf("Boot %d | Offset: %f\n", boots, calOffset);
  delay(5000);
}
Critical Edge Cases and Flash Wear
While NVS includes wear-leveling, flash memory is not infinite. Standard SPI flash is rated for roughly 100,000 erase cycles per sector. Because NVS manages data in pages, updating a single integer does not immediately erase the physical flash block. It appends the new key-value pair and marks the old one as stale until the page fills up and requires garbage collection.
Pro Tip: Avoid writing to NVS inside a fast loop() without a delay or state-change trigger. If you are logging sensor data every 10 milliseconds, NVS will quickly exhaust your flash lifespan. Instead, use RAM for high-frequency logging and commit to NVS only during graceful shutdowns, deep sleep wakeups, or at timed intervals (e.g., every 60 seconds).
Managing the NVS Partition
By default, the Arduino IDE allocates a 24KB partition for NVS on standard ESP32 boards. This is sufficient for thousands of key-value pairs. However, if you are building a complex IoT device with extensive configuration matrices, you may need to modify the partition table.
You can view and edit partition layouts using the Partitions menu in the Arduino IDE Tools dropdown. Ensure that the nvs partition is never removed, or the ESP32 will fail to boot and throw a continuous Guru Meditation Error related to NVS initialization.
Clearing and Resetting NVS Data
Unlike legacy EEPROM where you might loop through addresses and write 0xFF, NVS requires specific commands to manage memory. If you need to perform a factory reset on your device, the Preferences library offers two distinct methods:
prefs.clear(): Erases all key-value pairs within the currently opened namespace, leaving other namespaces intact.prefs.remove("key-name"): Deletes a single specific key from the namespace.
If you need to completely wipe the entire NVS partition across all namespaces, you must use the ESP-IDF function nvs_flash_erase() or perform a full chip erase via the Arduino IDE upload settings. This is highly useful when provisioning devices in a manufacturing environment where stale calibration data must be purged before shipping.
Handling Strings vs Byte Arrays
One common stumbling block for beginners is storing complex data structures. The Preferences library natively supports Strings, which is excellent for storing WiFi SSIDs, MQTT broker URLs, or API tokens. However, if you are storing binary data, such as a compiled IR remote signal or a cryptographic key, you must use the byte array methods.
// Storing and retrieving raw bytes
uint8_t macAddress[6] = {0xDE, 0xAD, 0xBE, 0xEF, 0x00, 0x01};
prefs.putBytes("mac-addr", macAddress, sizeof(macAddress));

// Retrieving bytes requires pre-allocating the buffer
uint8_t retrievedMac[6];
size_t bytesRetrieved = prefs.getBytes("mac-addr", retrievedMac, sizeof(retrievedMac));
Always verify the returned size from getBytes() to ensure data integrity and prevent buffer overflow vulnerabilities in your embedded C++ code.
Summary
Forget everything you know about byte-addressable EEPROM when working with modern Espressif chips. The Preferences library provides a type-safe, wear-leveled, and highly efficient method for persistent storage. By utilizing namespaces and native data types, you ensure your 2026 IoT projects remain robust, scalable, and free from the memory corruption bugs that plague legacy emulation libraries.