
The Evolution of the Arduino Uno Enclosure in 2026
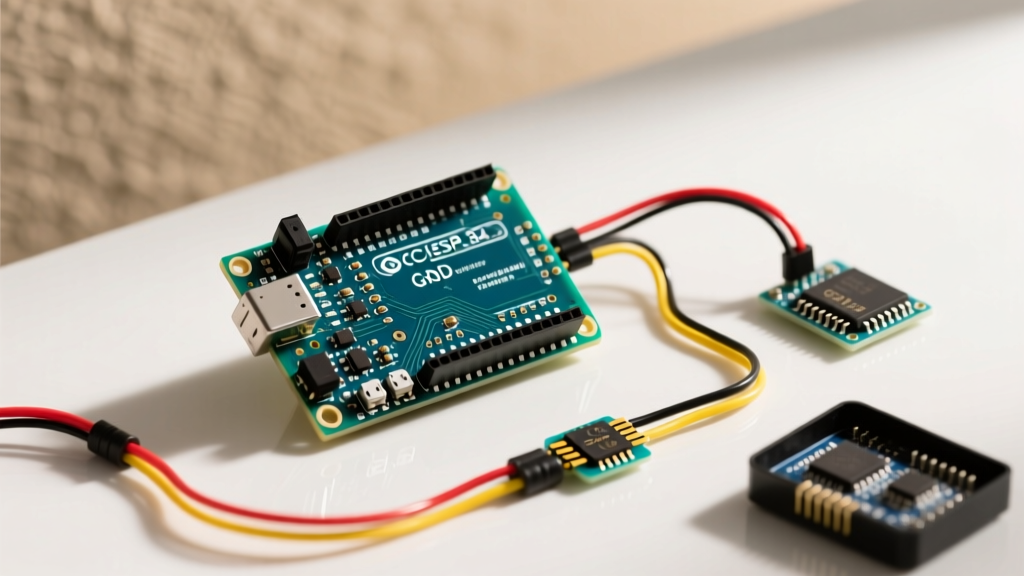
Designing an Arduino Uno case 3D print is a rite of passage for makers, but the landscape has shifted significantly. With the widespread adoption of the Arduino Uno R4 Minima and R4 WiFi alongside the legacy R3, a one-size-fits-all enclosure no longer exists. While the core PCB footprint remains a standard 68.6 mm x 53.4 mm, the transition to USB-C on the R4 and the inclusion of the 12x8 LED matrix on the WiFi variant demand highly specific cutouts and internal clearances.
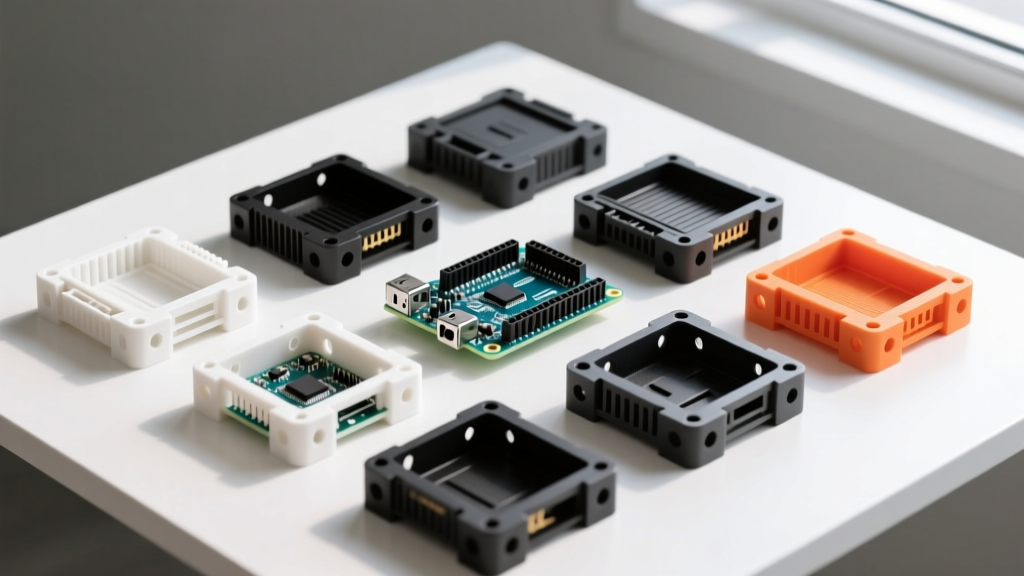
As a senior electronics hobbyist, I have tested dozens of community-sourced and parametric CAD models. This guide moves beyond basic box designs, comparing the three most practical Arduino Uno case 3D print architectures—snap-fit, DIN-rail mount, and stackable shield enclosures—while providing exact slicer tolerances and material science data to ensure your print survives real-world deployment.
Material Selection Matrix: PLA vs. PETG vs. ASA
Before slicing your Arduino Uno case 3D print, you must select the right polymer. Electronics generate heat, and environmental factors dictate material longevity. According to comprehensive polymer testing by MatterHackers' Filament Guide, thermal deflection is the primary failure point for 3D printed electronics enclosures.
| Material | Glass Transition (°C) | UV Resistance | Shrinkage Rate | Best Use Case |
|---|---|---|---|---|
| PLA | ~60°C | Poor | 0.2% - 0.5% | Indoor prototyping, low-power sensor nodes. |
| PETG | ~80°C | Moderate | 0.5% - 0.8% | General purpose, motor shields, warm environments. |
| ASA | ~100°C | Excellent | 0.8% - 1.2% | Outdoor weather stations, automotive dash mounts. |
Expert Warning: Never use PLA for an Arduino Uno case that houses a motor shield (like the L298P) or a voltage regulator stepping down 12V to 5V. The localized heat will easily exceed 60°C, causing PLA standoffs to soften and short the PCB against the enclosure floor.
Design Architecture 1: The Snap-Fit 'Grid' Case
The snap-fit design eliminates the need for M3 hardware, relying on cantilever snap joints to secure the lid. This is the fastest Arduino Uno case 3D print for rapid iteration, but it requires precise dimensional accuracy.
Pros and Cons
- Pros: Zero hardware cost; prints in under 90 minutes (0.2mm layer height, 15% gyroid); tool-less assembly.
- Cons: Snap tabs suffer from creep deformation over time; difficult to open without a spudger; not suitable for high-vibration environments.
Critical Tolerances
For a successful snap-fit, your printer must be calibrated for dimensional accuracy. As noted in Prusa Research's Dimensional Accuracy Guide, FDM printers typically exhibit a 0.1mm to 0.2mm variance on external perimeters. You must design or slice the snap hooks with a 0.15mm clearance on the X and Y axes. If your printer's extrusion multiplier is too high, the lid will warp the base rather than snapping into place.
Design Architecture 2: The 35mm DIN-Rail Industrial Mount
For home automation panels and industrial control boxes, integrating a 35mm DIN-rail clip into the base of your Arduino Uno case 3D print is the gold standard. This design typically uses a sliding wedge mechanism or a flexible polypropylene-style clip printed in PETG.
Hardware Integration
Instead of self-tapping screws, which strip out after two disassemblies, professional enclosures use brass heat-set inserts. For the Uno R3/R4, use M3x5x4 brass inserts (Voron standard). Set your soldering iron to 350°C for PLA/PETG and press straight down until the insert is flush with the internal boss. This provides up to 40 lbs of pull-out resistance per screw.
Failure Mode: Shear Stress
The most common failure in 3D printed DIN mounts is shear stress at the layer lines where the clip meets the main body. To prevent this, orient the print so the layer lines run parallel to the rail, or increase the wall count to 4 perimeters with 0% infill to maximize continuous plastic extrusion paths along the stress vector.
Design Architecture 3: Vented Stackable Shield Enclosure
When your project requires stacking a relay shield or an Ethernet shield (like the W5500) on top of the Uno, a standard low-profile case fails. The stackable design utilizes M2.5 brass standoffs to elevate the PCB, leaving a 14mm gap between the board and the case floor for wire routing.
Thermal Management
Stacked shields restrict airflow. A well-designed stackable Arduino Uno case 3D print incorporates parametric louvered vents on the side panels. By angling the louvers at 45 degrees, you maintain a light-tight and dust-resistant barrier while allowing convective airflow to escape the top exhaust vents. Ensure the top lid includes cutouts for the shield's ICSP headers if you plan to flash bootloaders post-assembly.
Slicer Settings for Perfect Port Alignment
The most frustrating edge case in printing an Arduino enclosure is misaligned USB and power jack cutouts. The Arduino Uno R4 Minima features a USB-C port that sits exactly 6.5mm from the board edge. If your Z-axis has any sag, or if your first layer squish is too aggressive, the ports will bind against the plastic.
- Elephant Foot Compensation: Set this to 0.2mm in PrusaSlicer or Cura. This prevents the first layer from bulging outward and narrowing the bottom edge of the power jack cutout.
- Bridging for Cutouts: Do not use supports for the top edge of the USB cutout. Instead, enable 'Bridge Settings' and reduce the bridge flow ratio to 85% at a speed of 30mm/s. This creates a clean, droop-free top edge.
- Z-Seam Alignment: Hide the Z-seam on the back corner of the enclosure. A visible Z-seam on the front face can create a 0.2mm bump that prevents the lid from seating perfectly flush.
Cost Analysis: 3D Printing vs. Off-The-Shelf (2026)
Is it economically viable to print your own case, or should you buy an extruded aluminum or ABS enclosure from a supplier like Hammond Manufacturing or Polycase?
- Off-The-Shelf ABS Enclosure: Typically costs between $11.00 and $16.50 per unit in single quantities. Requires manual drilling, step-bits, and deburring for custom connector cutouts.
- 3D Printed PETG Case: Uses approximately 48 grams of filament. At 2026 average filament prices of $18.00 per kilogram, the material cost is $0.86. Add $0.15 for four M3x8 socket head cap screws. Total cost: $1.01.
While commercial enclosures offer superior IP65 waterproofing and EMI shielding, the customizability and 90% cost reduction of an Arduino Uno case 3D print make it the undisputed choice for bespoke maker projects, sensor arrays, and rapid prototyping.
Verifying Your CAD Footprint
Before committing to a 6-hour high-resolution print, always verify the PCB footprint against the official documentation. The official Arduino Uno R4 Minima hardware page provides exact DXF and STEP files. Import the official STEP file directly into Fusion 360 or FreeCAD alongside your enclosure design to perform a digital interference check. This 10-minute step saves hours of wasted filament and guarantees that your mounting holes align perfectly with the Uno's 2.54mm header spacing.