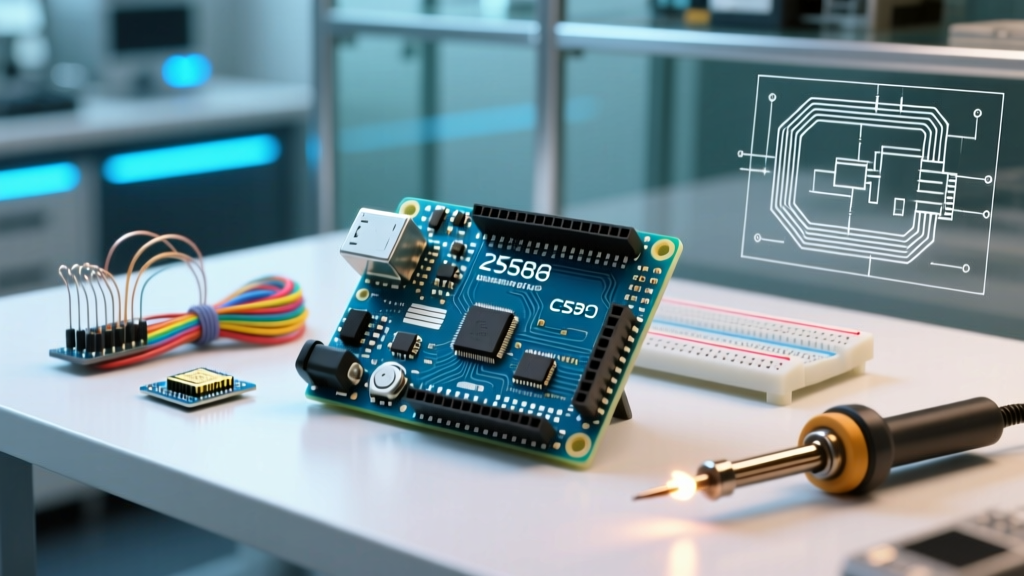

The ATmega2560-16AU: Beyond the Hype in 2026
In an era dominated by 32-bit ARM Cortex-M4 chips and dual-core Wi-Fi-enabled ESP32s, the 8-bit Arduino Mega 2560 microcontroller board might seem like a relic. However, dismissing it based purely on clock speed or architecture is a critical engineering mistake. Built around the Microchip ATmega2560-16AU (a 100-pin TQFP package running at 16 MHz), this board remains the undisputed heavyweight champion for specific high-I/O, low-latency, and multi-serial applications. Whether you are designing a 5-axis CNC router, a large-scale automated greenhouse, or a complex robotics platform, understanding the precise suitability of this board is vital for project success.
This analysis cuts through the marketing fluff. We will examine the real-world hardware constraints, thermal failure modes, and specific project archetypes where the Arduino Mega 2560 microcontroller board outperforms modern alternatives in 2026.
2026 Market Reality: Genuine vs. Clone Economics
Before diving into technical specifications, we must address the market reality. The official Arduino ABX00006 (Mega 2560 Rev3) typically retails between $42 and $48. However, the open-source nature of the design has spawned a massive clone market. High-quality third-party variants from brands like ELEGOO or keyestudio frequently sell for $14 to $18. For industrial prototypes or educational labs, genuine boards offer strict quality control and support. For hobbyist CNC builds where the board might be destroyed by a wiring fault, a $15 clone with an upgraded CH340 USB-to-Serial chip is often the more pragmatic financial choice.
| Feature | Arduino Mega 2560 | Arduino Uno R4 Minima | ESP32-S3-DevKitC |
|---|---|---|---|
| Architecture | 8-bit AVR | 32-bit ARM Cortex-M4 | 32-bit Xtensa LX7 |
| Flash Memory | 256 KB | 256 KB | 8 MB (Typical) |
| SRAM | 8 KB | 32 KB | 512 KB |
| Digital I/O Pins | 54 (15 PWM) | 14 (6 PWM) | 45 (Programmable) |
| Hardware UARTs | 4 | 1 (plus USB-CDC) | 3 |
| Typical Price | $15 (Clone) / $45 (Genuine) | $20 | $9 - $14 |
The 4 Hardware UARTs: The True Killer Feature
The most compelling reason to select the Arduino Mega 2560 microcontroller board over an Uno or a standard Nano is the inclusion of four dedicated hardware UARTs (Serial, Serial1, Serial2, and Serial3). In complex embedded systems, relying on SoftwareSerial is a recipe for disaster. SoftwareSerial disables interrupts while transmitting or receiving, which completely breaks time-sensitive operations like reading rotary encoders or generating step-pulses for stepper motors.
Consider a modern automated rover project. You need a continuous NMEA stream from a GPS module (115200 baud), a command stream from a Nextion HMI touchscreen (9600 baud), and a debugging telemetry link to a PC. On an Uno, this is impossible without severe data corruption. On the Mega, you simply wire the GPS to Serial1 (Pins 18/19), the HMI to Serial2 (Pins 16/17), and keep Serial (Pins 0/1) free for USB debugging. According to the official Arduino hardware documentation, these UARTs operate independently via hardware buffers, ensuring zero CPU overhead during byte reception.
Edge Case: Serial Buffer Overflows
While the hardware UARTs are robust, the default RX buffer size in the Arduino core is only 64 bytes. If your main loop is bogged down by a blocking operation (like writing to an SD card) and a burst of serial data arrives, the buffer will overflow, and data will be silently dropped. For high-throughput applications, you must manually edit the HardwareSerial.h file in the Arduino core to increase the SERIAL_RX_BUFFER_SIZE to 256 or 512 bytes, provided you have the SRAM headroom to support it.
The 8KB SRAM Bottleneck (And How to Avoid It)
The Achilles heel of the ATmega2560 chip is its 8KB of SRAM. While 256KB of Flash memory sounds massive for storing code, variables and dynamic buffers must reside in SRAM. If you are building a project that involves large TFT displays, audio processing, or extensive string manipulation, you will hit the 8KB wall rapidly.
When SRAM is exhausted, the microcontroller doesn't throw a helpful error; it simply corrupts the stack, leading to random reboots or erratic pin behavior. To mitigate this:
- Use the F() Macro: Never use raw string literals in
Serial.print()or LCD functions. Wrapping strings inF("Your text here")forces the compiler to read the string directly from Flash memory, bypassing SRAM entirely. - Avoid the String Class: The Arduino
Stringobject causes severe memory fragmentation. Use fixed-lengthchararrays and standard C functions likesnprintf()instead. - Offload to I2C/SPI: If you need to log massive amounts of sensor data, do not buffer it in SRAM. Stream it directly to an I2C EEPROM or an SPI SD card module in small 32-byte chunks.
Thermal Failure Modes: The Barrel Jack Trap
One of the most common hardware failures we see in the field involves the onboard voltage regulator. The Arduino Mega 2560 features a linear regulator (typically an NCP1117-5.0) to step down the voltage from the barrel jack or VIN pin to a stable 5V. Linear regulators dissipate excess voltage as heat.
If you power the board via the barrel jack with a 12V power supply and attempt to draw 400mA from the 5V pin to power a strip of WS2812B LEDs or a high-torque servo, the regulator must dissipate (12V - 5V) * 0.4A = 2.8 Watts of heat. The SMD package on the PCB cannot handle this without a heatsink. The regulator will hit its thermal shutdown threshold (around 150°C), drop the 5V rail, and reset your microcontroller. If your project requires more than 200mA on the 5V rail, bypass the onboard regulator entirely and use an external LM2596 buck converter to supply 5V directly to the board's 5V pin.
Interrupts, Timers, and the 3D Printing Monopoly
The Mega 2560 offers 6 external interrupts (pins 2, 3, 18, 19, 20, and 21) and multiple 16-bit timers. This specific hardware layout is exactly why the Marlin 3D printer firmware and the RAMPS 1.4 shield ecosystem standardized on this board. Driving four or five stepper motors simultaneously requires precise, high-frequency timer interrupts to generate step pulses without jitter. The 16-bit Timer1 and Timer3 on the Mega allow for incredibly smooth microstepping calculations that simply overwhelm the 8-bit timers on smaller AVR boards. If you are building custom motion control hardware or a CNC plotter, the Mega's timer architecture remains highly relevant.
Project Suitability Decision Matrix
Use the following framework to determine if the Arduino Mega 2560 microcontroller board is the correct foundation for your 2026 project.
Choose the Mega 2560 When:
- High Pin Count is Mandatory: You need to interface with 15+ individual sensors, relays, or motor drivers without resorting to complex I2C multiplexing.
- Multi-Serial is Required: Your design involves 3 or more asynchronous serial devices (e.g., GPS, HMI, Cellular Modem) operating simultaneously at high baud rates.
- Legacy Shield Compatibility: You are utilizing the vast ecosystem of RAMPS 1.4, CNC Shields v3, or legacy Arduino Mega sensor shields.
- Deterministic 5V Logic: You are interfacing with older industrial 5V TTL equipment and cannot risk the 3.3V logic translation headaches of modern ARM/ESP boards.
Avoid the Mega 2560 When:
- IoT and Wireless are Needed: The Mega has no native Wi-Fi or Bluetooth. Adding an ESP-01 module via serial is a clunky workaround. Use an ESP32 instead.
- High-Speed DSP or Audio: The 16 MHz AVR architecture lacks the FPU (Floating Point Unit) and DMA (Direct Memory Access) required for real-time audio processing or complex FFT calculations.
- Space and Weight are Critical: The Mega's PCB footprint (101.52 mm x 53.3 mm) is massive. For wearable tech or micro-drones, look at the Arduino Nano ESP32 or Seeed Studio XIAO series.
Final Verdict
The Arduino Mega 2560 microcontroller board is not a general-purpose prototyping toy; it is a specialized I/O workhorse. While it lacks the wireless connectivity and raw processing speed of modern 32-bit alternatives, its unmatched combination of 54 I/O pins, 4 hardware UARTs, and robust 5V timer architecture secures its place in the workbenches of serious robotics and motion-control engineers. By respecting its SRAM limits and managing power delivery thermals, the Mega 2560 will reliably anchor your most complex, wire-heavy builds for years to come.