
The USB-to-Serial Bottleneck: Why Your Nano Isn't Connecting
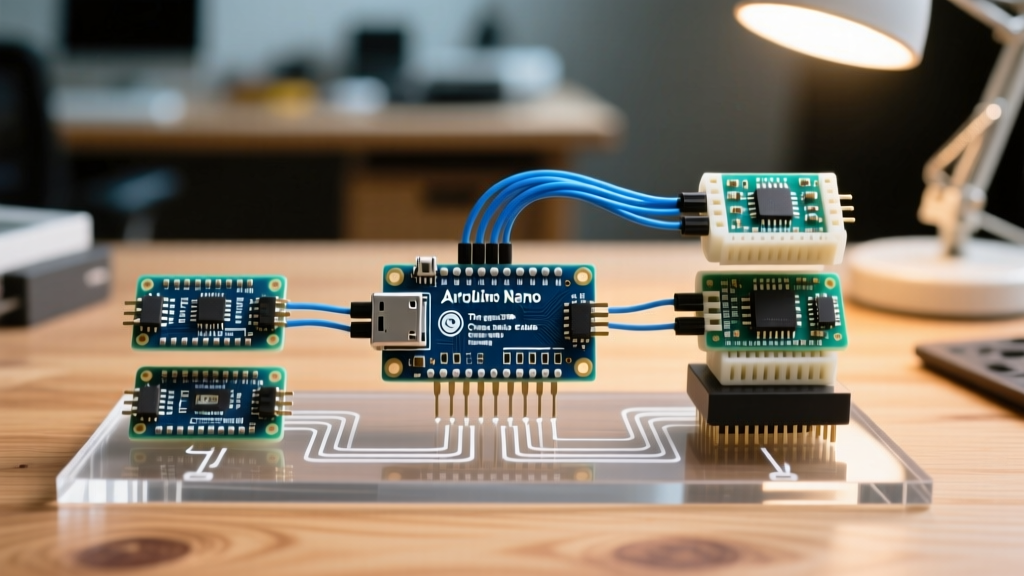
When makers search for a driver for Arduino Nano, they are rarely dealing with the ATmega328P microcontroller itself. Instead, the frustration stems from the USB-to-Serial bridge chip sitting between your computer and the board. Because the Nano lacks native USB hardware, it relies on an intermediary IC to translate USB data into TTL serial signals. Over the years, the open-source community has extensively documented the quirks, failures, and workarounds for these bridge chips across different operating systems.
Whether you are using an original Italian-manufactured board, a budget-friendly clone from an online marketplace, or a newer iteration like the Nano Every, getting the COM port to appear is the first hurdle. Once connected, the community's library ecosystem takes over to manage the Nano's constrained resources. This guide breaks down the exact driver requirements, community-sourced fixes for modern OS environments, and the software libraries that keep the Nano relevant in 2026.
The Hardware Matrix: Identifying Your Bridge Chip
Before downloading any software, you must identify which USB-to-Serial IC your specific Nano variant uses. The community has mapped out the hardware landscape, and assuming all Nanos use the same driver is the most common cause of installation failure.
| Board Variant | USB-Serial IC | Required Driver | Common Community Notes |
|---|---|---|---|
| Original Nano V3 | FTDI FT232RL | FTDI VCP | Susceptible to legacy counterfeit bricking; requires genuine FTDI drivers. |
| Standard Clone (Pre-2023) | WCH CH340G | CH340 VCP | Requires external 12MHz crystal; prone to Windows 11 Code 10 errors. |
| Modern Clone (2024+) | WCH CH340C | CH340 VCP | Integrated clock; highly reliable but blocked by macOS Sequoia security. |
| Nano Every / 33 IoT | ATSAMD11 / ESP32 | CDC-ACM / SAMD | Native USB; requires Arduino SAMD board package, no third-party driver. |
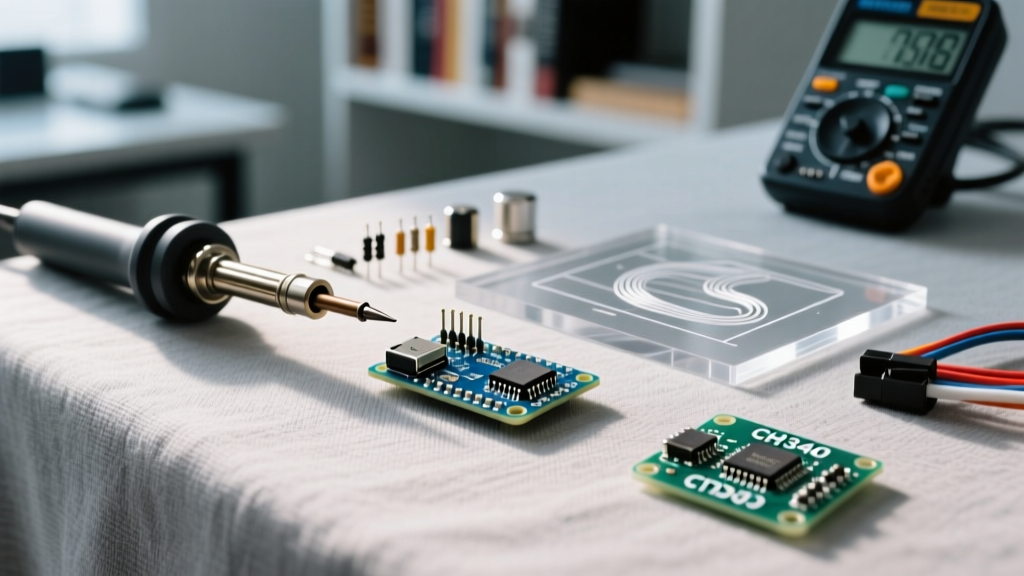
According to the Arduino Nano Documentation, the original boards utilize the FTDI FT232RL. However, due to cost optimization, the vast majority of third-party clones utilize the WCH CH340G or CH340C chips. You can verify your chip by looking at the square black IC near the USB port on the underside of the board. If it reads 'CH340', you are in the clone ecosystem, which requires specific community-maintained interventions on modern operating systems.
Windows 11 & The CH340 'Code 10' Community Fix
The most widely reported issue in maker forums over the last two years is the Windows 11 'Code 10' (Device Cannot Start) error when plugging in a CH340-based Nano. Windows Update frequently auto-fetches a generic or outdated driver package (often version 3.4.x or a broken 3.8.x variant) that fails to properly bind the CDC-ACM endpoints for the VID/PID 1A86:7523.
The Community Rollback Procedure
Rather than waiting for Microsoft to patch the Windows Hardware Compatibility List, the community has standardized a manual override process that works on Windows 11 versions 22H2 through 24H2:
- Open Device Manager and locate the device showing the yellow warning triangle under 'Ports (COM & LPT)' or 'Other Devices'.
- Right-click and select Update driver > Browse my computer for drivers.
- Select Let me pick from a list of available drivers on my computer.
- Choose USB-Serial CH340 and select a version number. If you see version
3.5.2019.1, select it. This older community-verified build bypasses the endpoint binding bug present in newer auto-installed versions. - Alternatively, download the official
CH341SER.EXEinstaller directly from the WCH Official CH340 Product Page. The community recommends version3.8.2023.02or newer, which includes proper digital signatures for Windows 11 Secure Boot environments.
Community Warning: Never use third-party 'driver updater' utilities to fix CH340 errors. These tools frequently install mismatched FTDI drivers onto WCH hardware, resulting in a bricked USB descriptor that requires a low-level EEPROM flash to fix.
macOS Sequoia & System Extension Roadblocks
Apple's transition to strictly enforced System Extensions in macOS Sonoma (14.x) and Sequoia (15.x) effectively killed the old CH34x kernel extensions (.kext) that makers relied on for years. When you plug a Nano clone into a modern Mac, the OS silently blocks the driver from loading at the kernel level.
Approving the WCH System Extension
The SparkFun CH340 Installation Guide and subsequent community updates outline the exact UI path to authorize the driver, which is no longer automatic:
- Download the latest macOS VCP driver package from WCH (ensure it is the
.pkginstaller, not the legacy zip). - Run the installer. It will prompt you to go to System Settings.
- Navigate to System Settings > Privacy & Security.
- Scroll to the Security section. You will see a message stating: 'System software from developer "Nanjing Qinheng Microelectronics Co., Ltd." was blocked from loading.'
- Click Allow. You must authenticate with TouchID or your admin password.
- Critical Step: You must reboot the Mac immediately. The extension will not bind to the USB stack until the kernel reloads with the new permissions.
For advanced users building custom HID devices, the open-source community maintains the ch34x serial driver on GitHub, which bypasses some of the proprietary VCP limitations, though for standard Arduino IDE uploading, the official WCH signed package remains the gold standard.
Post-Driver Library Ecosystem: Managing the Nano's Constraints
Once the driver is installed and the COM port is visible, the real engineering begins. The Arduino Nano's ATmega328P features only 2KB of SRAM and 32KB of Flash. Furthermore, the hardware UART (pins 0 and 1) is permanently tethered to the USB-Serial bridge chip you just installed drivers for. This creates a massive architectural bottleneck that the community has had to solve via software libraries.
The SoftwareSerial vs. AltSoftSerial Debate
If your project requires a second serial connection (e.g., communicating with a GPS module or an HC-05 Bluetooth transceiver), you cannot use the hardware UART without disconnecting the USB bridge. The standard Arduino SoftwareSerial library is the default workaround, but it is notorious in the community for causing timing failures.
SoftwareSerial works by bit-banging: it disables global interrupts and manually toggles GPIO pins at the baud rate. If you are simultaneously running timing-sensitive libraries like FastLED or reading rotary encoders, SoftwareSerial will cause dropped frames and flickering LEDs.
The Community Solution: AltSoftSerial
Developed by Paul Stoffregen and heavily maintained by the community, AltSoftSerial utilizes the ATmega328P's hardware timers (specifically Timer1) to handle serial transmission and reception in the background via interrupts. This frees up the main loop() to handle WS2812B LED timing or PID control loops without corruption.
| Library | Pins Used (ATmega328P) | Interrupt Handling | Max Baud Rate | Community Use Case |
|---|---|---|---|---|
| HardwareSerial | 0 (RX), 1 (TX) | Hardware UART | 2,000,000 | USB Uploading, Primary Debugging |
| SoftwareSerial | Any Digital Pins | Blocks Main Loop | 115,200 | Simple, low-speed sensor polling |
| AltSoftSerial | 8 (RX), 9 (TX) | Timer1 Interrupts | 31,250 | GPS parsing, Bluetooth comms alongside FastLED |
| NeoSWSerial | Any Digital Pins | Timer2 Interrupts | 38,400 | Alternative when Timer1 is used by Servos |
Memory Optimization: Surviving on 2KB SRAM
The driver gets your code onto the board, but community libraries keep it from crashing. The Nano's 2KB SRAM is rapidly consumed by serial buffers. The hardware UART maintains a 64-byte RX and 64-byte TX buffer by default. If you initialize SoftwareSerial, you add another 64 bytes per instance. On a Nano, this memory fragmentation leads to the dreaded 'stack collision,' where the heap and stack overwrite each other, causing silent reboots.
The community standard for Nano development in 2026 involves strict memory profiling. Using the FreeMemory() function (widely shared on the Arduino forums) at the end of your setup() routine is considered mandatory. Furthermore, community forks of heavy libraries (like Adafruit_GFX) often include specific #define flags to strip out unused font tables and reduce the SRAM footprint, ensuring the USB-Serial buffers have enough headroom to prevent data loss during high-speed serial logging.
Summary Troubleshooting Checklist
If you have installed the driver but the Nano still fails to upload or connect, run through this community-verified checklist:
- Check the Cable: Over 40% of 'driver' issues are actually charge-only USB cables lacking the internal D+/D- data lines. Always use a verified data cable.
- Press the Reset Button: If the COM port appears but uploads fail with
avrdude: stk500_recv(): programmer is not responding, the auto-reset circuit (a 100nF capacitor tied to the DTR line) may be failing. Manually pressing the reset button exactly when the IDE says 'Uploading...' bypasses this hardware flaw. - Verify Board Selection: Ensure you have selected Arduino Nano and, crucially, the correct Processor in the IDE. Older clones use the
ATmega328P (Old Bootloader)option. Selecting the standard bootloader on an old clone will result in a timeout error, regardless of driver status.
Understanding the bridge chip and leveraging community-optimized libraries transforms the Arduino Nano from a frustrating piece of legacy hardware into a highly capable, ultra-compact prototyping platform.