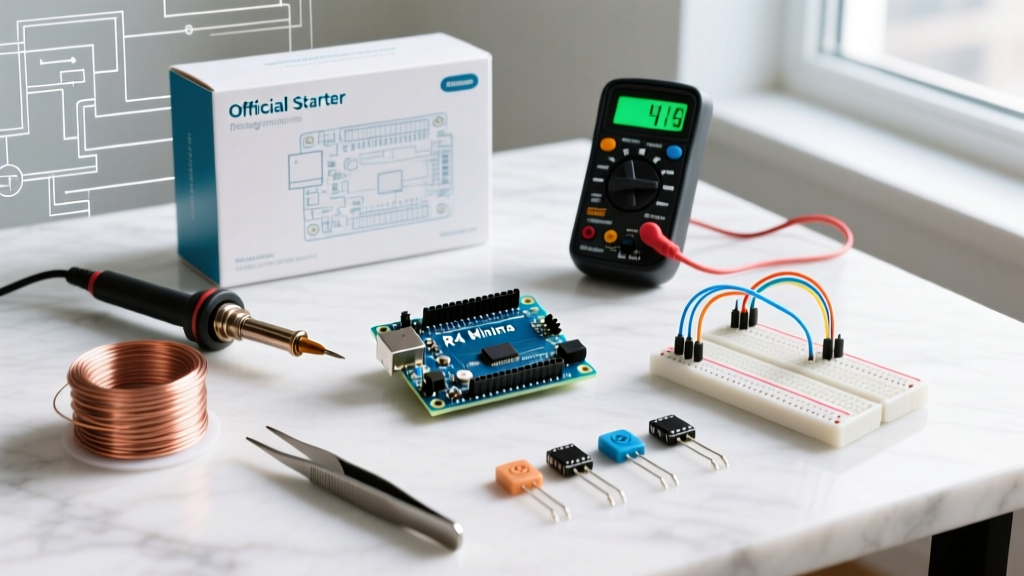

When transitioning from theoretical electronics to physical computing, the hardware you choose dictates your learning curve. The official Arduino Uno development kit (commonly sold as the Arduino Starter Kit) has long been the gold standard for beginners and educators. However, with the recent integration of the Uno R4 architecture and shifting global component prices in 2026, is the official box still the most logical entry point? In this feature deep dive, we dissect the exact components, evaluate the microcontroller upgrades, analyze sensor edge cases, and run a strict cost-benefit analysis against sourcing clone parts.
Unboxing the Official Arduino Uno Development Kit
The official kit retails for approximately $109.00 USD and arrives in a sturdy, compartmentalized cardboard box designed for long-term component storage. Unlike third-party Amazon alternatives that stuff parts into anti-static ziplock bags, the official kit uses a molded plastic tray. Below is the exact inventory of the core electronic components included in the current multi-language edition.
| Component Category | Specific Parts Included | Real-World Application |
|---|---|---|
| Microcontroller | 1x Arduino Uno R4 Minima (or R3 depending on batch) | Central processing, logic execution, I/O control |
| Prototyping | 1x Full-size breadboard, 1x Wooden base, 70x Solid jumper wires | Solderless circuit assembly and structural mounting |
| Optoelectronics | 1x 16x2 LCD (HD44780), 1x 74HC595 Shift Register, 6x LEDs, 1x RGB LED | Visual feedback, I/O expansion, color mixing |
| Sensors | 1x TMP36 Temp Sensor, 1x LDR (VT90N2), 1x Tilt Switch | Environmental monitoring, orientation detection |
| Actuators & Motors | 1x 5V DC Motor, 1x 9V Motor, 1x Servo (SG90), 1x Piezo Capsule | Kinetic movement, audio feedback generation |
| Passives | Assorted resistors (220Ω to 10MΩ), 10kΩ Potentiometer, 100µF Capacitors | Current limiting, voltage division, decoupling |
The Brains: Uno R4 Minima vs. The Classic R3
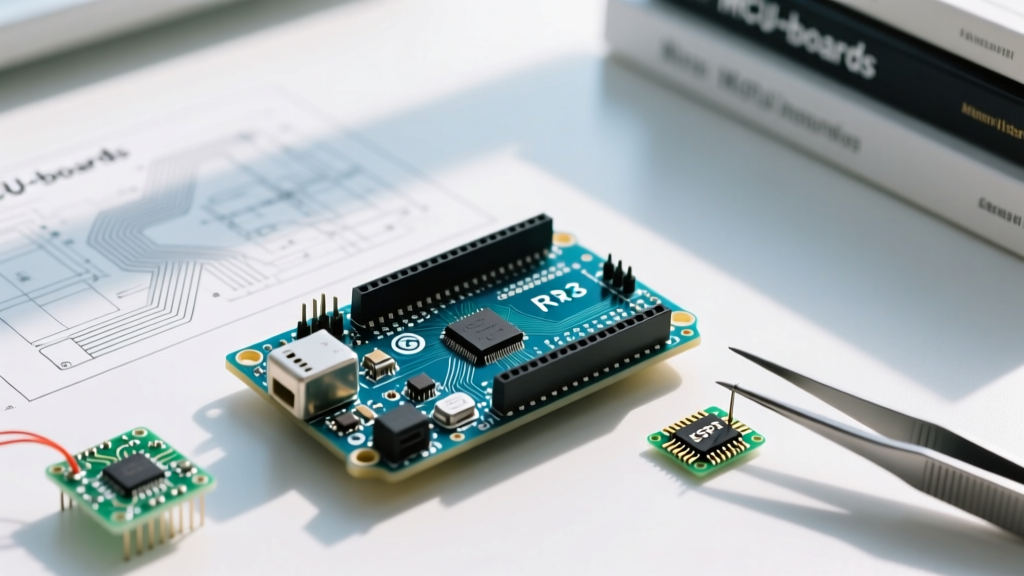
The most significant evolution in the Arduino Uno development kit ecosystem is the shift from the classic ATmega328P (Uno R3) to the Renesas RA4M1 Arm Cortex-M4 (Uno R4). If you purchase a kit today, you are highly likely to receive the Uno R4 Minima. This is not just a cosmetic change; it fundamentally alters the computational ceiling of your projects.
Architectural Deep Dive: Why the R4 Matters
- Clock Speed: The R4 operates at 48 MHz, a massive 3x increase over the R3’s 16 MHz. This allows for complex floating-point math required in sensor fusion and PID control loops without bogging down the main execution thread.
- Memory: SRAM jumps from 2 KB to 32 KB, and Flash memory increases from 32 KB to 256 KB. This eliminates the 'out of memory' errors commonly encountered when using large string arrays for LCD menus or logging data.
- Native DAC and Op-Amp: The R4 includes a native 12-bit Digital-to-Analog Converter (DAC) and an internal operational amplifier. In the R3, generating true analog waveforms required external hardware or PWM filtering. The R4 can output true analog signals directly from pin A0, which is a game-changer for audio projects included in the kit’s project book.
Sensor Deep Dive: Edge Cases and Practical Limitations
A kit is only as good as its sensors. While the included components are perfect for learning, they possess specific electrical quirks that the 170-page project book glosses over. Understanding these failure modes is what separates a novice from an intermediate engineer.
TMP36 Temperature Sensor: The Noise Problem
The TMP36 is an analog voltage output temperature sensor providing a 10 mV/°C scale factor with a 500 mV offset (allowing for sub-zero readings without a negative supply rail). According to the Analog Devices TMP36 datasheet, the sensor is highly linear. However, in practical breadboard environments, the TMP36 is notoriously susceptible to high-frequency noise and ADC jitter.
Expert Troubleshooting Tip: If your serial monitor shows temperature readings fluctuating by ±2°C in a stable room, the issue is not the sensor—it is the breadboard power rail noise. Solder or insert a 0.1µF ceramic decoupling capacitor directly across the VCC and GND pins of the TMP36, and place a 10µF electrolytic capacitor on the Vout line to stabilize the ADC sampling.
74HC595 Shift Register: Expanding I/O Correctly
The kit includes a 74HC595 8-bit serial-in, parallel-out shift register. This allows you to control 8 LEDs using only 3 digital pins on the Uno. The common beginner mistake is mismanaging the timing between the Shift Register Clock (SRCLK) and the Register Clock (RCLK).
Furthermore, the Master Reset (MR) pin is active LOW. The project book often omits a physical pull-up resistor on this pin, relying on the microcontroller's internal logic. In electrically noisy environments (like when the included DC motor spins up), the MR pin can float LOW, instantly clearing your shift register and causing LEDs to flicker. Always tie the MR pin directly to 5V if you do not need asynchronous hardware resetting.
Cost-Benefit Analysis: Official Kit vs. Sourcing Clones
Is the $109 price tag of the official Arduino Uno development kit justified in 2026, given the abundance of cheap clones? Let’s break down the economics of building an equivalent kit from scratch using budget marketplaces versus buying the official box.
| Acquisition Method | Estimated Cost (USD) | Shipping Time | Quality & Support |
|---|---|---|---|
| Official Arduino Starter Kit | $109.00 | 2-5 Days | Guaranteed authentic, 170-page verified guide, premium packaging |
| Amazon Third-Party 'Compatible' Kit | $35.00 - $45.00 | 1-2 Days | Clone Uno (often CH340G USB chip requiring driver installs), poorly translated PDF manuals, flimsy breadboards |
| Sourcing Individual Parts (AliExpress/Banggood) | $18.00 - $25.00 | 14-30 Days | High variance in component tolerance, no unified curriculum, requires advanced sourcing knowledge |
The Verdict: If your primary goal is to learn C++ programming and basic circuit theory as quickly as possible, the $109 official kit is worth the premium. The time saved troubleshooting clone USB-to-Serial drivers (like the CH340G) and deciphering poorly translated wiring diagrams easily justifies the $70 price difference. However, if you already understand basic electronics and just need raw components, sourcing from DigiKey or Mouser will yield higher-quality passives for less money.
Common Pitfalls and Hardware Troubleshooting
Even with premium hardware, the physical assembly phase introduces specific points of failure. Keep these three edge cases in mind when deploying your kit:
- The USB-C 'Charge-Only' Trap: The Uno R4 Minima uses a USB-C connector. A massive percentage of 'setup failed' forum posts stem from users plugging the board into a USB-C cable harvested from a cheap desk fan or headphone charger. These cables lack the D+ and D- data lines. Always verify your cable supports data transfer before assuming the board's ATmega16U2 (or R4 equivalent) USB bridge is dead.
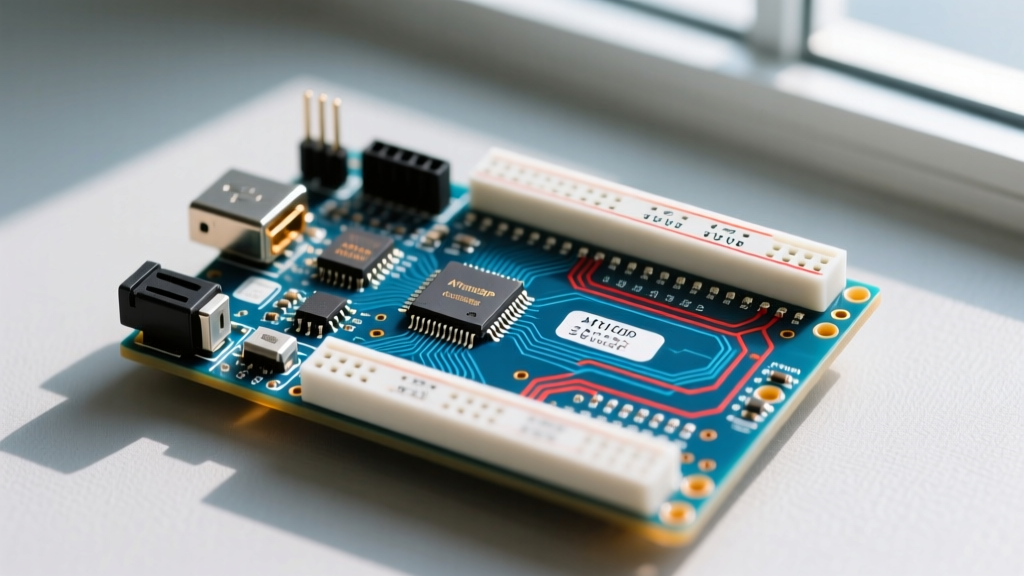
- Breadboard Power Rail Discontinuities: The full-size breadboard included in the kit features a physical gap in the center of the red and blue power rails, indicated by a broken colored line. Beginners frequently wire power to the top half of the board and wonder why the sensors on the bottom half are completely dead. Use a solid jumper wire to bridge the gap if your circuit spans the entire board.
- 16x2 LCD Contrast Pin (V0): The HD44780 LCD requires a precise voltage on Pin 3 (V0) to adjust the liquid crystal contrast. The kit provides a 10kΩ potentiometer for this. If you skip the potentiometer and tie V0 directly to GND, the display will show solid black squares. If you tie it to 5V, the screen will be entirely blank. Always use the voltage divider.
Final Thoughts on the Platform
The Arduino Uno development kit remains a masterclass in pedagogical hardware design. By pairing a robust, short-circuit-protected microcontroller with a carefully curated selection of sensors and actuators, it eliminates the 'analysis paralysis' of component selection. While the shift to the R4 architecture demands a slight adjustment in how we approach memory and clock speeds, the underlying philosophy of the kit remains unchanged: provide reliable hardware so the user can focus entirely on the logic of their code.