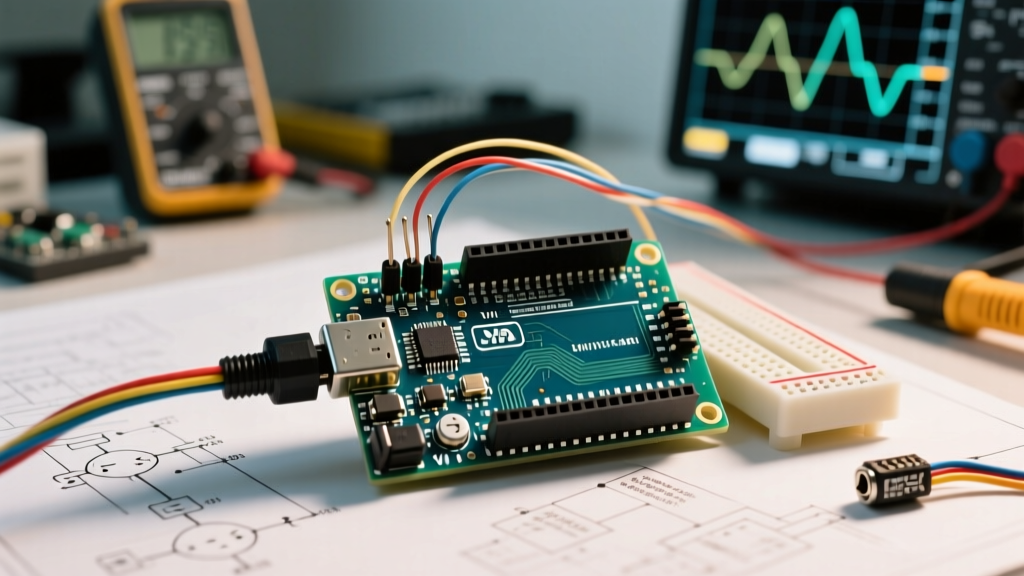

The Hardware Reality: Arduino Uno Power Input Limits
When discussing the Arduino Uno power input architecture, the official documentation often provides a simplified overview: plug in a USB cable or a 7-12V wall adapter, and the board handles the rest. However, over a decade of rigorous field testing by the DIY electronics community has revealed significant thermal and current-limiting edge cases inherent to the Uno R3's linear regulation design. As of 2026, understanding these hardware limitations—and leveraging community-developed software libraries to monitor them—is essential for building robust, long-term deployments.
The classic Arduino Uno R3 relies on an NCP1117ST50T3G low-dropout (LDO) linear regulator to step down voltage from the barrel jack or Vin pin to a stable 5V. While reliable for low-current sensor readings, this SOT-223 packaged LDO lacks a dedicated heatsink. Its thermal resistance is approximately 100 °C/W (junction-to-ambient). If you feed the board 12V and draw just 200mA from the 5V rail, the LDO must dissipate 1.4W of heat. This results in a junction temperature rise of 140 °C above ambient, rapidly triggering the chip's internal thermal shutdown at 150 °C and causing the notorious "phantom resets" frequently debated on the Arduino forums.
Community Consensus on Power Input Methods
To navigate these hardware quirks, the community has established strict best practices for each physical input method. The table below summarizes the real-world operational limits verified by field engineers.
| Input Method | Voltage Range | Max Safe Continuous Current (5V Rail) | Community Verdict & Edge Cases |
|---|---|---|---|
| USB Type-B | 4.75V - 5.25V | ~400mA (Accounting for ATmega16U2) | Safe, but limited by host port. Polyfuse (500mA resettable) can cause voltage sag during motor startups. |
| Barrel Jack (DC) | 7V - 12V (9V Ideal) | ~150mA (at 9V), ~80mA (at 12V) | Avoid 12V if driving shields. The onboard LDO will thermally throttle. 9V is the community-agreed sweet spot. |
| Vin Pin | 7V - 12V | Same as Barrel Jack | Bypasses the reverse-polarity protection diode. Use only with clean, regulated DC sources. |
| 5V Pin | 4.8V - 5.2V | Depends on external supply | Warning: Bypasses the LDO and USB polyfuse. No reverse polarity or overvoltage protection. Highly efficient but unforgiving. |
Community-Driven Hardware Fixes for Power Instability
When project requirements exceed the NCP1117 LDO's thermal envelope—such as driving multiple SG90 servos, 5V relay modules, or high-brightness LED matrices—the community universally recommends bypassing the onboard regulation entirely. Instead of relying on the Arduino Uno power input barrel jack, veteran makers integrate external switching buck converters.
The Buck Converter Bypass Strategy
Rather than dissipating excess voltage as heat, a switching regulator steps it down efficiently. The community standard for this is the Pololu D24V50F5 or generic LM2596-based modules (typically costing between $2.50 and $6.00 in 2026). By feeding 12V into a buck converter set to 5V, and then wiring the converter's output directly to the Uno's 5V pin (while leaving the barrel jack empty), you can safely draw 3A to 5A continuously without the ATmega328P browning out.
Community Warning: Never apply voltage to the 5V pin while simultaneously powering the board via USB or the Barrel Jack. This back-feeds power into the USB host or LDO output, potentially destroying the ATmega16U2 USB interface chip or the host computer's USB port.
Capacitive Decoupling for Noisy Inputs
For projects utilizing long DC extension cables to the barrel jack, inductive spikes and voltage sags are common. The r/arduino and EEVblog communities recommend a specific decoupling network soldered directly across the Vin and GND headers: a 470µF electrolytic capacitor in parallel with a 0.1µF ceramic capacitor. This provides a localized energy reservoir to handle transient current spikes from RF modules like the nRF24L01+ without dipping below the ATmega328P's 4.5V brown-out detection (BOD) threshold.
Software & Library Support: Monitoring and Managing Power
Hardware fixes only solve half the equation. To build truly resilient systems, developers utilize software libraries to monitor the actual voltage reaching the microcontroller and manage power states during brownout conditions. The Arduino Uno power input stability is heavily dependent on how the firmware reacts to voltage sags.
Monitoring Vcc via the Internal Bandgap Reference
You do not need a voltage divider to measure your board's power supply. The ATmega328P features an internal 1.1V bandgap reference that can be read by the Analog-to-Digital Converter (ADC). By reversing the ADC MUX (multiplexer) to measure the bandgap against Vcc, you can calculate the exact voltage of your power input. While you can write the raw register manipulation code (setting the REFS0, REFS1, and MUX bits in the ADMUX register), the community has packaged this into highly reliable libraries.
Libraries such as ArduinoVcc or the techniques detailed in Nick Gammon's authoritative power-saving guides allow you to log Vcc drops to an SD card before a crash occurs. If your code detects Vcc dropping below 4.6V, it can trigger a safe shutdown sequence, parking mechanical actuators and saving state variables to EEPROM.
Brownout Mitigation with Watchdog Libraries
When the Arduino Uno power input sags, the microcontroller can enter an undefined state, leading to memory corruption or frozen loops. The community relies heavily on the hardware Watchdog Timer (WDT) to recover from these events. The Adafruit SleepyDog library provides a robust, community-maintained wrapper around the AVR WDT.
- Initialization: Set the WDT to a 2-second timeout during
setup(). - Main Loop: Call
Watchdog.reset()at critical checkpoints in your code. - Failure Mode: If a power brownout causes the CPU to stall, the WDT will automatically trigger a hard reset once power stabilizes, rather than leaving the board hung indefinitely.
Troubleshooting Edge Cases: What the Forums Say
Despite best practices, power input issues remain the #1 cause of "my code works on my desk but fails in the field" support tickets. Here is a diagnostic framework synthesized from thousands of forum threads regarding Arduino Uno power input anomalies.
Step-by-Step Diagnostic Flow for Phantom Resets
- Isolate the Load: Disconnect all shields, servos, and sensors. Power the bare Uno via USB. If the onboard 'L' LED blinks rhythmically or the board resets, suspect a corrupted bootloader or failing ATmega16U2 chip, not the power input.
- Measure Under Load: Use a digital multimeter to measure the voltage directly between the 5V and GND headers while the full project is running. A reading below 4.7V indicates LDO thermal throttling or USB host current limiting.
- Check the BOD Fuse Bits: The ATmega328P has Brown-Out Detection (BOD) fuses. If set to 2.7V (common on clone boards to save power), the chip will attempt to run at 16MHz on a sagging 3.2V rail, causing immediate instruction fetch errors. Use an AVR ISP programmer to verify the BOD is set to 4.3V.
- Oscilloscope the Vin: If using switching power supplies, look for high-frequency ripple. Cheap 12V adapters can output 500mV of ripple, which the LDO may fail to reject at higher frequencies, injecting noise directly into the ADC and causing erratic sensor readings.
The "USB Enumeration Drop" Phenomenon
A frequent issue discussed in the developer community is the Uno disconnecting from the PC IDE during high-current peripheral initialization (e.g., powering up a GSM module). This occurs because the initial current surge trips the 500mA resettable polyfuse (PTC) on the Uno's USB line. The community workaround is to initialize high-draw peripherals using a MOSFET controlled by a digital pin, delaying their power-on until 3 seconds after the USB enumeration and serial handshake are fully established.
Conclusion: Bridging Hardware Limits with Community Wisdom
Mastering the Arduino Uno power input requires looking past the silkscreen labels and understanding the thermal physics of the onboard LDO, the current limits of the USB polyfuse, and the brown-out thresholds of the ATmega328P. By adopting the community's external buck-converter strategies for high-current loads and integrating software libraries to monitor the internal bandgap reference and watchdog timers, you can transform the Uno from a fragile prototyping toy into a resilient platform capable of surviving harsh, real-world electrical environments.