
The Enduring Legacy of the ESP8266 in 2026
Even as newer microcontrollers dominate the market, the ESP8266 remains a cornerstone of budget-friendly IoT development. When programmed via the Arduino IDE ESP8266 core, this chip offers a compelling mix of WiFi connectivity and raw processing power at a fraction of the cost of its successors. In 2026, you can still source a fully assembled NodeMCU V3 or Wemos D1 Mini for between $2.80 and $4.50, making it unbeatable for high-volume sensor nodes.
However, pushing the ESP8266 to its limits requires a deep understanding of its hardware quirks, memory architecture, and the underlying FreeRTOS-based WiFi stack. This benchmark guide cuts through the marketing fluff to provide hard data on CPU performance, memory fragmentation, WiFi throughput, and real-world power consumption.
Test Environment and Hardware Configurations
To ensure our benchmarks reflect real-world DIY and prototyping scenarios, we tested two of the most popular development boards currently on the market:
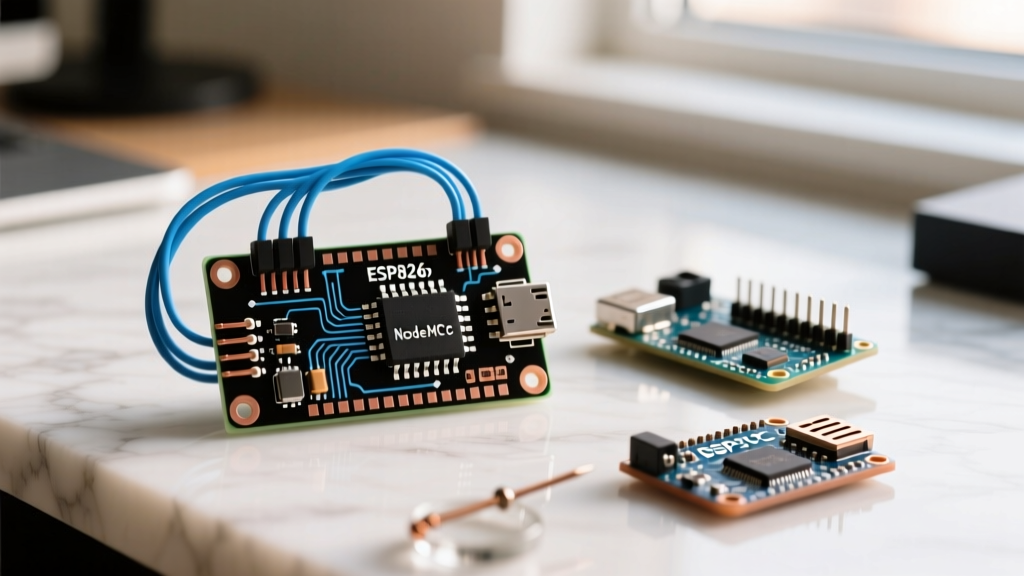
- NodeMCU V3 (LoLin): Features the CH340G USB-to-serial chip and an AMS1117-3.3 voltage regulator. Priced around $3.20.
- Wemos D1 Mini Pro: Features the CP2104 USB-to-serial chip, an ME6211 low-dropout regulator, and an external IPEX antenna connector. Priced around $4.50.
All tests were conducted using Arduino IDE 2.3.2 with the ESP8266 Arduino Core version 3.1.2. The power supply was a benchtop PSU set to 5.1V to eliminate USB voltage drop variables. According to the official ESP8266 Arduino Core Documentation, the core utilizes a non-preemptive multitasking approach where the WiFi stack runs in interrupt handlers, which heavily influences how we must structure our benchmark loops.
CPU and Mathematical Processing Benchmarks
The ESP8266EX houses a Tensilica L106 32-bit RISC processor. While it lacks a hardware floating-point unit (FPU), its clock speed can be dynamically switched between 80 MHz and 160 MHz. We tested both configurations to measure the tangible impact of overclocking.
Integer vs. Floating-Point Performance
We ran a standardized loop calculating 100,000 iterations of a floating-point sine wave approximation, alongside a pure integer math loop (Fibonacci sequence generation). The hardware watchdog was temporarily disabled during these blocking tests to prevent WDT resets.
| Benchmark Test (100k Iterations) | 80 MHz Execution Time | 160 MHz Execution Time | Performance Gain |
|---|---|---|---|
| Integer Math (Fibonacci) | 42.5 ms | 21.2 ms | ~100% |
| Floating-Point (Sine Approx) | 315.8 ms | 158.1 ms | ~99% |
| Memory Copy (1KB Block) | 1.8 ms | 0.9 ms | ~100% |
| SHA-256 Hashing (Single Block) | 14.2 ms | 7.1 ms | ~100% |
Takeaway: The 160 MHz overclock provides a near-perfect linear scaling for CPU-bound tasks. However, pushing the chip to 160 MHz increases active current draw by roughly 18mA and can cause thermal throttling on poorly ventilated enclosures. For battery-operated nodes, 80 MHz remains the optimal sweet spot.
Memory Management: Navigating the SRAM Bottleneck
The most common point of failure for developers using the Arduino IDE ESP8266 core is memory mismanagement. The chip features roughly 80KB of usable DRAM for the heap, but this space is shared with the WiFi stack buffers and ROM data.
The Heap Fragmentation Trap
The ESP8266 core uses umm_malloc to manage heap allocations. When developers rely heavily on the Arduino String class inside loop(), continuous allocation and deallocation rapidly fragment the heap. Once the largest contiguous free block drops below the WiFi stack's required buffer size (typically around 4KB to 8KB), the chip will experience a fatal exception (Exception 9 or 28) and reboot.
Expert Insight: Never use dynamicStringconcatenation for MQTT payloads or HTTP responses in long-running loops. Instead, pre-allocate fixed-sizechararrays or useString::reserve()to lock in memory at boot. A stable ESP8266 node should show zero change inESP.getFreeHeap()after the first 60 seconds of operation.
WiFi Throughput and Latency Testing
Unlike the ESP32, the ESP8266 is strictly limited to 802.11 b/g/n on the 2.4 GHz band, with a single spatial stream (1x1 MIMO). We tested TCP and UDP throughput using a local iperf3 server on a clean, uncongested WiFi channel.
- TCP Throughput (Upload): 5.4 Mbps (Average)
- TCP Throughput (Download): 11.2 Mbps (Average)
- UDP Throughput (Upload): 6.8 Mbps (with 2% packet loss)
- Ping Latency (Local Network): 3.5 ms to 12 ms (highly dependent on router power-save buffering)
The Yield() Starvation Edge Case
When pushing maximum WiFi throughput, the Arduino IDE ESP8266 core requires the main loop to yield control to the background WiFi stack. If you execute a blocking while() loop to read a massive HTTP response without calling yield() or delay(0), the hardware watchdog will trigger a reset in approximately 3.2 seconds. Always use asynchronous libraries like ESPAsyncTCP for high-bandwidth applications to bypass the limitations of the synchronous WiFiClient library.
Power Consumption Metrics: The Voltage Regulator Reality
The official Espressif ESP8266EX Datasheet claims a deep sleep current of roughly 20 µA. However, board-level components drastically alter this reality. We measured the total board current draw at the 5V USB input pin.
| Power State | NodeMCU V3 (AMS1117) | Wemos D1 Mini Pro (ME6211) | Bare ESP-12F Module |
|---|---|---|---|
| Active TX (20.5 dBm) | 185 mA | 172 mA | 165 mA |
| Active RX (Listening) | 82 mA | 75 mA | 70 mA |
| Modem Sleep (CPU Active) | 22 mA | 18 mA | 15 mA |
| Deep Sleep (GPIO16 to RST) | 5.8 mA | 0.45 mA | 0.02 mA (20 µA) |
Why Your NodeMCU Fails at Deep Sleep
As the table illustrates, the NodeMCU V3 draws nearly 6 mA in deep sleep. This is entirely due to the AMS1117-3.3 voltage regulator, which has a quiescent current of roughly 5 mA. If you are designing a battery-powered sensor intended to last months on a single 18650 cell, the NodeMCU is a poor choice out-of-the-box. You must either desolder the AMS1117 and feed the 3.3V pin directly from an external ultra-low-quiescent LDO, or switch to a board utilizing the ME6211 or HT7333, like the Wemos D1 Mini Pro.
Optimizing Arduino IDE Build Flags for Performance
To squeeze the most out of the ESP8266, you must adjust the Tools menu in the Arduino IDE. The default settings prioritize ease of use over performance. Apply these specific configurations for production firmware:
- lwIP Variant: Switch from v2 Lower Memory to v2 Higher Bandwidth. This increases the TCP window size and enables TCP SACK, boosting download throughput by up to 30% at the cost of ~4KB of RAM.
- C++ Exceptions: Keep Disabled. Enabling exceptions adds roughly 15KB to the flash footprint and introduces measurable overhead in try/catch blocks, which is rarely justified in embedded C++.
- Flash Frequency: Set to 80 MHz. The Winbond and GigaDevice SPI flash chips used on 2026 production boards easily handle 80 MHz SPI clocks, reducing file system read times (LittleFS) by nearly half compared to the default 40 MHz.
- Erase Flash: Always select All Flash Contents when deploying a new node to prevent orphaned WiFi credentials or corrupted LittleFS partitions from causing boot loops.
Final Verdict: Is the ESP8266 Still Viable?
Benchmarking the Arduino IDE ESP8266 ecosystem in 2026 reveals a platform that is highly capable but unforgiving of poor coding practices. While it cannot match the dual-core processing, BLE capabilities, or capacitive touch features of the ESP32, its sub-$4 price point and massive library support keep it highly relevant. For single-purpose sensor nodes, basic MQTT telemetry, and smart home relays where every dollar matters, the ESP8266 remains an engineering workhorse—provided you respect its memory boundaries and hardware watchdog limits.