
The Enduring Legacy of the Arduino Nano 3.0
In an era dominated by dual-core ESP32s and high-speed RP2040 platforms, the Arduino Nano 3.0 might seem like a relic. Originally released as the definitive upgrade to the ATmega168-based Nano, the "3.0" revision introduced the ATmega328P microcontroller, effectively doubling the flash memory and SRAM. Today, in 2026, the classic Nano form factor remains a staple on breadboards worldwide. But with the proliferation of sub-$4 clones and the introduction of modern successors like the Nano Every and Nano 33 IoT, is the original 5V classic still worth your money and desk space?
This comprehensive review dissects the hardware realities, thermal edge cases, and signal integrity quirks of the Arduino Nano 3.0. We will also navigate the murky waters of the clone market, providing actionable guidance for engineers, educators, and hobbyists who need reliable 5V logic in a compact footprint.
Hardware Deep Dive: What "3.0" Actually Means
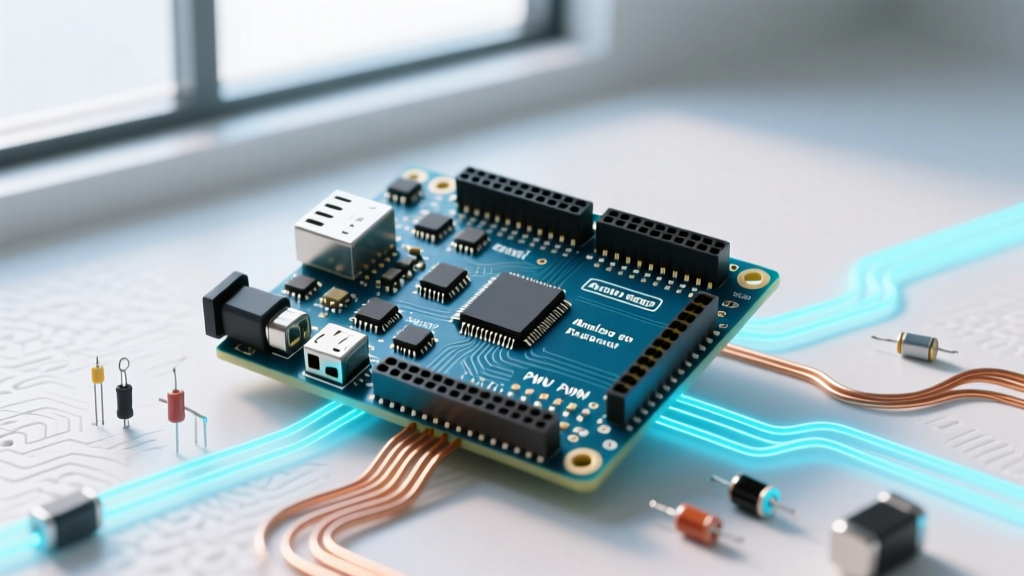
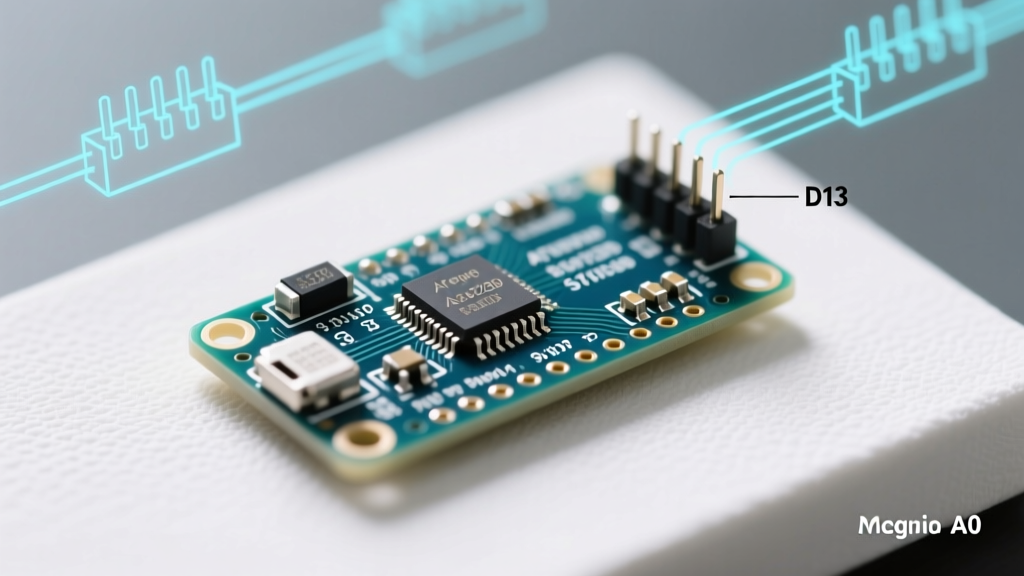
The designation "3.0" specifically refers to the board revision that swapped the aging ATmega168 for the Microchip ATmega328P. This transition was a watershed moment for the Arduino ecosystem, as it allowed for more complex sketches and larger buffer arrays. The physical board measures exactly 18 x 45 mm, featuring a 30-pin DIP footprint that perfectly bridges standard 0.1-inch solderless breadboards, leaving one row of holes free on either side for wiring.
Core Specifications at a Glance
- Microcontroller: ATmega328P-AU (TQFP-32 surface mount package)
- Operating Voltage: 5V logic (Crucial distinction from modern 3.3V ARM boards)
- Input Voltage (Recommended): 7-12V via the VIN pin
- Digital I/O Pins: 14 (of which 6 provide PWM output)
- Analog Input Pins: 8 (A0 through A7, with A6/A7 strictly analog-only)
- Flash Memory: 32 KB (2 KB reserved for the Optiboot bootloader)
- SRAM: 2 KB
- EEPROM: 1 KB
- Clock Speed: 16 MHz quartz crystal oscillator
2026 Comparison Matrix: Classic vs. Modern Nano Variants
When selecting a board for a new project, it is vital to understand how the classic Nano 3.0 stacks up against its official siblings. Below is a technical comparison of the current Nano lineup.
| Feature | Nano 3.0 (Classic) | Nano Every | Nano 33 IoT |
|---|---|---|---|
| MCU | ATmega328P | ATmega4809 | SAMD21 Cortex-M0+ |
| Logic Level | 5V | 5V | 3.3V |
| Flash / SRAM | 32KB / 2KB | 48KB / 6KB | 256KB / 32KB |
| USB Interface | Mini-USB (FT232RL) | Micro-USB (Native) | Micro-USB (Native) |
| Typical Price (2026) | ~$24.50 (Genuine) | ~$18.00 | ~$22.00 |
As noted in the Arduino Nano Official Documentation, the classic Nano relies on a dedicated USB-to-Serial bridge chip, whereas the Every and 33 IoT utilize MCUs with native USB support. This architectural difference heavily impacts both cost and failure modes.
Power Delivery and Thermal Edge Cases
One of the most common failure modes we see in DIY projects involving the Nano 3.0 stems from a fundamental misunderstanding of its onboard voltage regulator. The board features a linear LDO (Low Dropout) regulator designed to step down voltage from the VIN pin or the unregulated USB bus to a stable 5V.
The Clone Regulator Problem
Genuine Arduino Nanos use high-quality LDOs with reasonable thermal dissipation characteristics. However, the market is flooded with $3.50 to $5.00 clones that utilize generic AMS1117-5.0 regulators. The AMS1117 has a dropout voltage of roughly 1.3V. This means you must supply at least 6.3V to the VIN pin to achieve a stable 5V output. Furthermore, because it is a linear regulator, the excess voltage is burned off as heat. If you power the board with 12V and attempt to draw 300mA from the 5V pin to drive a small LED strip or a servo, the regulator will dissipate over 2 watts of heat. Without a heatsink, the AMS1117 will trigger its internal thermal shutdown within seconds, causing your microcontroller to brown out and reset.
Expert Tip: Never power high-current 5V peripherals directly from the Nano's 5V pin. Use the Nano's 5V output only for logic-level signals and low-draw sensors (under 50mA). For motors or LEDs, use an external buck converter (like an LM2596) wired directly to your main power supply.
The Clone Market: CH340 vs. FT232RL in 2026
The genuine Nano 3.0 utilizes the FTDI FT232RL chip for USB-to-Serial conversion. This chip is robust, widely supported, and capable of handling high baud rates with minimal latency. However, FTDI chips are expensive. To keep clone prices under $4, manufacturers substitute the FT232RL with the WCH CH340G or CH340C.
In 2026, the CH340 driver situation has vastly improved. Windows 11 and macOS Sequoia generally include plug-and-play kernel drivers for the CH340. However, there are edge cases. If you are developing time-sensitive applications—such as DMX512 lighting control or MIDI synthesis over serial—the CH340's internal buffering can introduce microsecond-level jitter that the FT232RL handles gracefully. Furthermore, the CH340G requires an external 12MHz crystal, adding to the BOM (Bill of Materials) and board clutter, whereas the newer CH340C integrates the oscillator. When buying clones, inspect the product photos to see which variant is being used.
ADC Noise and Signal Integrity Quirks
The ATmega328P features a 10-bit Analog-to-Digital Converter (ADC). While adequate for basic potentiometer readings, it requires careful circuit design when dealing with high-impedance sensors. According to SparkFun's Guide to Analog-to-Digital Conversion, the internal sample-and-hold capacitor requires a source impedance of 10kΩ or less to charge fully within the ADC's sampling window.
Solving the High-Impedance Voltage Divider Issue
A common mistake is using a voltage divider with two 100kΩ resistors to step down a 12V battery signal to a readable 5V range for the A0 pin. Because the impedance is too high, the ADC readings will fluctuate wildly. You have two actionable solutions:
- Lower the Impedance: Swap the resistors to 10kΩ and 3.3kΩ. This provides a stiff voltage source but increases parasitic current draw from your battery.
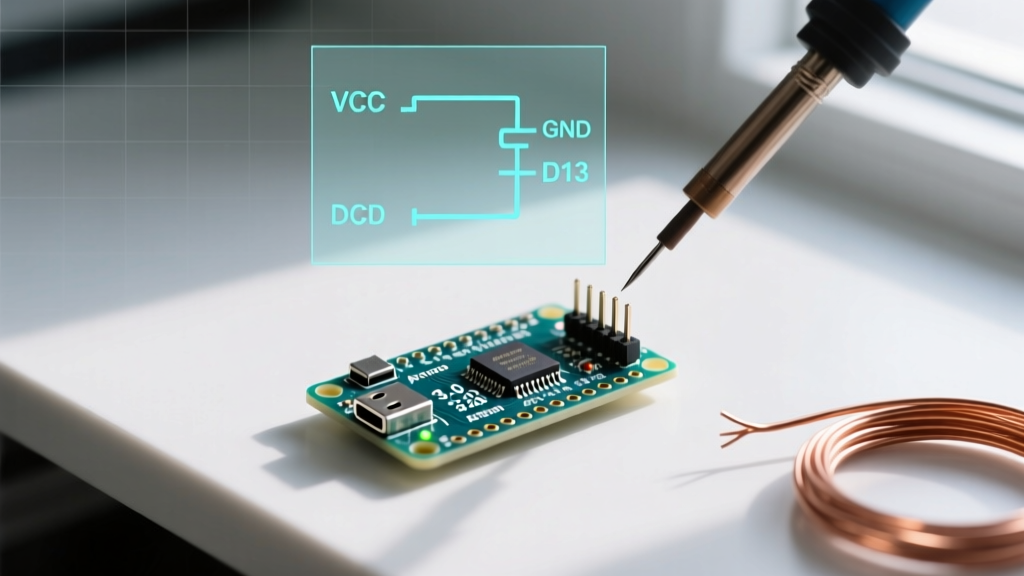
- Add a Bypass Capacitor: Solder a 100nF (0.1µF) ceramic capacitor directly between the analog input pin and GND. This capacitor acts as a local charge reservoir, allowing the ADC to sample accurately even with high-impedance dividers.
Additionally, the Nano 3.0 does not include onboard pull-up resistors for the I2C bus (A4/SDA and A5/SCL). If you are interfacing raw I2C sensors like the MPU6050 or BMP280 without a dedicated breakout board that includes its own pull-ups, you must add external 4.7kΩ resistors to the 5V line, or the I2C bus will fail to initialize.
Final Verdict: Who Should Buy the Nano 3.0 Today?
The Arduino Nano 3.0 is no longer the default choice for IoT or high-speed data processing. The lack of native USB, the outdated Mini-USB connector, and the 3.3V logic incompatibility of modern sensors make it less versatile than the Nano 33 IoT or ESP32-C3 SuperMini. However, it remains unbeatable in specific scenarios:
- Legacy System Maintenance: Repairing or upgrading older 5V industrial and automotive DIY projects.
- Education: The 5V logic is highly forgiving for beginners wiring up basic LEDs, relays, and 74HC595 shift registers without worrying about level shifters.
- Ultra-Low Power Sleep Modes: The ATmega328P's power-down sleep mode, when paired with an external hardware watchdog or RTC interrupt, can drop current consumption to microamp levels, outperforming many modern Wi-Fi-enabled MCUs in pure battery-life metrics for simple data logging.
If you need a rugged, predictable, and universally understood 5V microcontroller for a breadboard prototype, the classic Nano 3.0—whether a $24 genuine board or a carefully vetted $4 CH340 clone—still earns its place on the workbench in 2026.