
Why the Arduino Micro is Not Just a 'Small Uno'
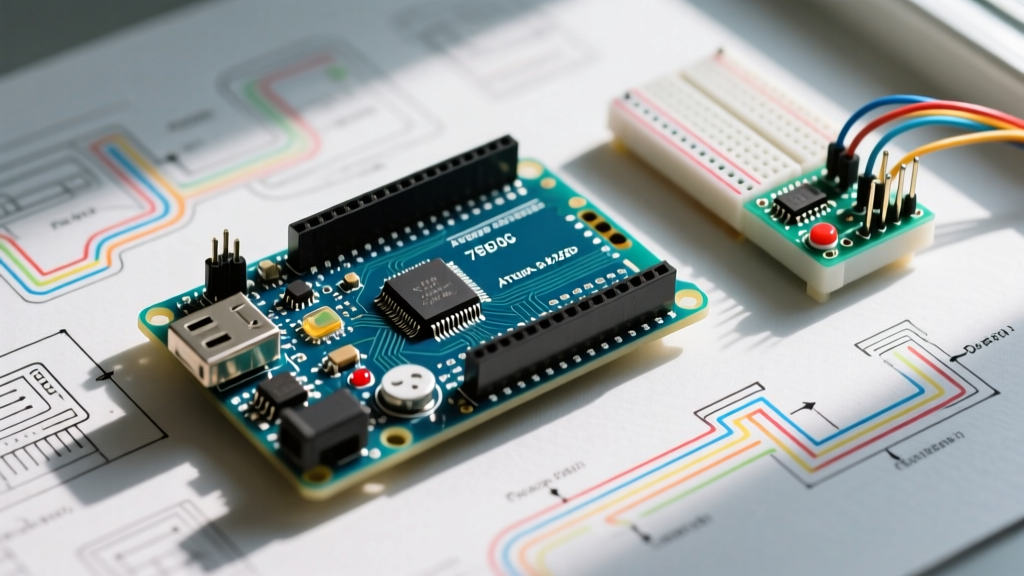
When transitioning from beginner boards to more specialized microcontrollers, the Arduino Micro is often misunderstood as merely a physically smaller Arduino Uno. This is a critical misconception that leads to improper project planning. While the Uno relies on an ATmega328P for logic and a secondary ATmega16U2 chip strictly for USB-to-Serial conversion, the Arduino Micro is built around the ATmega32U4. This single chip handles both your application logic and native USB communication.
Because the ATmega32U4 natively supports USB Human Interface Device (HID) protocols, the Micro can emulate a keyboard, mouse, or gamepad directly out of the box without requiring complex third-party libraries or hardware hacks. According to the official Arduino Micro documentation, this native USB capability makes it the premier choice for custom macro pads, accessibility input devices, and automated testing rigs.
Hardware Breakdown and 2026 Purchasing Advice
Before setting up your IDE, you need to acquire the board. The market has shifted significantly, and understanding the difference between genuine boards and third-party clones will save you from hardware failure modes down the line.
| Feature | Genuine Arduino Micro | Third-Party Clone (e.g., Elegoo, HiLetgo) |
|---|---|---|
| MCU | ATmega32U4 (5V, 16MHz) | ATmega32U4 (5V, 16MHz) |
| Average Price | ~$24.00 - $27.00 | ~$7.50 - $9.50 |
| USB Port Durability | Reinforced through-hole solder fillets | Standard surface-mount; prone to shearing |
| Bootloader | Caterina (Optiboot variant) | Caterina (Often generic or outdated) |
Expert Warning on Failure Modes: The most common physical failure on clone Micro boards is the Micro-USB port snapping off the PCB. The ATmega32U4 boards are dense, and clones often lack sufficient solder on the port's grounding tabs. If you are building a permanent macro pad, consider buying a genuine board, or reinforce the clone's USB port with a dab of hot glue or epoxy at the cable strain relief.
Step 1: IDE Setup and Driver Nuances
In the Arduino IDE 2.x ecosystem, setting up the Micro is generally plug-and-play on Windows 11, macOS, and Linux. However, because the board enumerates as a composite device (both a CDC Serial port and an HID device), you may encounter port assignment issues.
- Open Arduino IDE and navigate to Tools > Board > Arduino AVR Boards > Arduino Micro.
- Plug the board into a data-capable USB cable. (Charge-only cables are still prevalent and will cause the board to power on but fail to enumerate in the IDE).
- Check Tools > Port. You should see a COM port (Windows) or a /dev/cu.usbmodem port (macOS).
Pro Tip: If your PC chimes when you plug the board in, but no COM port appears in the IDE, your OS has recognized the HID capability but failed to load the CDC serial driver. On Windows, open Device Manager, locate the 'Unknown Device' or 'Arduino Micro' under Ports, and manually update the driver using the Arduino IDE's bundled drivers folder.
Step 2: The 'Bootloader Brick' Edge Case (Crucial Reading)
Every Arduino Micro user eventually encounters the 'HID Brick' scenario. Because the same chip handles your code and the USB connection, uploading a sketch that aggressively spams keyboard commands (e.g., a loop with Keyboard.print() and no delays) will overwhelm your computer's USB host controller. The OS will drop the COM port to protect itself, and the Arduino IDE will no longer be able to push a new sketch to the board.
How to Recover the Double-Tap Reset:
You do not need an external ISP programmer to fix this. The ATmega32U4 features a built-in bootloader rescue mode.
- Step A: Write a benign 'Blink' sketch in your IDE and click Upload.
- Step B: The moment the IDE console says 'Uploading...' (and the RX/TX LEDs flash briefly), double-tap the physical reset button on the Micro.
- Step C: The onboard LED (Pin 13) will begin to pulse/fade slowly. This indicates the bootloader is holding the port open for exactly 8 seconds.
- Step D: The IDE will catch the temporary COM port and overwrite the malicious HID code with your safe Blink sketch.
Understanding this edge case separates novices from advanced makers. Always include a 'safe mode' jumper or a physical delay in your HID projects to prevent locking yourself out during development.
Step 3: First Project - Custom HID Macro Pad
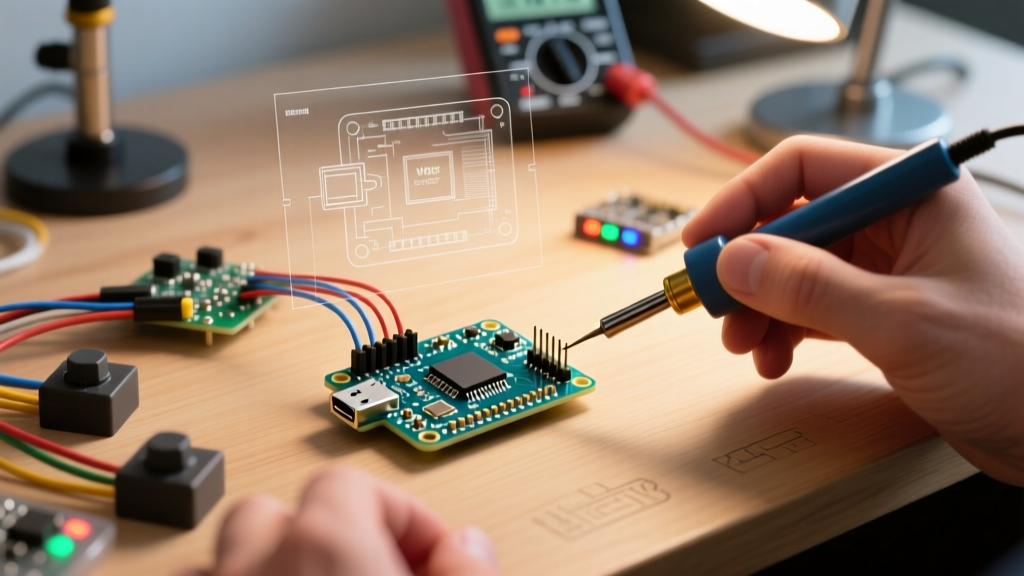
Let us leverage the Micro's native capabilities by building a 3-button productivity macro pad. We will map three mechanical switches to 'Copy' (Ctrl+C), 'Paste' (Ctrl+V), and 'Undo' (Ctrl+Z). This project requires no external resistors, as we will use the ATmega32U4's internal pull-up resistors.
Wiring Diagram
You will need three momentary pushbuttons (or mechanical keyboard switches) and jumper wires.
- Switch 1 (Copy): Connect one leg to GND and the other to Pin 2.
- Switch 2 (Paste): Connect one leg to GND and the other to Pin 3.
- Switch 3 (Undo): Connect one leg to GND and the other to Pin 4.
By wiring the switches to GND and using INPUT_PULLUP in our code, the pins will read HIGH when unpressed, and LOW when pressed. This eliminates the need for external 10kΩ pull-down resistors and keeps the wiring harness clean.
The HID Firmware Code
The following code utilizes the native Arduino Keyboard Library. It includes a basic 50-millisecond debounce delay to prevent mechanical switch bounce from registering as multiple keystrokes.
#include <Keyboard.h>

// Define pin assignments
const int btnCopy = 2;
const int btnPaste = 3;
const int btnUndo = 4;

void setup() {
  // Initialize buttons with internal pull-up resistors
  pinMode(btnCopy, INPUT_PULLUP);
  pinMode(btnPaste, INPUT_PULLUP);
  pinMode(btnUndo, INPUT_PULLUP);

  // Initialize the HID Keyboard protocol
  Keyboard.begin();
}

void loop() {
  // COPY (Ctrl + C)
  if (digitalRead(btnCopy) == LOW) {
    Keyboard.press(KEY_LEFT_CTRL);
    Keyboard.press('c');
    delay(50); // Debounce and ensure OS registers the stroke
    Keyboard.releaseAll();
    delay(250); // Prevent rapid-fire holding
  }

  // PASTE (Ctrl + V)
  if (digitalRead(btnPaste) == LOW) {
    Keyboard.press(KEY_LEFT_CTRL);
    Keyboard.press('v');
    delay(50);
    Keyboard.releaseAll();
    delay(250);
  }

  // UNDO (Ctrl + Z)
  if (digitalRead(btnUndo) == LOW) {
    Keyboard.press(KEY_LEFT_CTRL);
    Keyboard.press('z');
    delay(50);
    Keyboard.releaseAll();
    delay(250);
  }
}
Testing and Compliance Considerations
Once uploaded, open a text editor or word processor. Pressing your wired buttons should instantly trigger the respective shortcuts. Because the Arduino Micro enumerates as a standard USB HID device, it requires no custom drivers on the host PC. It adheres to the USB Implementers Forum (USB-IF) HID specifications, meaning it will work seamlessly on Windows, macOS, Linux, and even Android tablets via a USB-OTG adapter.
Advanced Troubleshooting & Next Steps
If you experience missed keystrokes or 'stuck' keys (where the PC thinks Ctrl is permanently held down), review the following:
- Always use Keyboard.releaseAll(): If your code crashes or the USB cable is yanked out while a key is logically 'pressed', the host OS will retain that state until a reboot. Always pair
press()withreleaseAll(). - Upgrade to Millis() Debouncing: The
delay(50)function blocks the CPU. For a 3-button pad, this is negligible. However, if you expand this to a 12-key macro pad with rotary encoders, you must refactor the code to use non-blockingmillis()timing to maintain responsive polling rates. - Consumer Control Keys: The standard
Keyboard.hlibrary does not natively support media keys (like Play/Pause or Volume Mute). To add media controls in future iterations, you will need to integrate the third-party HID-Project library via the Arduino Library Manager, which expands the ATmega32U4's descriptor table to include Consumer Control HID pages.
The Arduino Micro remains an unmatched platform for bespoke input devices. By understanding its native USB architecture and mastering the bootloader recovery process, you can rapidly prototype commercial-grade HID peripherals right from your workbench.