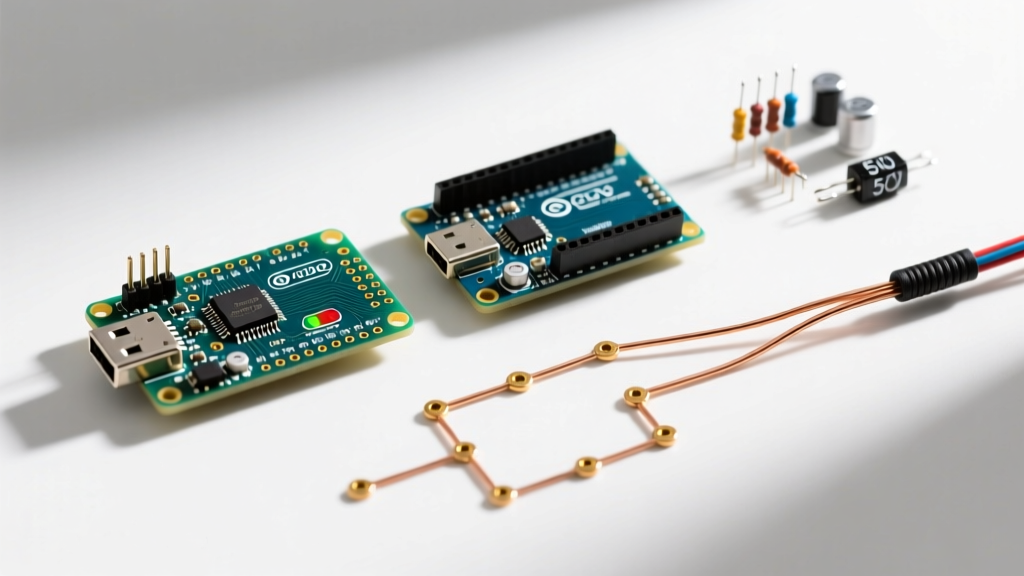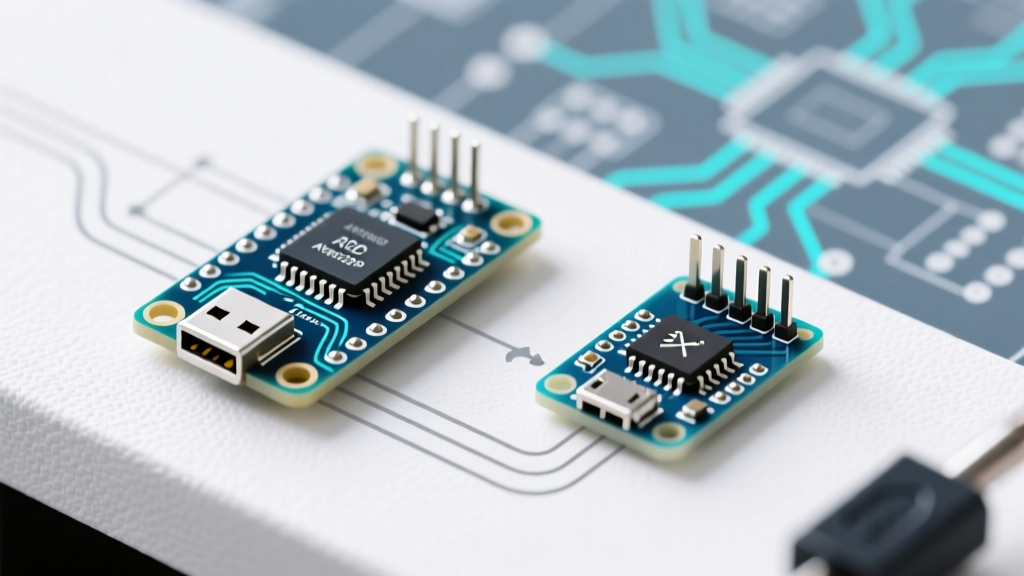

The Prototyping-to-Production Pipeline: Nano vs Mini
When transitioning an embedded project from a breadboard prototype to a compact, deployable node, engineers frequently evaluate the Arduino Nano vs Arduino Mini. While both boards historically share the same ATmega328P microcontroller core, their physical footprints, power delivery architectures, and programming interfaces dictate entirely different migration pathways.
As of 2026, the Arduino Mini is officially classified as a legacy/retired board by Arduino, yet it remains heavily utilized in ultra-compact legacy systems, low-power 3.3V sensor nodes, and cost-optimized clone deployments. The Nano, conversely, remains a staple for rapid deployment due to its integrated USB-to-Serial architecture. This guide provides a deep-dive technical framework for migrating between these two platforms.
Core Architecture and Specification Matrix
Before altering your PCB layout or wiring harness, you must understand the hardware deltas. The Nano includes an onboard USB-to-Serial converter (typically an ATmega16U2 on genuine boards, or a CH340C/CH340G on modern clones). The Mini strips this away entirely to save 15mm of board length and reduce quiescent current draw.
| Feature | Arduino Nano (V3.0 / Clone) | Arduino Mini (05 / Clone) |
|---|---|---|
| Microcontroller | ATmega328P (16MHz, 5V) | ATmega328P (16MHz/5V or 8MHz/3.3V) |
| Dimensions | 45 x 18 mm | 30 x 15 mm |
| USB Interface | Integrated (Mini-B or USB-C on newer clones) | None (Requires external UART adapter) |
| Vin Regulator | AMS1117-5.0 (Up to ~500mA, high thermal output) | Basic LDO (Max 200mA recommended) |
| Digital I/O Pins | 14 (D0-D13) | 14 (D0-D13) |
| Analog Pins | 8 (A0-A7) | 8 (A0-A7) |
| Typical 2026 Clone Price | $3.50 - $4.20 | $2.60 - $3.10 (Plus ~$4.00 for FTDI adapter) |
Migration Scenario 1: Nano to Mini (Space & Cost Optimization)
Migrating from the Nano to the Mini is typically driven by strict spatial constraints (e.g., wearable tech, compact drone telemetry) or BOM (Bill of Materials) cost reduction in small-batch manufacturing. However, stripping the USB interface introduces immediate programming friction.
The USB-Serial Bottleneck and FTDI Wiring
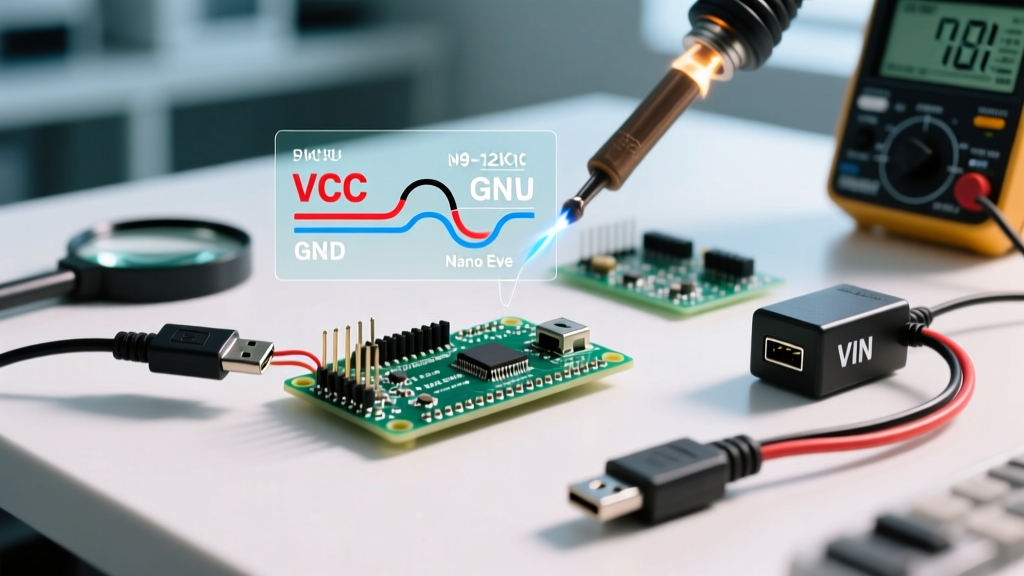
Without an onboard CH340 or ATmega16U2, you must program the Mini using an external USB-to-Serial adapter, such as an FTDI FT232RL or CP2102 breakout board. The most common failure mode during this migration is improper DTR (Data Terminal Ready) routing, which prevents the Arduino IDE from automatically resetting the board before uploading.
Expert Warning: If your FTDI adapter lacks a DTR pin and only exposes RTS, you must wire a 0.1µF capacitor between the RTS pin and the Mini's RESET pin to simulate the auto-reset pulse. Failing to do so requires manual 'reset-button timing', which is unviable for production environments.
Standard 6-Pin FTDI to Mini Wiring Protocol:
- GND to GND
- CTS to Not Connected (Leave floating)
- VCC to VCC (Ensure adapter matches board logic: 5V to 5V, 3.3V to 3.3V)
- TXO to RXI (Cross-over)
- RXI to TXO (Cross-over)
- DTR to GRN (Reset via capacitor on some adapters)
Power Delivery Constraints
The Nano's AMS1117-5.0 linear regulator can technically dissipate enough heat to power small relays or LED strips directly from the 5V pin (up to ~500mA before thermal throttling). The Mini's regulator is vastly inferior. When migrating high-draw peripherals, you must bypass the Mini's onboard regulator and inject clean 5V directly into the 5V pin, or redesign your PCB to include a dedicated switching buck converter (e.g., TPS5430).
Migration Scenario 2: Mini to Nano (Deployment & Flashing Convenience)
Field engineers often migrate from the Mini back to the Nano when maintaining remote IoT nodes. Re-flashing a Mini in the field requires carrying an FTDI adapter, a laptop, and managing loose jumper wires in harsh environments. The Nano's integrated USB port allows for direct cable connections, drastically reducing field-service time.
Bootloader and Baud Rate Adjustments
A hidden trap when migrating code from a 5V Mini to a Nano involves the Optiboot bootloader configuration. According to the Arduino Mini Legacy Documentation, the 5V/16MHz Mini defaults to a 57600 baud rate for serial uploads, whereas the Arduino Nano Official Documentation specifies 115200 baud. If you are using a custom Makefile or avrdude CLI script instead of the Arduino IDE, you must update your baud rate flags to prevent stk500_recv(): programmer is not responding errors.
Edge Cases: Analog Pins A6 and A7
Both boards expose the ATmega328P's ADC6 and ADC7 pins. As detailed in the Microchip ATmega328P Datasheet, these pins are strictly analog inputs; they lack internal pull-up resistors and cannot be driven as digital HIGH/LOW outputs. On the Nano, A6 and A7 are clearly labeled on the silkscreen. On the Mini, they are routed to the edge header pins, which frequently leads to wiring errors if engineers assume all edge pins are digital-capable. Always verify your schematic against the specific Mini revision (04 vs 05) before finalizing your PCB footprint.
Platform Selection Decision Framework
Use the following logic tree to finalize your migration strategy for 2026 project lifecycles:
- Do you require field-updatable firmware via direct USB?
Choose the Nano. The integrated CH340/16U2 eliminates the need for secondary programming hardware. - Is your enclosure smaller than 35mm x 20mm?
Choose the Mini. The Nano will not physically fit without bending the USB connector, which compromises structural integrity. - Are you building a battery-powered sleep node?
Choose the Mini (3.3V/8MHz version). The Nano's USB-to-Serial chip draws an additional 10-15mA of quiescent current, which will destroy battery life in deep-sleep applications. The Mini allows for true microamp sleep states. - Are you manufacturing >500 units?
Choose Neither. Migrate to a bare ATmega328P-AU TQFP-32 chip on a custom PCB with an exposed 6-pin ICSP header for pogo-pin programming.
Final Verdict
The choice between the Arduino Nano and Arduino Mini is rarely about processing power—it is entirely about the physical and logistical constraints of your deployment environment. The Nano wins on convenience, rapid iteration, and field serviceability. The Mini wins on spatial efficiency and raw power optimization, provided you are willing to manage the overhead of external UART adapters during the development phase. Plan your PCB footprints and BOM accordingly to avoid costly mid-cycle redesigns.