
Demystifying the Arduino Nano Spec Sheet
For beginners stepping into the world of embedded electronics, the Arduino Nano is often the first microcontroller board that transitions a project from a messy breadboard prototype to a semi-permanent installation. Despite its diminutive size, reading the Arduino Nano spec sheet can feel like deciphering an ancient manuscript if you do not know what the technical jargon actually means for your circuit. In this 2026 beginner guide, we break down the official specifications, physical limitations, and real-world edge cases of the classic Nano, ensuring you do not fry your board or run out of memory mid-project.
The Brains: ATmega328P Microcontroller Limits
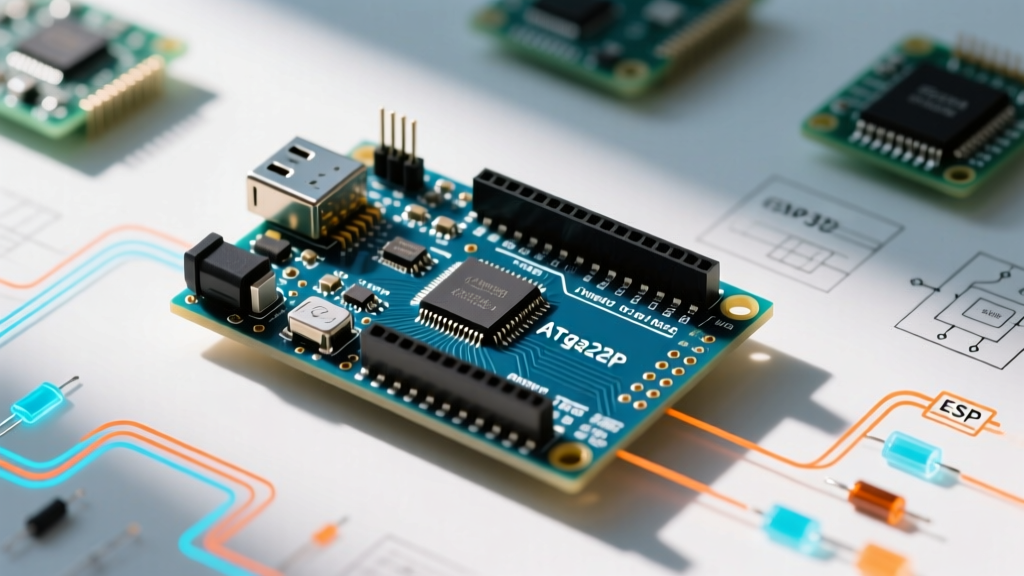
At the core of the classic Arduino Nano sits the Microchip (formerly Atmel) ATmega328P microcontroller. This is the exact same 8-bit AVR chip found on the much larger Arduino Uno, meaning the Nano sacrifices zero processing power for its compact footprint.
- Clock Speed: 16 MHz. This dictates how many instructions the CPU can execute per second. While insufficient for high-speed audio processing or complex machine learning, 16 MHz is more than adequate for reading sensors, driving PWM motors, and handling I2C/SPI communications.
- Operating Voltage: 5V logic. This is a critical spec sheet detail. The Nano's digital pins output 5V when HIGH. If you connect a 3.3V sensor (like the BME280 or modern GPS modules) directly to a Nano digital pin without a logic level shifter, you risk destroying the sensor's internal silicon.
- DC Current per I/O Pin: 40 mA absolute maximum. However, the practical safe limit is 20 mA. If you try to drive a standard blue LED without a current-limiting resistor, you will pull upwards of 30 mA, slowly degrading the ATmega328P's internal output buffers.
Memory Constraints: Flash, SRAM, and EEPROM
Beginners often overlook the memory section of the spec sheet until the Arduino IDE throws a "Low memory available, stability problems may occur" warning. The Nano features three distinct types of memory:
1. Flash Memory (32 KB)
This is where your compiled sketch lives. Of the 32 KB, roughly 2 KB is reserved for the Optiboot bootloader. If you are using heavy libraries like Adafruit_GFX for OLED displays, you can easily consume 20+ KB of Flash just for basic rendering functions.
2. SRAM (2 KB)
Static RAM is used for variables, arrays, and the call stack. 2 KB is notoriously tight. For example, an array of 500 integers will consume 1,000 bytes—half your total SRAM. When SRAM overflows, the stack collides with the heap, causing the microcontroller to silently reset or behave erratically. Always use the F() macro to store static strings in Flash memory instead of SRAM.
3. EEPROM (1 KB)
Electrically Erasable Programmable Read-Only Memory retains data when power is lost. It is rated for 100,000 write cycles. Use this for storing calibration data or user settings, but never use it for high-frequency data logging.
Power Delivery: Vin, 5V, and the Thermal Trap
The power section of the Arduino Nano spec sheet is where most beginners accidentally destroy their boards. The Nano offers three ways to receive power, but they are not created equal.
WARNING: Feeding 12V into the
Vinpin while powering multiple servos or LEDs will cause the onboard linear voltage regulator to overheat and enter thermal shutdown, or permanently fail. The linear regulator must dissipate the excess voltage as heat.
- USB Port (5V): The safest way to power the board. The USB line includes a 500 mA resettable PTC fuse and a reverse-polarity protection diode. Note that older Nano revisions and many 2026 clones have upgraded from the fragile Mini-B USB port to a modern USB-C receptacle.
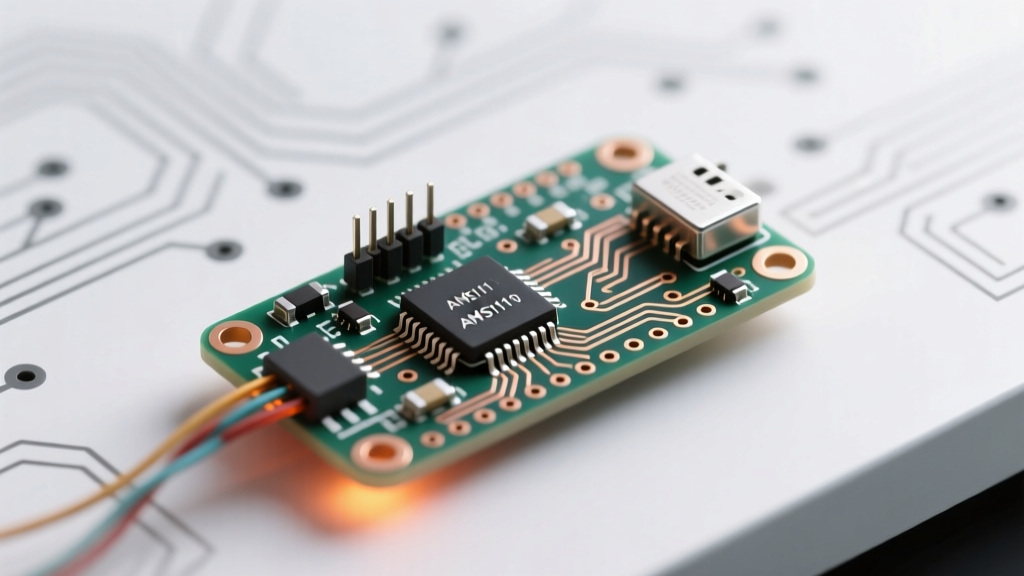
- Vin Pin (7V - 12V recommended): Power applied here goes through the onboard linear regulator (often an AMS1117-5.0 on clones) to drop the voltage to 5V. If you supply 9V, the regulator must drop 4V. At a modest 150 mA draw, that is 0.6 Watts of heat dissipated on a tiny SMD component with no heatsink.
- 5V Pin (Bypass): You can feed a regulated 5V source directly into the 5V pin. This bypasses the onboard regulator entirely, allowing you to draw much more current (limited only by your external power supply and the PCB trace width). However, this bypasses the reverse-polarity protection diode. If you accidentally swap ground and 5V, the board will instantly die.
Pinout Matrix and Breadboard Ergonomics
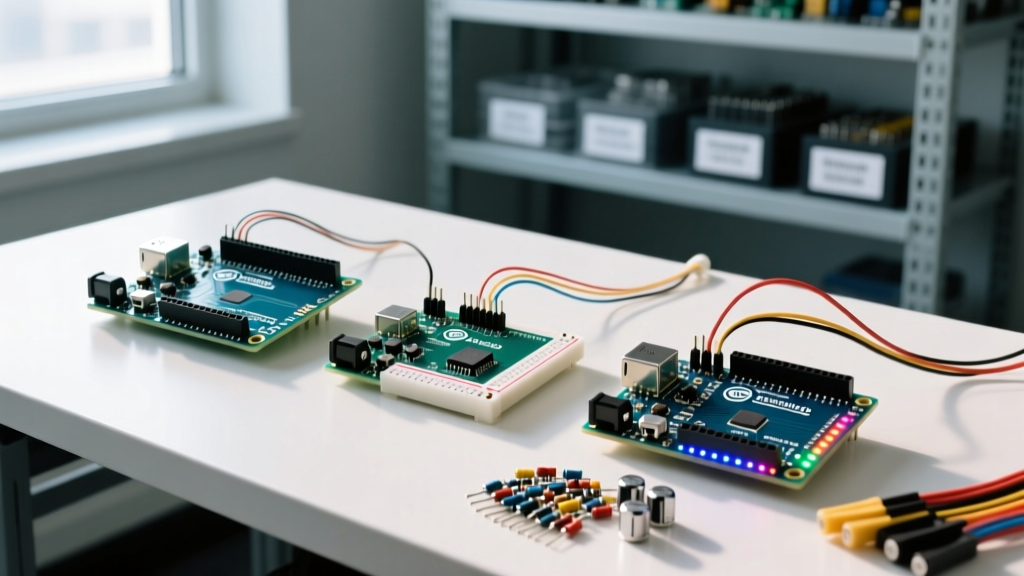
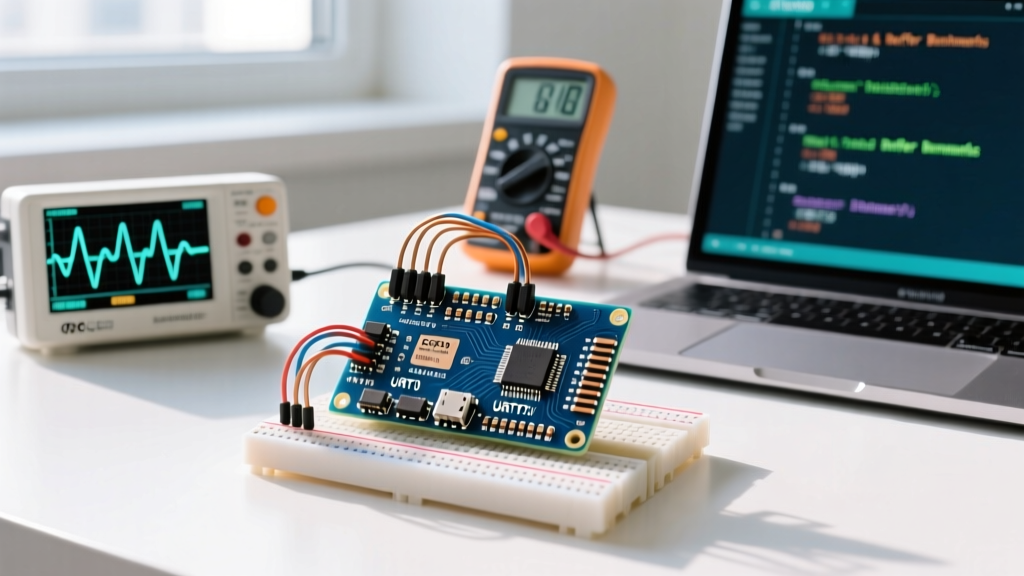
According to the official Arduino Nano documentation, the board features 30 pins. The physical spacing is exactly 0.6 inches (15.24 mm) wide. When plugged into a standard solderless breadboard, it spans the center trench perfectly, leaving exactly one row of tie-points exposed on either side. This makes wiring direct jumpers difficult; beginners are highly advised to use a Nano breadboard adapter shield or solder right-angle headers to flip the board upside down for easier access.
| Pin Category | Quantity | Spec Sheet Details & Beginner Notes |
|---|---|---|
| Digital I/O | 14 | Pins D0-D13. D0 (RX) and D1 (TX) are shared with USB serial. Avoid using them for buttons if using Serial Monitor. |
| PWM Pins | 6 | D3, D5, D6, D9, D10, D11. Marked with a ~ on the silkscreen. Essential for dimming LEDs or controlling motor speed. |
| Analog Inputs | 8 | A0-A7. Note that A6 and A7 are strictly analog inputs; they cannot be configured as digital outputs due to internal ATmega328P routing. |
| Hardware Interrupts | 2 | D2 (INT0) and D3 (INT1). Critical for reading rotary encoders without blocking the main loop. |
| SPI / I2C | 4 / 2 | SPI: D11(MOSI), D12(MISO), D13(SCK). I2C: A4(SDA), A5(SCL). |
The Clone Ecosystem: CH340 vs. FTDI in 2026
When reviewing the spec sheet, you must understand the USB-to-Serial converter chip. The original Arduino Nano used the FTDI FT232RL chip. However, due to licensing costs, the vast majority of third-party Nano clones sold on Amazon and AliExpress today (often priced between $3.50 and $6.00 for a pack of three) use the WCH CH340G or CH340C chip.
The CH340 requires a specific driver on Windows and older macOS systems. If you plug in a clone Nano and the IDE says "Port greyed out" or "Board at COMX is not responding," you need to install the CH340 drivers. Furthermore, many cheap clones ship with the "Old Bootloader" (Optiboot version 2). If your code uploads fail with a timeout error, open the Arduino IDE Tools menu and change the processor from ATmega328P to ATmega328P (Old Bootloader). This drops the upload baud rate from 115200 to 57600, solving 90% of beginner upload failures.
Nano Family Comparison: Which Board Do You Actually Need?
While the classic Nano remains a staple, Arduino has expanded the footprint into modern architectures. If your project spec sheet requires wireless connectivity or 3.3V logic, the classic Nano is the wrong tool. Here is how the 2026 lineup compares:
| Feature | Nano Classic | Nano Every | Nano 33 IoT |
|---|---|---|---|
| MCU | ATmega328P (8-bit) | ATmega4809 (8-bit) | SAMD21 Cortex-M0 (32-bit) |
| Logic Level | 5V | 5V | 3.3V |
| Flash / SRAM | 32 KB / 2 KB | 48 KB / 6 KB | 256 KB / 32 KB |
| Wireless | None | None | Wi-Fi (NINA-W10) + BLE |
| Approx. Price | $24 (Official) / $4 (Clone) | $11 (Official) | $21 (Official) |
Final Troubleshooting Checklist for Beginners
Before you finalize your wiring based on the Arduino Nano spec sheet, run through this quick sanity check to avoid common hardware failures:
- Check the 3.3V Pin Output: The Nano has a 3.3V pin, but it is generated by an onboard LDO (often the FT232RL's internal regulator on official boards) limited to roughly 50 mA. Do not use this pin to power motors or high-draw Wi-Fi modules like the ESP8266.
- Analog Reference (AREF): If you are reading a 3.3V analog sensor, do not just use the default 5V reference, as your resolution will be poor. You can connect the 3.3V pin to the AREF pin and use
analogReference(EXTERNAL)in your setup function to dramatically increase analog-to-digital conversion precision. - Pin 13 LED Interference: Pin 13 has an onboard LED and a series resistor. If you are using Pin 13 for high-impedance analog inputs or sensitive SPI chip-select lines, the onboard LED circuit can introduce noise or pull the line slightly high. Use D2-D12 for sensitive signals.
By understanding the actual physics and limitations behind the Arduino Nano spec sheet, you transition from simply copying tutorials to designing robust, reliable electronic systems. Treat the ATmega328P with respect regarding its thermal and memory limits, and it will serve as the perfect foundation for your electronics journey.