
What Exactly Is an Arduino Uno Kit?
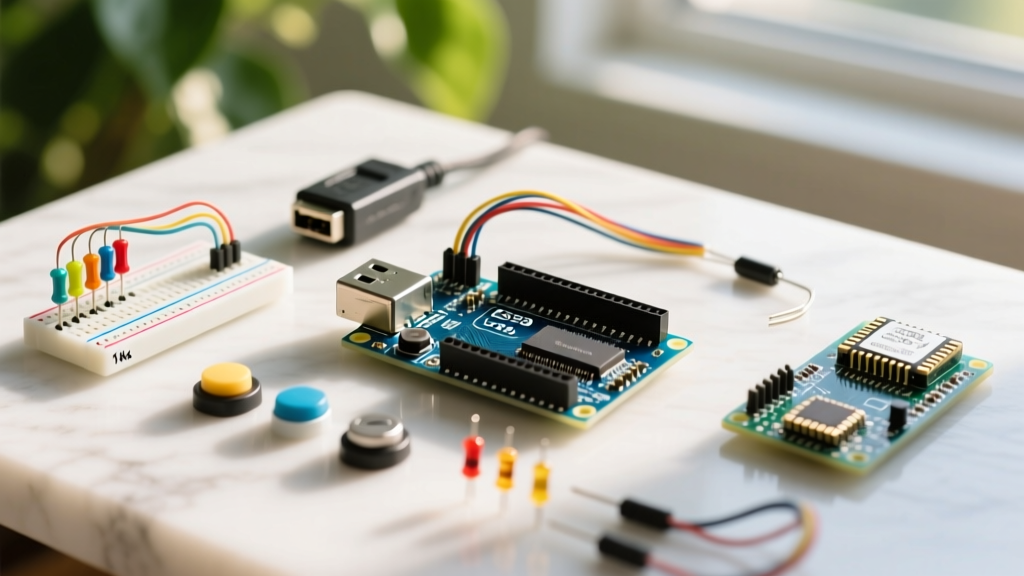
Entering the world of embedded electronics can feel overwhelming, but an Arduino Uno kit remains the most reliable on-ramp for beginners in 2026. At its core, a starter kit bundles the microcontroller board with a curated selection of passive components, sensors, and a solderless breadboard. This eliminates the guesswork of sourcing individual parts and allows you to move immediately from unboxing to building functional circuits.
However, not all kits are created equal. The market is currently split between official Arduino offerings and third-party clone kits. Understanding the differences in silicon, component quality, and documentation is critical before you spend your money.
2026 Arduino Uno Kit Comparison Matrix
| Kit Name | Board Included | Avg. Price (USD) | Component Count | Best For |
|---|---|---|---|---|
| Arduino Official Starter Kit | Uno R4 WiFi / R3 | $95.00 | 100+ | Purists wanting premium documentation and official hardware. |
| Elegoo Super Starter Kit | Uno R3 Clone | $35.99 | 200+ | Budget-conscious beginners needing a massive sensor array. |
| Rexqualis Basic Starter | Uno R3 Clone | $29.99 | 150+ | Absolute beginners testing the waters with minimal investment. |
| SparkFun Inventor's Kit | RedBoard Qwiic | $119.95 | 80+ | Advanced beginners wanting Qwiic/I2C ecosystem integration. |
While the official Arduino Uno R4 Minima and WiFi boards represent the cutting edge of the Uno lineage, third-party kits like Elegoo dominate the beginner space purely on price-to-component ratio. If you choose a clone kit, you must be prepared to handle specific driver installations, which we cover below.
The Silicon Shift: Uno R3 vs. Uno R4 Architecture
When you open your Arduino Uno kit, the board inside will likely be based on one of two architectures. Knowing which one you have dictates how you write code and wire your circuits.
- The Classic Uno R3 (ATmega328P): An 8-bit AVR microcontroller running at 16 MHz. It features 32 KB of flash memory and 2 KB of SRAM. It operates natively at 5V logic, making it highly compatible with older, legacy 5V sensors found in budget kits.
- The Modern Uno R4 (RA4M1 ARM Cortex-M4): A 32-bit ARM processor running at 48 MHz. It boasts 256 KB of flash and 32 KB of SRAM. While it features a 5V-tolerant I/O system, it is fundamentally a 3.3V logic board internally. It also includes a native USB-C port and a 12-bit DAC (Digital-to-Analog Converter), which the R3 lacks.
Pro Tip: If your kit includes an R4 board, be aware that the analogRead() resolution is 14-bit (0-16383) by default, compared to the R3's 10-bit (0-1023). You will need to map your values accordingly in your sketches.
Step-by-Step: IDE Setup and the 'Port Not Found' Trap
The most common point of failure for beginners isn't wiring; it's getting the computer to talk to the board. Follow this exact sequence to configure your environment using the latest Arduino IDE 2.3.x.
- Download the IDE: Navigate to the official Arduino Starting Guide and download the IDE for your OS (Windows, macOS, or Linux).
- Connect the Board: Use the provided USB cable. Crucial: Ensure it is a data-sync cable. Over 40% of 'dead on arrival' beginner complaints are actually caused by using a charge-only USB cable scavenged from an old household device.
- Select Board and Port: In the IDE, go to
Tools > Boardand select 'Arduino Uno'. Then go toTools > Portand select the active COM port (Windows) or /dev/tty.usbmodem (macOS).
Troubleshooting the CH340 Driver Issue (Clone Boards)
If your Port menu is greyed out or the board isn't recognized, look closely at the small black chip near the USB port on your Uno. Official boards use the ATmega16U2 USB-to-Serial chip. Budget clone boards almost universally use the CH340G or CH340C chip to cut costs.
Windows and macOS do not always include native drivers for the CH340. You must download the CH340 driver from the chip manufacturer (WCH) or a trusted repository, install it, reboot your computer, and reconnect the board. Once installed, the board will appear as a standard COM port.
Your First Circuit: Wiring an LED with Ohm's Law
Before you upload code, let's build a physical circuit. The 'Blink' sketch is the standard hello-world, but we are going to wire an external LED to Pin 9 to learn about current limiting.
⚠️ CRITICAL FAILURE MODE: Never connect an LED directly between 5V and GND without a resistor. The LED will draw maximum current, overheat, and pop in a fraction of a second. This can also damage the microcontroller's voltage regulator.
Calculating the Correct Resistor
Your kit includes a strip of resistors with colored bands. We need to calculate the correct value using Ohm's Law: R = (V_source - V_forward) / I_forward.
- V_source: 5V (from the Uno's 5V pin)
- V_forward: 2.0V (typical for a standard 5mm Red LED)
- I_forward: 0.02A (20mA maximum safe current)
R = (5 - 2.0) / 0.02 = 150 Ohms.
Your kit likely doesn't have a 150Ω resistor. The next highest standard value included in almost every Arduino Uno kit is 220Ω (Red-Red-Brown-Gold) or 330Ω (Orange-Orange-Brown-Gold). Either is perfectly safe; the LED will just be slightly dimmer with the 330Ω.
The Breadboard Power Rail Trap
When wiring the circuit on your kit's solderless breadboard, pay close attention to the red and blue lines running down the sides. On the half-size breadboards included in most budget kits, the power rails are often split in the middle. If you plug your 5V wire into the top-left red rail, and your LED's resistor into the bottom-left red rail, the circuit will not close. You must use a jumper wire to bridge the gap in the middle of the rail, or keep all your components on the same continuous half of the board.
Moving Beyond Blink: Reading a DHT11 Sensor
Once you have mastered basic outputs, your Arduino Uno kit will include environmental sensors. The DHT11 temperature and humidity sensor is a staple, but it requires specific wiring that trips up many novices.
The DHT11 uses a single-wire digital protocol. It requires a pull-up resistor (usually 4.7kΩ to 10kΩ) between the VCC and Data pins to keep the signal line HIGH when idle. Fortunately, many modern DHT11 modules included in 2026 kits have this resistor pre-soldered onto the module's PCB. If your module has three pins (VCC, Data, GND), it has the built-in resistor. If it has four pins, you must wire the resistor manually.
To read the data, you cannot use the standard analogRead() function. You must install the 'DHT sensor library' by Adafruit via the Arduino Library Manager (Sketch > Include Library > Manage Libraries). This library handles the strict microsecond timing required to decode the sensor's digital pulses.
Summary and Next Steps
Your Arduino Uno kit is a sandbox for embedded systems engineering. By understanding the architectural differences between the R3 and R4, properly installing CH340 drivers for clone boards, and applying Ohm's law to prevent component failure, you bypass the most frustrating beginner hurdles.
Once you have exhausted the basic LEDs and buzzers, look toward the SparkFun Inventor's Kit Experiment Guide for advanced project architectures. Your next logical steps should involve integrating I2C communication (using the SDA/SCL pins near the AREF pin) to connect OLED displays, or utilizing the Uno's hardware interrupts (Pins 2 and 3) to read rotary encoders without blocking your main code loop.